Our Warehouse is Now Closed for Christmas - All Orders will Ship from 7th January 2026
Our Warehouse is Now Closed for Christmas - All Orders will Ship from 7th January 2026
Add description, images, menus and links to your mega menu
A column with no settings can be used as a spacer
Link to your collections, sales and even external links
Add up to five columns
Add description, images, menus and links to your mega menu
A column with no settings can be used as a spacer
Link to your collections, sales and even external links
Add up to five columns
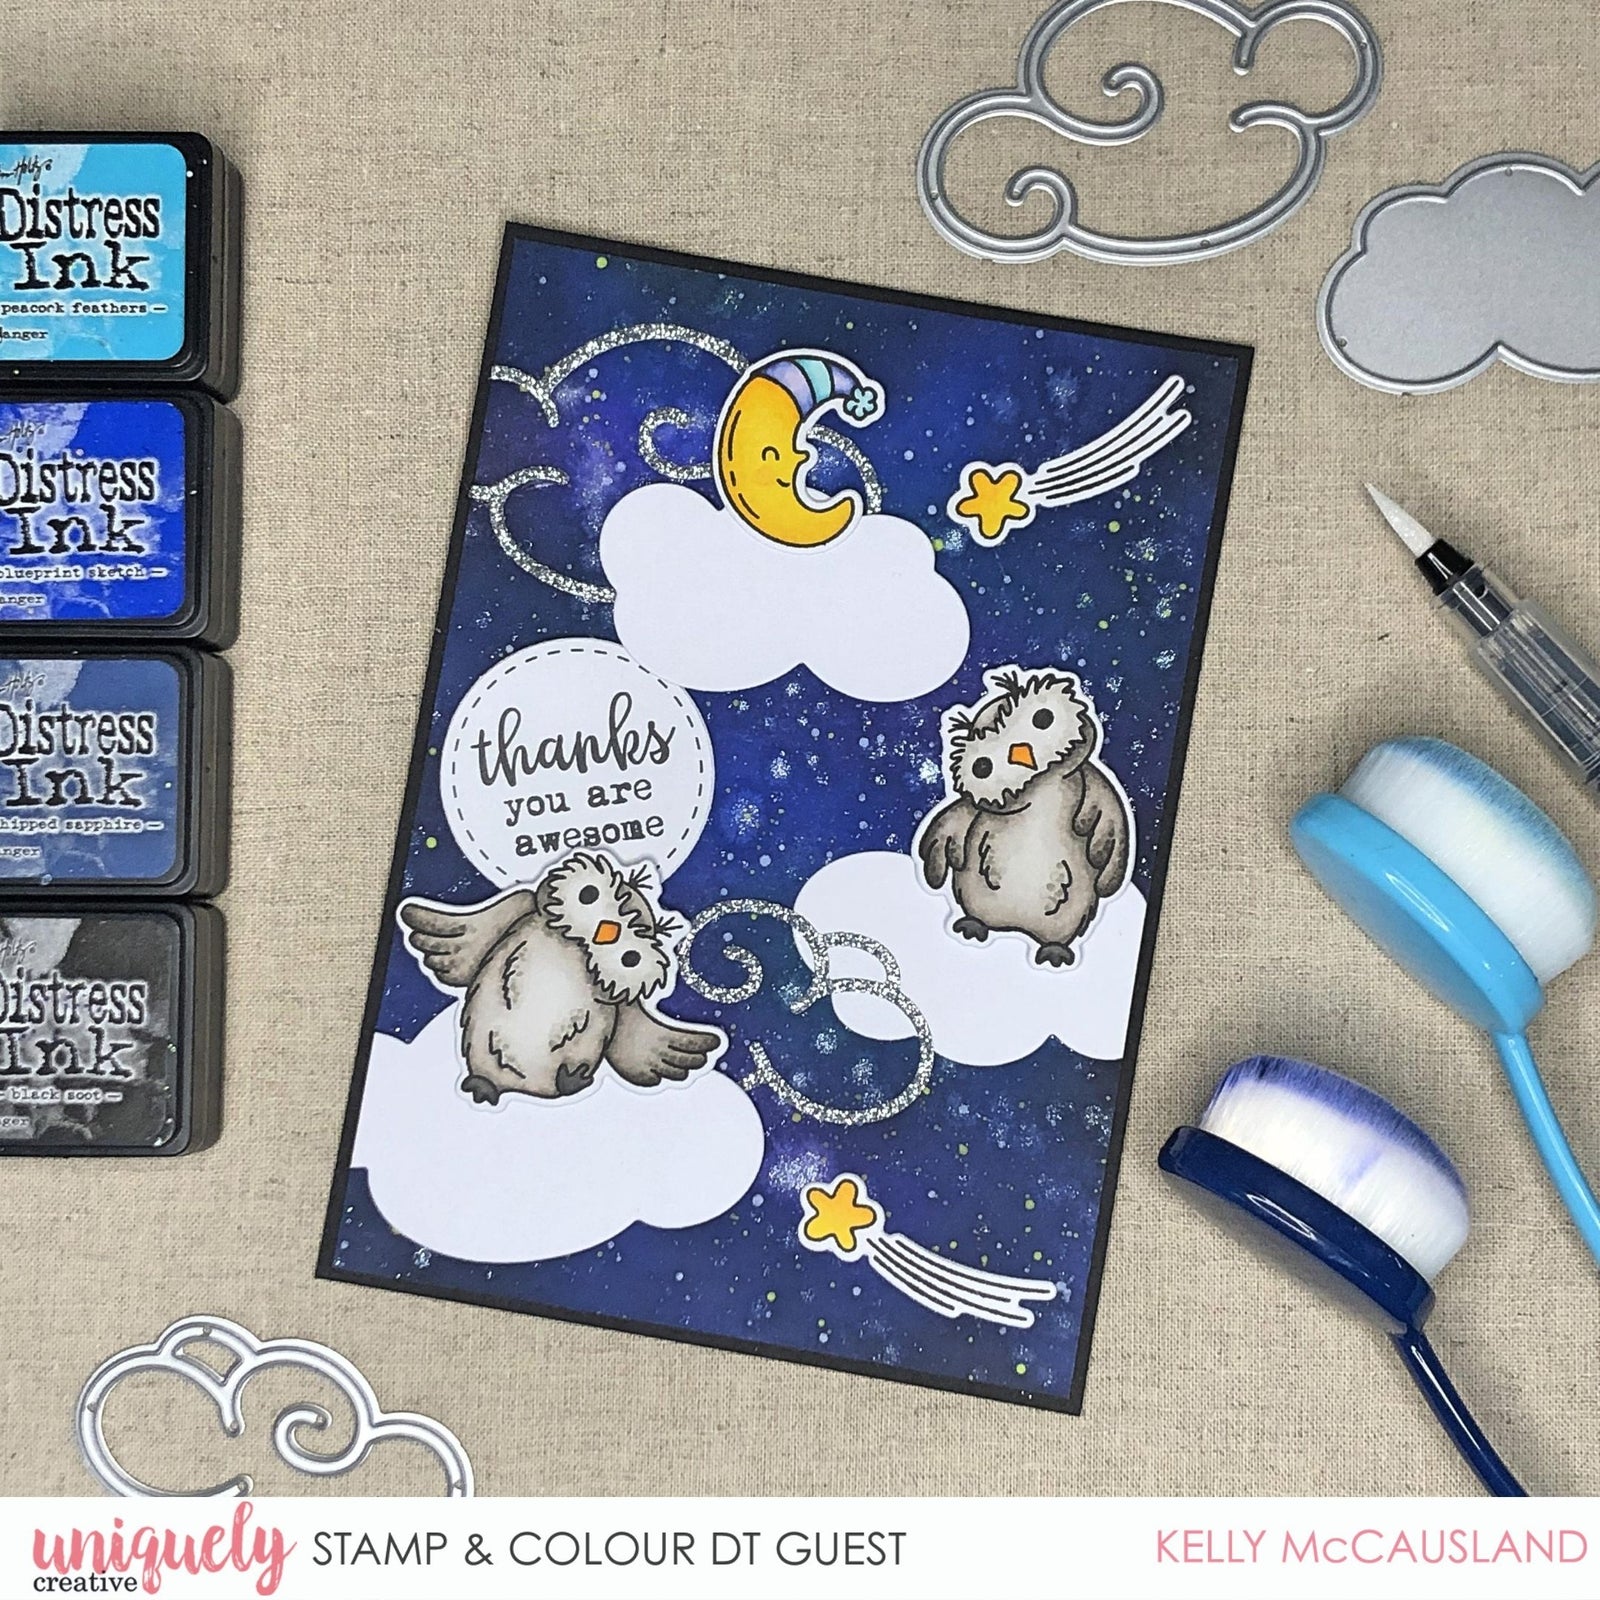
You Are Awesome Tutorial - Kelly McCausland
April 30, 2021

Card Size: 10.5cm x 14.8cm
Uniquely Creative Products Used:
UC1840 Uniquely Creative Little Hoot Stamp, Uniquely Creative Little Hoot Die, UCD1858 Swirly Clouds Die, UCD1985 Uniquely Creative #6 Cut Apart Essentials Die - Circles, Cut-A-Part Sheet, UCE1803 Foam Mounts Squares & Strips
Other Products Used:
Black Card Base, White Cardstock, Silver Glitter Card, Distress Ink Peacock Feathers, Wilted Violet, Blueprint Sketch, Chipped Sapphire, Black Soot, White Paint, Lime Paint (or any other bright colour) Sparkle Pen (or similar)
Copics:
Owls - E41, E42, E43, E44, E47, Owl Beak – YR16, YR18, Owl Feet – T6, T8, Moon – Y08, Y15, Y35, Moon Hat – BG11, BG13, BV00, BV02, BV04, Shooting Stars – Y08, Y15, Y35
Instructions:
1 – Cut some white card stock for blending to 10.5cm x 14.8cm. Start with Wilted Violet distress ink and blend a few spots onto your card, do the same with Peacock Feathers distress ink and Blueprint Sketch to fill in the gaps around the other colours and blend into them when they meet. Next add Chipped Sapphire and keep filling the white space and blending with the other colours. Lastly add some Black Soot ink around the edges.


2 – To make your sky more like a ‘galaxy’ add some sparkle pen to your craft mat and use a paint brush to flick onto your sky. Once dry mix some white paint with a little water and flick onto your sky. Repeat with some lime green paint. Note – if you don’t have lime green paint you can use any other bright colour you have.

3 – When your ‘Galaxy is dry trim a little off each edge to fit to the front of your card. Die cut some solid clouds from white card stock and some outline clouds from silver glitter paper (or whatever colour you have) using the Swirly Cloud Die. Colour your stamped images and cut out with matching dies.

5 – Assemble your card using foam squares to pop up some of your clouds and owls.
Leave a comment
Newsletter
Join our mailing list and never miss an update …
