You Make The World Better Tutorial - Ashleigh Freeston

Card Size: 10.5cm x 14.8cm (UC Rectangle Card)
Uniquely Creative Products Used:
UC1842 Teacup Builder Stamp Set, UC1987 Teacup Builder Die, Teacup Builder Cut-A-Part Sheet, Teacup Builder Laser Cut, UCMM1747 Trellis Stencil, UCD1975 Scalloped Nesting Rectangle Dies, UCD1974 Stitched Nesting Rectangle Dies, UCD1956 Cut-A-Part Essentials #4 Die, UCD1971 Slim Fancy Borders Die, UCE1806 Rectangle Card & Envelopes,UCE1778 Uniquely Creative Blending Brush
Other Products Used:
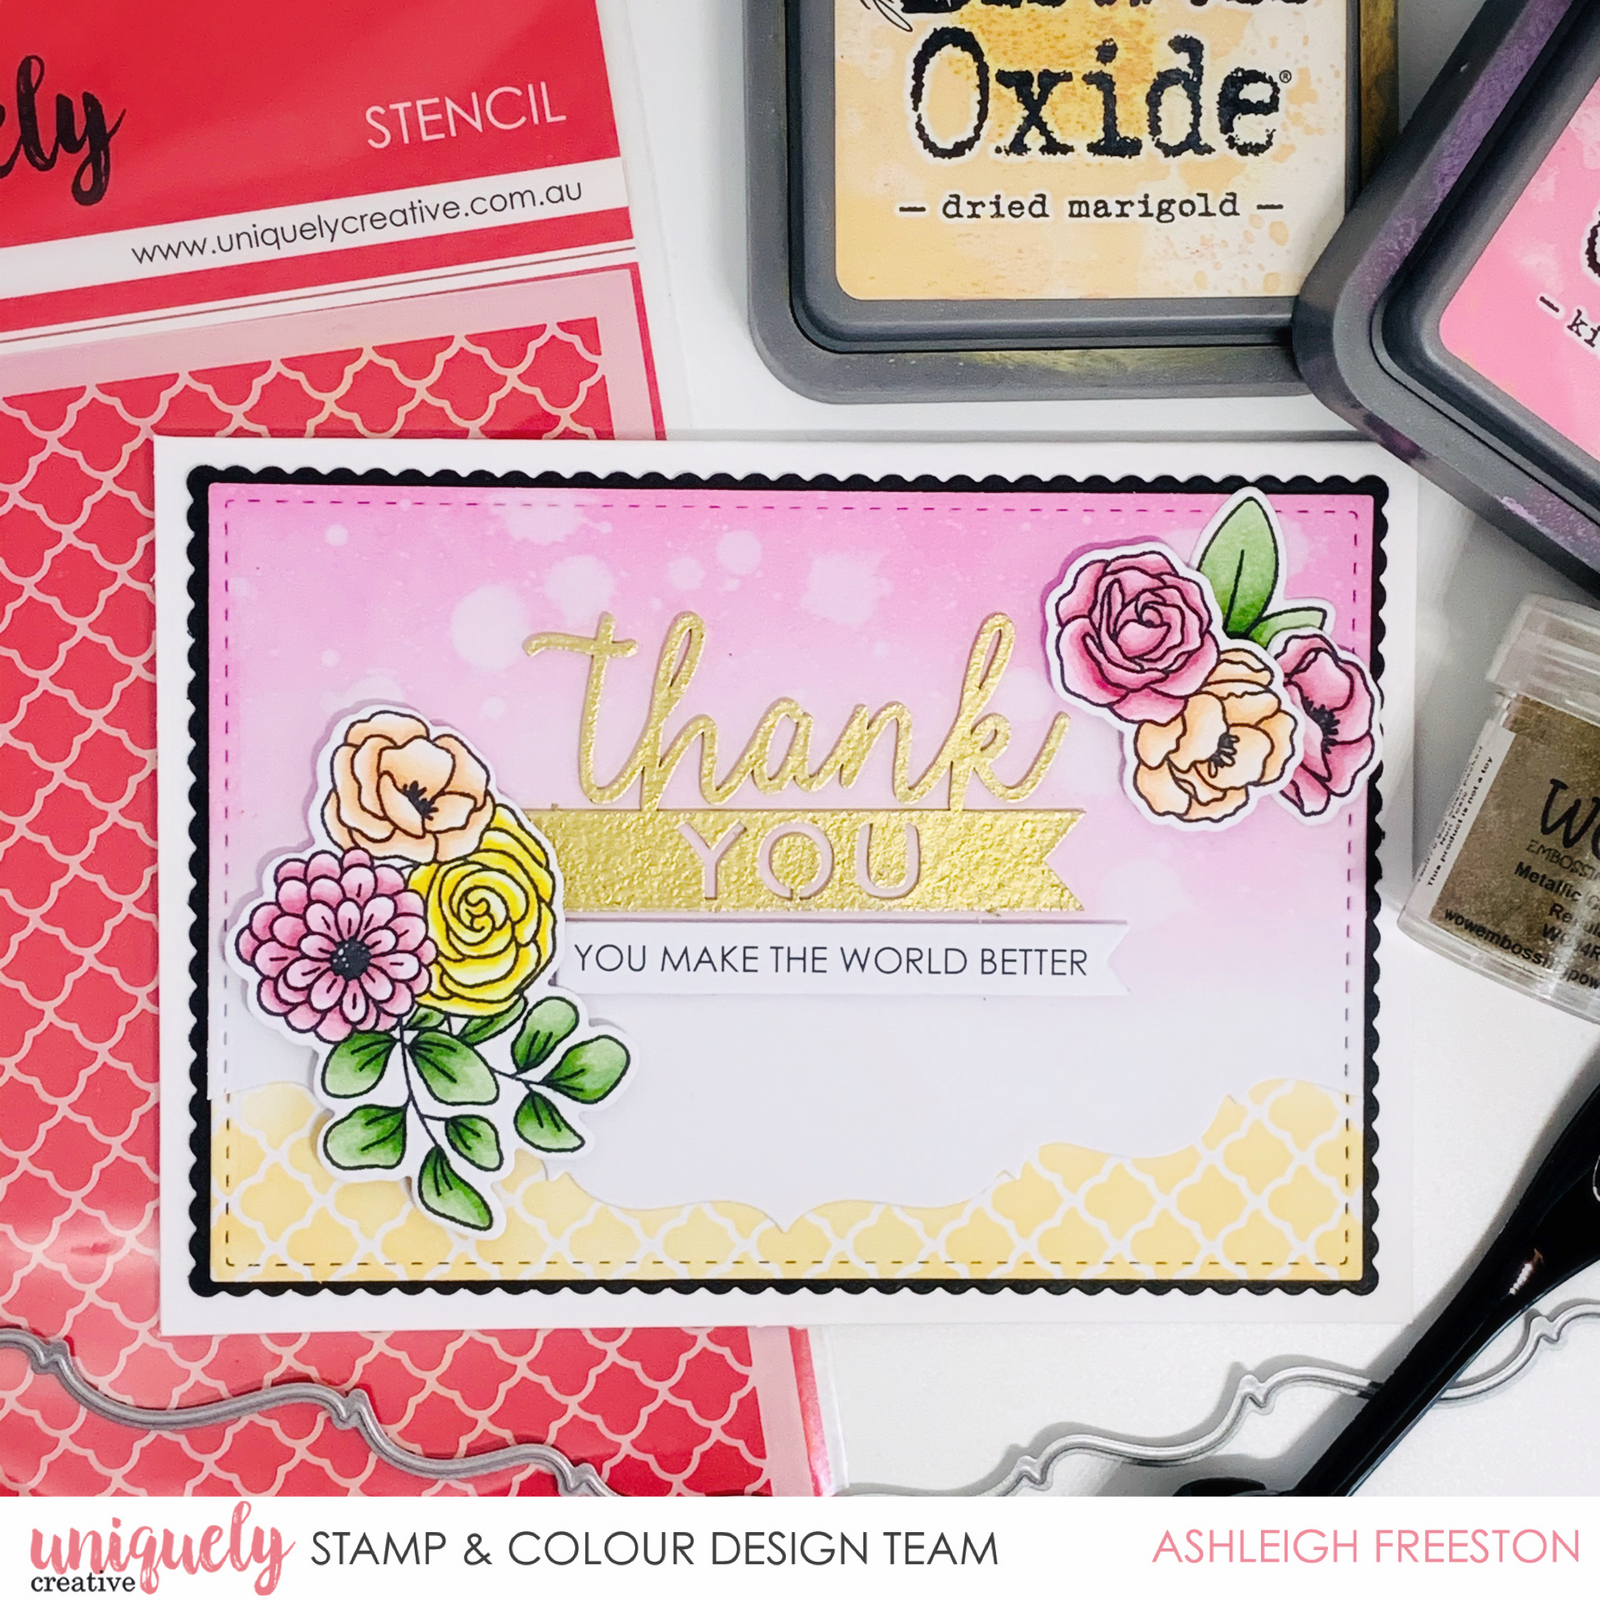
Smooth White Cardstock, Black Cardstock, Distress Oxide: Dried Marigold & Kitsch Flamingo, Water Spray Bottle, Versamark Embossing Ink, Gold Embossing Powder, Adhesives
Instructions:
1. Die cut 2 x Stitched Nesting Rectangle Die from white cardstock. Die cut Scalloped Nesting Rectangle Die from black cardstock.
2. Using blending brush, ink Dried Marigold through Trellis stencil onto the bottom section of one white stitched rectangle.

3. Die cut Slim Fancy Border die from bottom of second stitched rectangle piece, approximately 2cm up.
4. Ink blend directly onto cardstock with Kitsch Flamingo Distress Oxide, lightening the colour as you work down. Add water splatters and remove excess water with paper towel for some added texture.

5. Ink laser cut sentiment with Versamark Embossing Ink and heat emboss with gold embossing powder.

6. Stamp Flowers and colour with the colouring medium of your choice (I used Copic Markers). Die cut with matching fussy cutting dies.

7. Die cut the Cut-a-Part sheet with the Cut-a-Part Essentials #4 Die and adhere chosen sentiment to card with foam mounts. Adhere all elements of the card together to complete the card.