Autumn Days Tutorial - Natalie Elphinstone

Uniquely Creative Products Used:
- UC1861 Autumn Stamp Set
- UCD2045 Autumn Die
- Autumn Cut-a-Part Sheet
- Autumn Mini Kit Pattern Papers
- Rectangle Cards & Envelopes
- Foam Mounts
- UCD1958 Cut-a-Part Essentials #5 Die
- UCD1911 Stitched Window Frame
- Starry Sequins
Other Products Used:
- Smooth White Cardstock
- Adhesives
- Acetate
- Uniqolour Markers
Instructions:
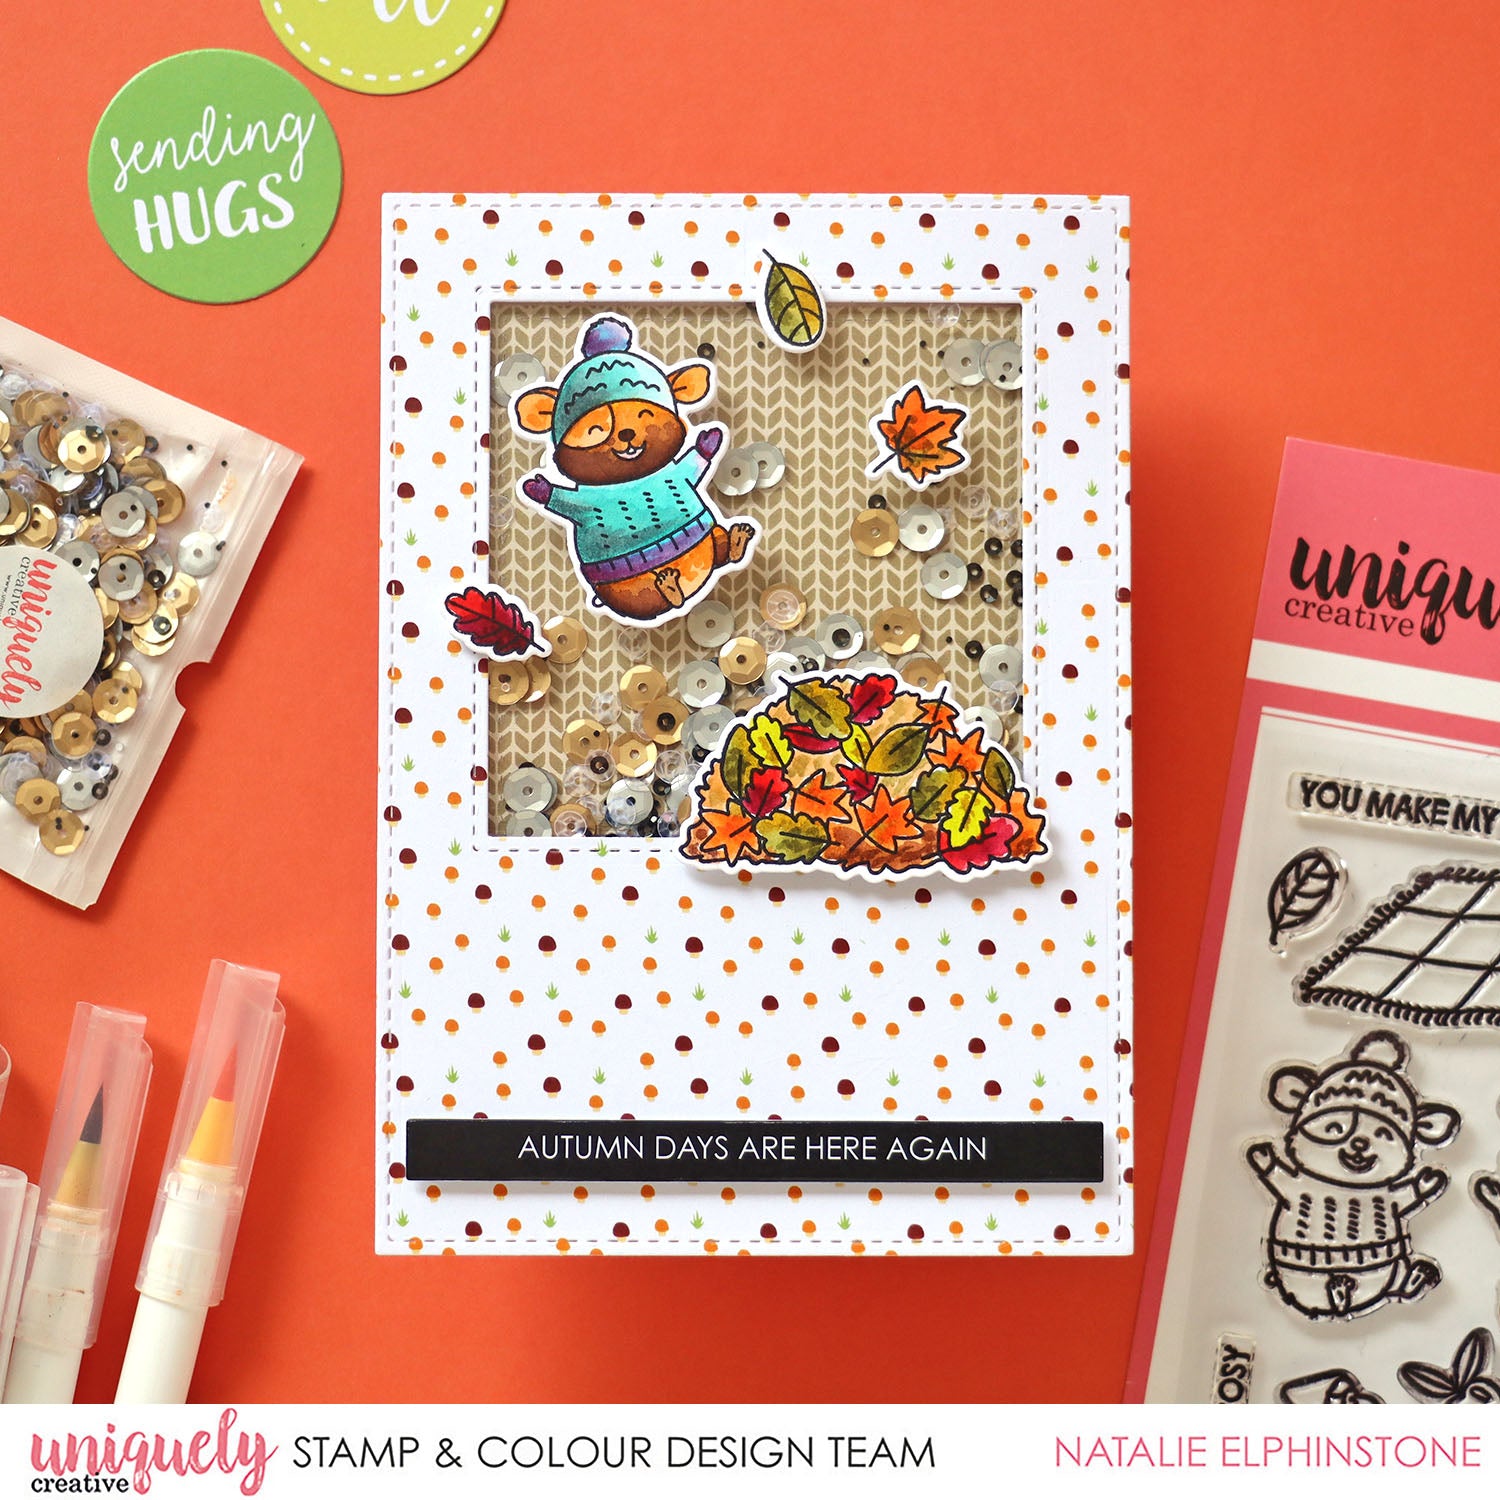
1. Stamp some of the adorable images from the Autumn stamp set onto watercolour paper and colour them with Uniqolour Markers. Cut them out with the matching dies.

2. Cut one of the patterned papers from the Autumn mini cut with the Stitched Window Frame die. The centre square which has been cut out I’m going to flip over and use the reverse of it, so don’t throw it away.

3.There are many ways to make a shaker card. Natalie has to showed you one version which works well for the purposes of this die cut. Take a scrap piece of paper, and adhere the centre square into the middle of it. Pour on what you think would be enough Starry sequins, keeping them on top of the square.

4. On the back of the Stitched Window Frame piece glue on a sheet of acetate to make a clear window. When it is completely dry, use foam tape to create a secure enclosed border all around the window, and also to the other areas of the frame.

5. Flip over the frame and stick it precisely in place over the centre square and sequins already adhered to the scrap paper. Trim off all the surrounding excess base paper.
This is how you create the shaker element of the card. All that’s left is to embellish the front of it.

6. Adhere the die cut images to the front of the shaker area with more foam tape, as well as a sentiment strip towards the bottom. Stick all of this onto the front of a card and it’s now complete.
