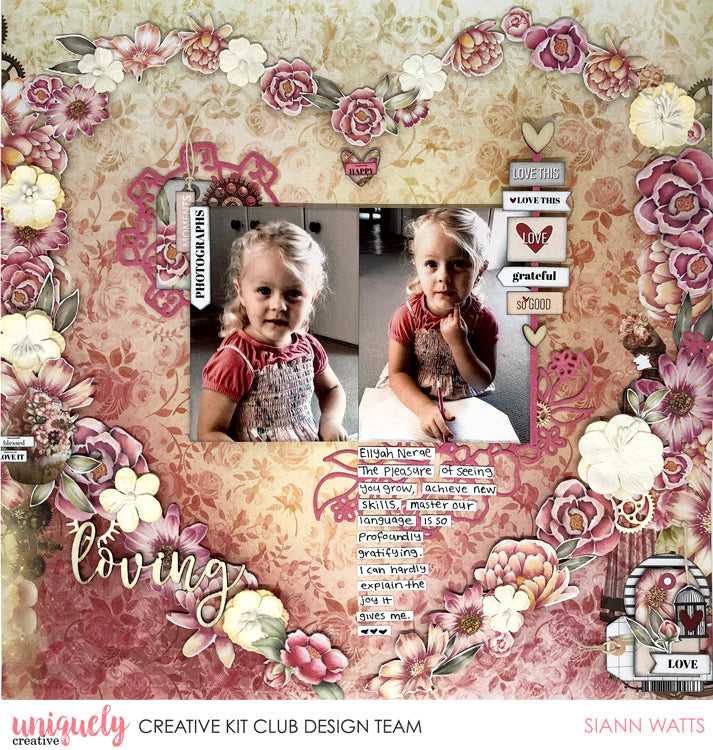
Loving Layout - Siann Watts

Uniquely Products Used:
- UCP2398 Steampunk Boutique Collection Pack
- Detailed Paper
- Inner Workings Paper
- Guilded Cage Paper
- UCP2399 Steampunk Boutique Creative Cuts
- UCCA1735 Pink Lake cardstock
- Steampunk Boutique Cut-a-Part Sheet
- UCL1740 Steampunk Boutique laser cut
- UCD2053 Flourish Findings Die
- UCE1885 Chantilly Flowers
- UCE1822 Mixed Cogs
- UCD2052 Boutique Bouquet die
- UNIQOLOUR Markers
Other Products Used:
- Distress Ink
- Mounting Tape
- String
Instructions:
1. Photo size: 70mm x 100mm each. Ink edges of photos with black distress ink and mount photos on cardboard.

2. Cut a thin strip (3mm x 130mm) from Pink Lake cardstock. Gather elements from the laser cuts, cut-a-part sheet, and paper 'Detailed', and stick them onto pink strip.

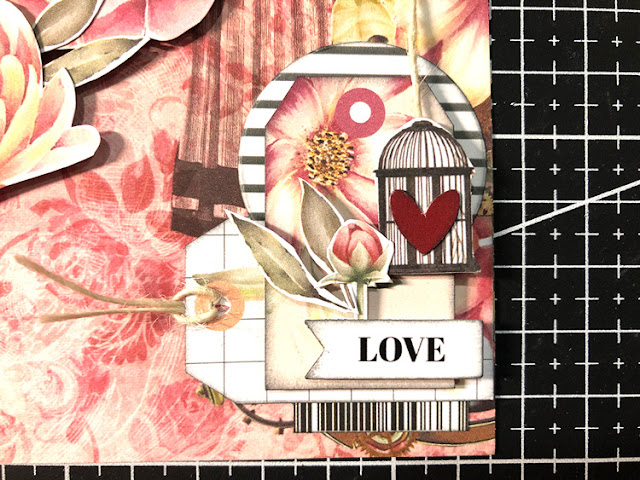
3. Gather elements, and ink edges, from Cut-a-Part sheet, papers 'Detailed' and 'Inner Workings', with a barcode and some string, build element for bottom left corner of layout.
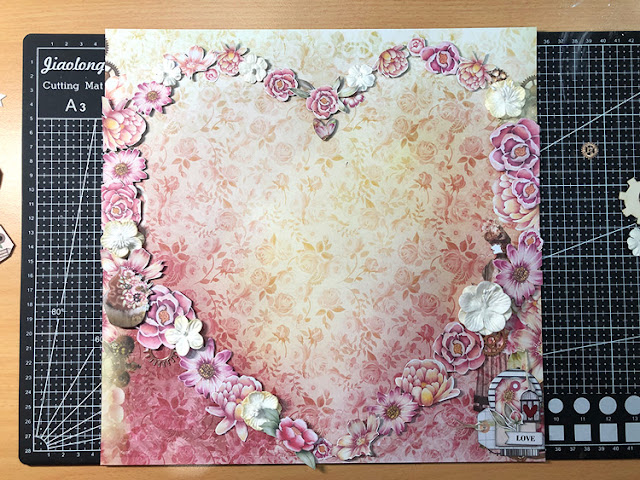
4. Using below images as a guide, build a love heart shape using the chantilly flowers, and flowers cut from papers 'Detailed' and 'Inner Workings' and the Steampunk Boutique creative cuts. Mount majority with foam tape.


5. Die cut 'Flourish Findings' from Pink Lake card. Ink tag from paper 'Detailed', then tie with string. Ink word 'moments' from paper 'Gilded Cage'. Add rose gold cog. 'Photographs' is die cut from the cut-a-part sheet using the cut-a-part Essentials Die #4.
6. Add rose gold cogs and any small text elements in around flowers of heart.
7. Using the title 'loving' from the laser cuts, mount with foam tape and position.
8. Die cut Boutique Bouquet from Pink Lake card and cut one end off to bend around corner of photo. Add small rose gold cog. Cut thin strips of white card and write your journaling. Cut to separate words and position down centre of heart lining up with centre of photos.

