BE FEARLESS CARD TUTORIAL - MARIA ALOISI
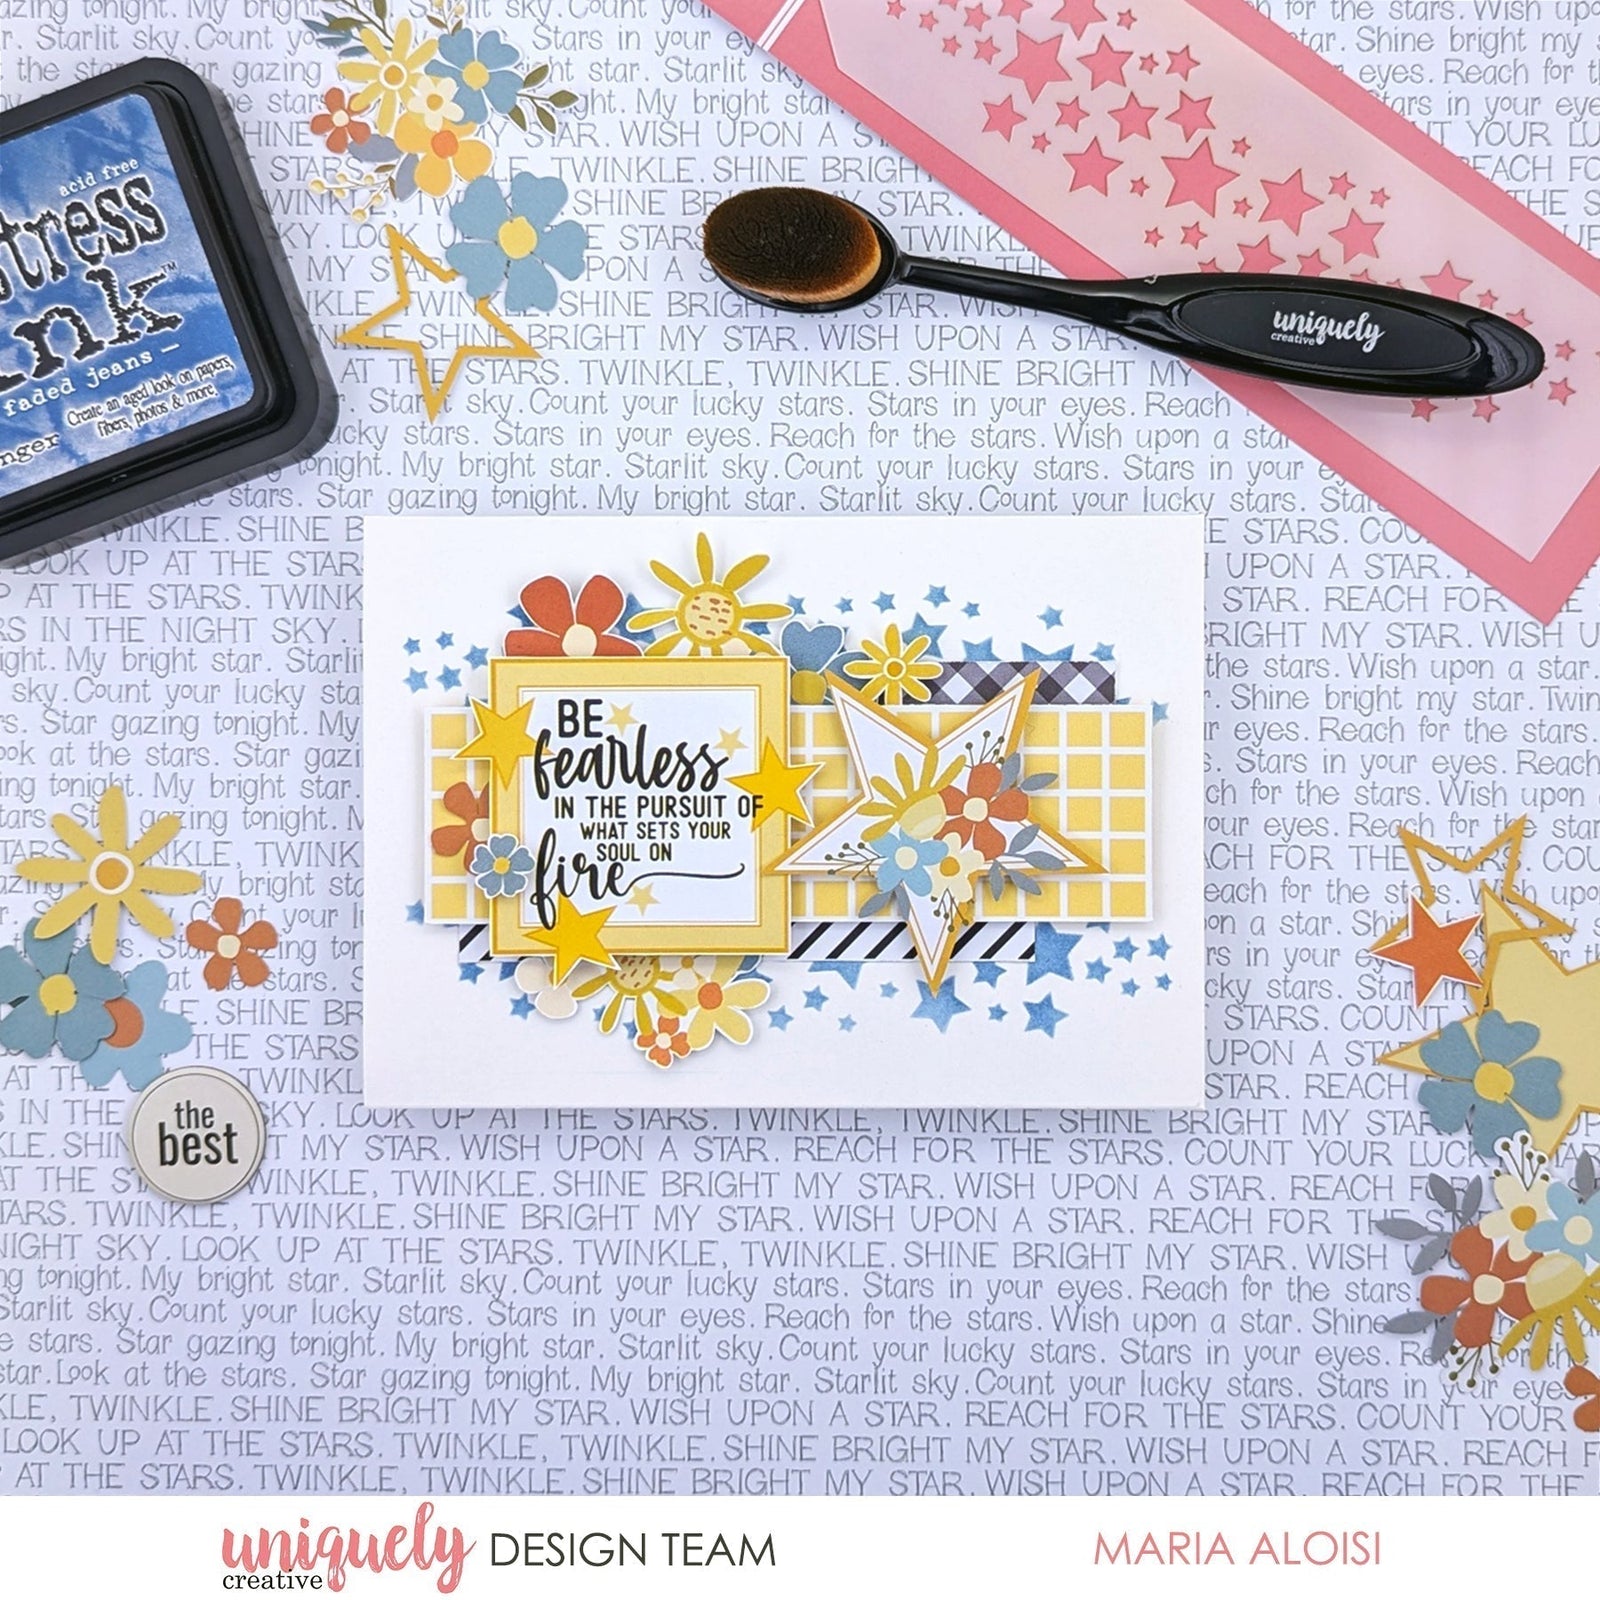

To recreate this amazing card created by Design Team member Maria Aloisi you can follow the steps below:
Uniquely Creative Products Used:
· UCP3012 Star Shine paper
· UCP3014 Star Dust paper
· UCP3016 Starlit Garden paper
· UCP3017 Superstar paper
· UCP3018 Guiding Light paper
· UCP3021 Written In The Stars Creative Cuts
· UCMM1796 Starfall Stencil
· UCE1872 Fussy Cutting Scissors
· UCE1811 Rectangle Cards and Envelopes
· UCE1803 Foam Mounts Squares & Strips
· UCE1859 6mm Double Sided Tape
· Uniquely Creative blending brush
Other Products Used:
· Paper Trimmer
· Washi tape
· Faded Jeans Distress Ink
Card size: 10.5cm x 15cm
Step 1:
Mask the top and bottom edge of the card with washi tape. Place the Starfall Stencil on the top half of the card. Mask off the smallest stars at both ends of the stencil. Ink blend using the Faded Jeans Distress ink with the Uniquely Creative blending brush. Flip the stencil and repeat the process for the bottom half of the card – See image 1.
Step 2:
From the Star Dust (reverse) paper, cut a 1½” x 5” piece. Adhere to the card using Foam Mounts so that it is ½” from the left edge and 3¼” from the top of the card – See image 2.
Step 3:
From the Guiding Light paper, cut a 4” piece of the black and white diagonal strip. Turn the paper over and cut a ½” x 3½” piece. Using Double Sided Tape, adhere both pieces to the card – See image 3.
Step 4:
Cut two floral clusters from the Star Shine paper, two flowers from the Starlit Garden paper, one flower from the Guiding Light paper and the sentiment from the Superstar paper – See image 4.
Step 5:
Using Foam Mounts, add the sentiment on top of the Star Dust piece, ½” from the left edge. Using Double Sided Tape, adhere the floral clusters on top of the sentiment and underneath the sentiment. Add the remaining floral images using Foam Mounts – See image 5.
Step 6:
Add a small floral creative cut under the sentiment on the left side, using Double Sided Tape. Using Foam Mounts, add a floral star creative cut to the right of the sentiment – See image 6.