BIRTHDAY WISHES CARD TUTORIAL - MARIA ALOISI
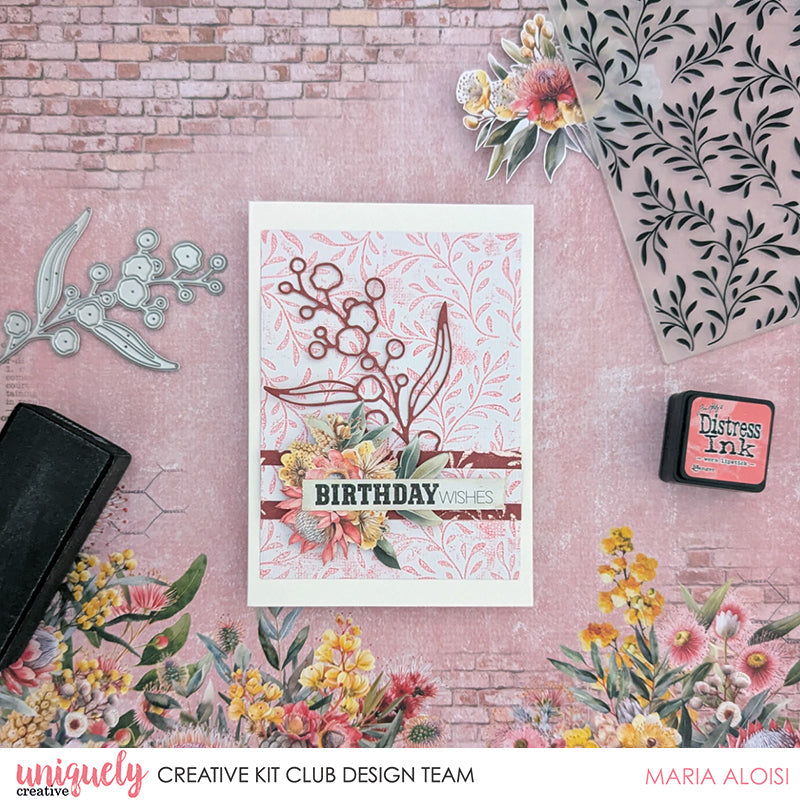

To recreate this gorgeous card created by Design Team member Maria Aloisi you will need the products listed below:
Uniquely Creative Products Used:
· UCCA1729 Brick Wall Cardstock
· UCP2918 Echoes of the Outback Creative Cuts
· UCD2183 Wattle Branch Die
· UCEF2024 Foliage Embossing Folder
· UCE1933 Crafters Sanding Block
· UCE1872 Fussy Cutting Scissors
· UCE1811 Rectangle Cards and Envelopes
· UCE1804 Foam Mounts Circles
· UCE1859 6mm Double Sided Tape
Other Products Used:
· White Cardstock
· Worn Lipstick Distress Ink
· Trimmer, Die Cutting Machine, Glue
Card Size: 10.5cm x 14.8cm (UC Rectangle Card)
Step 1:
Apply Worn Lipstick Distress ink on one side of the Foliage embossing folder – See image 1
Step 2:
Cut a 6” x 5” piece of white cardstock. Lay the cardstock over the inked side of the embossing folder and run it through a die cutting machine. Cut the embossed cardstock into two pieces, one measuring 3¾” x 5” and the other 3¾ x ½” – See image 2.
Step 3:
With the Brick Wall cardstock die cut a piece using the Wattle Branch die. Adhere on top of the embossed cardstock using glue – See image 3.
Step 4:
Emboss a strip of Brick Wall cardstock with the Foliage embossing folder then trim to 3¾” x 1”. Sand the raised areas. Adhere, using double-sided adhesive, on top of the embossed cardstock, 1” from the bottom – See image 4.
Step 5:
Adhere the smaller embossed strip, from step 2, on top of the embossed Brick Wall cardstock – See image 5.
Step 6:
To finish, using adhesive foam, add a floral creative cut on top of the embossed strips. Add the Birthday Wishes sentiment on top using double sided adhesive. Adhere the embossed cardstock to the card front – See image 6.

