SNAPSHOTS FLIP FOLIO ALBUM TUTORIAL - RACHEL DUTKO

To recreate this fantastic flip folio album created by Design Team member Rachel Dutko you will need the products listed below:
Uniquely Creative Products Used:
· UCE2062 6x8 Kraft Flip Folio Album Expanded
· UCD2152 Flip Folio Album Die Set
· UCP2909 Outback Ochre paper
· UCP2908 Golden Wattle paper
· UCP2910 Native Shadows paper
· UCP2913 Timber & Trim paper
· UCP2911 Shearer's Shack paper
· UCP2915 Outback Arches paper
· UCP2912 Bushland Blooms paper
· UCE1725 Black Rhinestones
· UC Black Twine
· UC Foam Mounts
Other Products Used:
· white cardstock
· manual die-cutting machine
· hole punch
Step 1:
From the Outback Ochre paper die cut 3 pieces as shown. Adhere to the front 3 flaps.

Step 2:
From the Golden Wattle paper die cut 2 pieces as shown for the inside left and right flaps. Die cut a plain piece for the inside of the bottom flap.

Step 3:
From the Native Shadows paper die cut 2 pieces as shown for the top of the small inside flap and the back inside page.
Step 4:
Die cut 2 pieces from the Timber & Trim piece ( B-side) for the outside back page and the back of the top-folding inside flap.
Step 5:
Trim a piece from the top left-hand corner of the Shearer's Shack paper to fit the top of the top-folding flap.
Step 6:
Die cut 2 large pink arches from the Outback Arches paper and adhere to the front and back of the large insert booklet.
Step 7:
Cut some photo mats from white cardstock, and adhere throughout the folio.
Step 8:
Using some very strong adhesive, glue down the sides of the small flap to create a pocket ( hold down with craft clamps until dry).
Step 9:
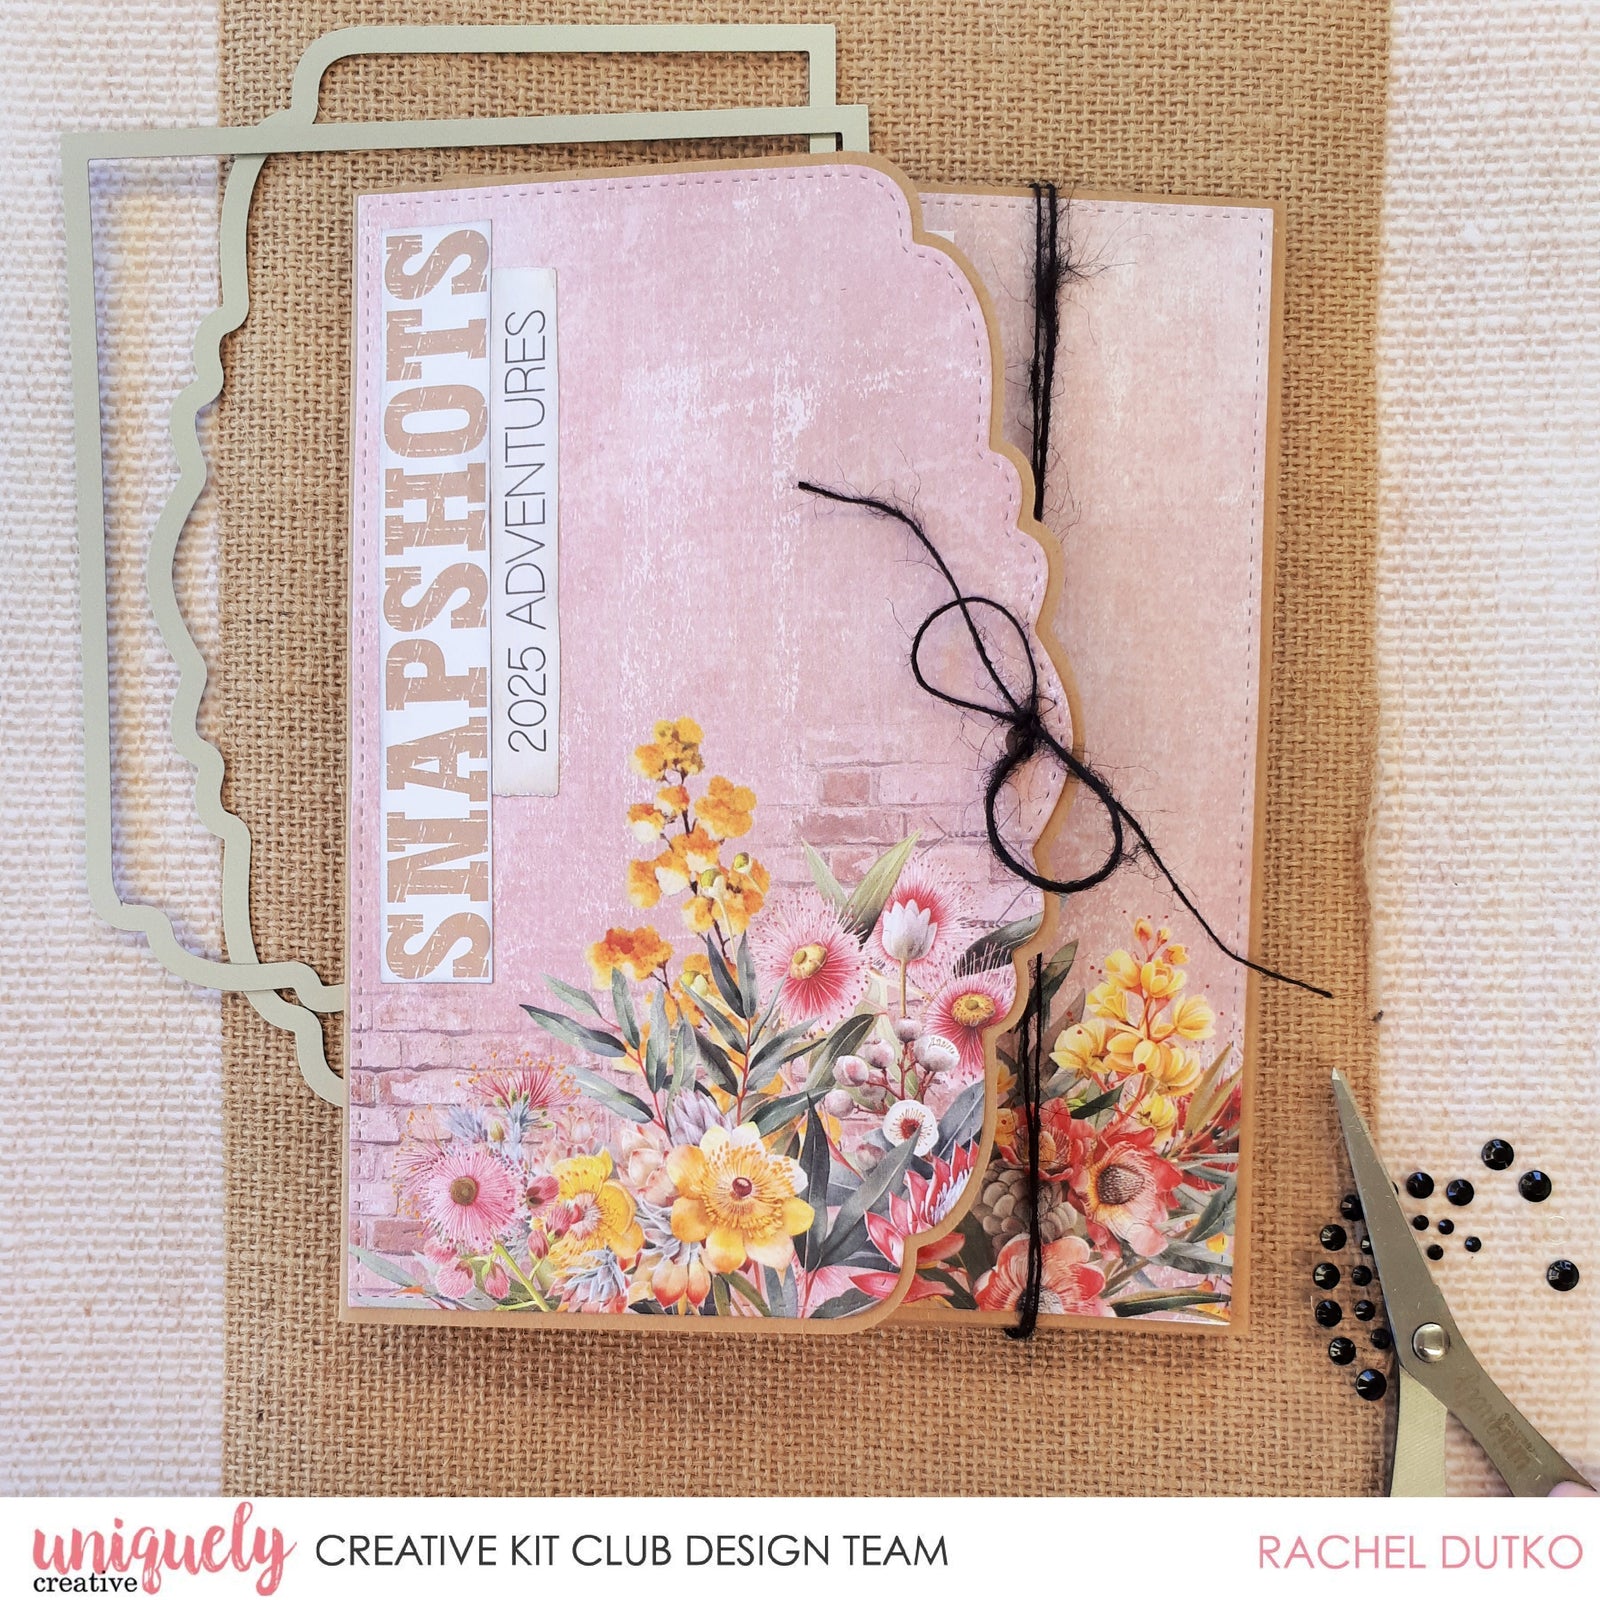
Add some words from the cut-a-part sheet to the front cover and insert pocket.

Step 10:
Add some words from the cut-a-part sheet to the front cover and insert pocket.

4 Responses


Vanessa
May 25, 2025
Seen it, bought it, made it, LOVE IT! ❤️