Birthday Wishes Tutorial - Ashleigh Freeston

Uniquely Creative Products Used:
- UC1861 Autumn Stamp Set
- UCD2045 Autumn Die
- Autumn Cut-a-Part Sheet
- UCD1974 Stitched Nesting Rectangle Die
- UCD2041 Nature Scene Die
- UCD2003 Stitched Nesting Circle Die
- Rectangle Cards & Envelopes
- Foam Mounts
- UCD1958 Cut-a-Part Essentials #5 Die
- UCD1985 Cut-a-Part Essentials #6 Die
Other Products Used:
- Smooth White Cardstock
- Black Cardstock
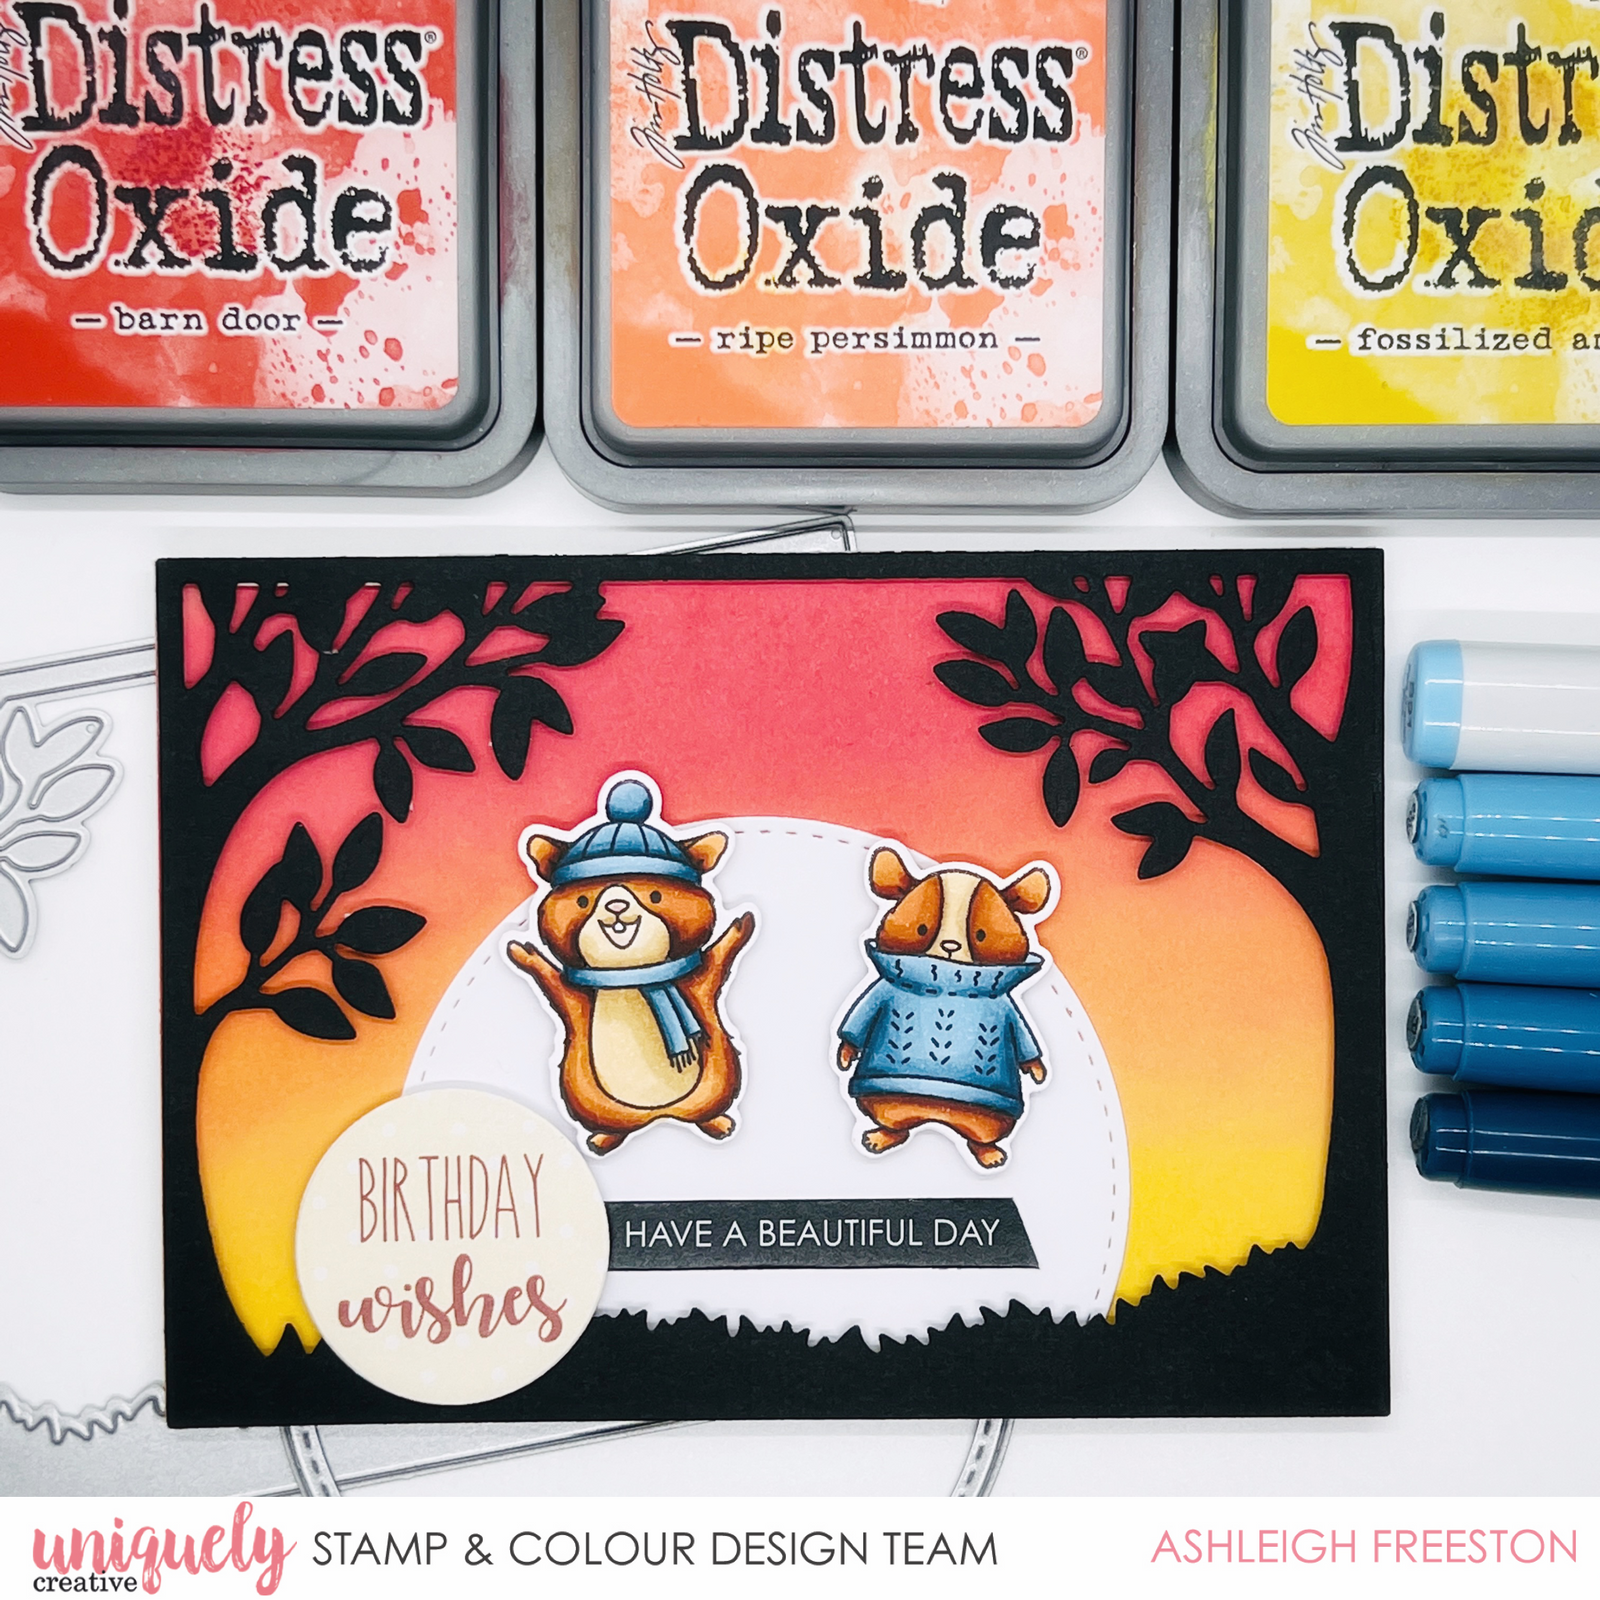
- Distress Oxide: Barn Door, Ripe Persimmon & Fossilized Amber
- Blending Tool
- Adhesives
- Copic Markers Used:
- Hamster – E29, E09, YR27, E97 (outer); E30, E31, E33 (inner); E01, E04 (nose/mouth)
- Grey – T0, T1, T2, T4
-
Blue – B91, B93, B95, B97, B99
Instructions:
1. Die cut largest stitched rectangle die from white cardstock. Using blending tool, ink Barn Door Distress Oxide on top third. Use Ripe Persimmon Distress Oxide in the centre, and finish with Fossilized Amber Distress Oxide on the bottom. Repeat until there are no harsh lines.

2. Die cut the Nature Scene Die from black cardstock.

3. Die cut stitched circle die from white cardstock and trim approximately 1.5cm from the bottom. Die cut the sentiments from Cut-a-Part Sheet using Cut-a-Part Essentials #5 and #6 dies.

4. Stamp and colour the images with the colouring medium of your choice – I used Copic markers. Die cut or fussy cut the images once complete.

5. Assemble the card by adhering the blended background piece to your card base, with the stitched circle in the centre. Use foam mounts to adhere the nature scene to the front. Finish the card by foam mounting the stamped images and the sentiments.
