Blooming Tutorial - Rachel Lowe

Uniquely Creative Products Used:
UCP2346 Fleur, UCP2350 Primrose, UCP2349 Flourish, UCP2352 Grow, UCP2355 Creative Cuts, UCP2356 Creative Vellum Cuts, UC1825 XOXO Mini Stamp, UCEF2013 Captivating Embossing Folder, Cut-A-Part Sheet
Other Products Used:
Foam Tape, Machine Stitching, Gold Embossing Powder, White Gloss Spray
Instructions:
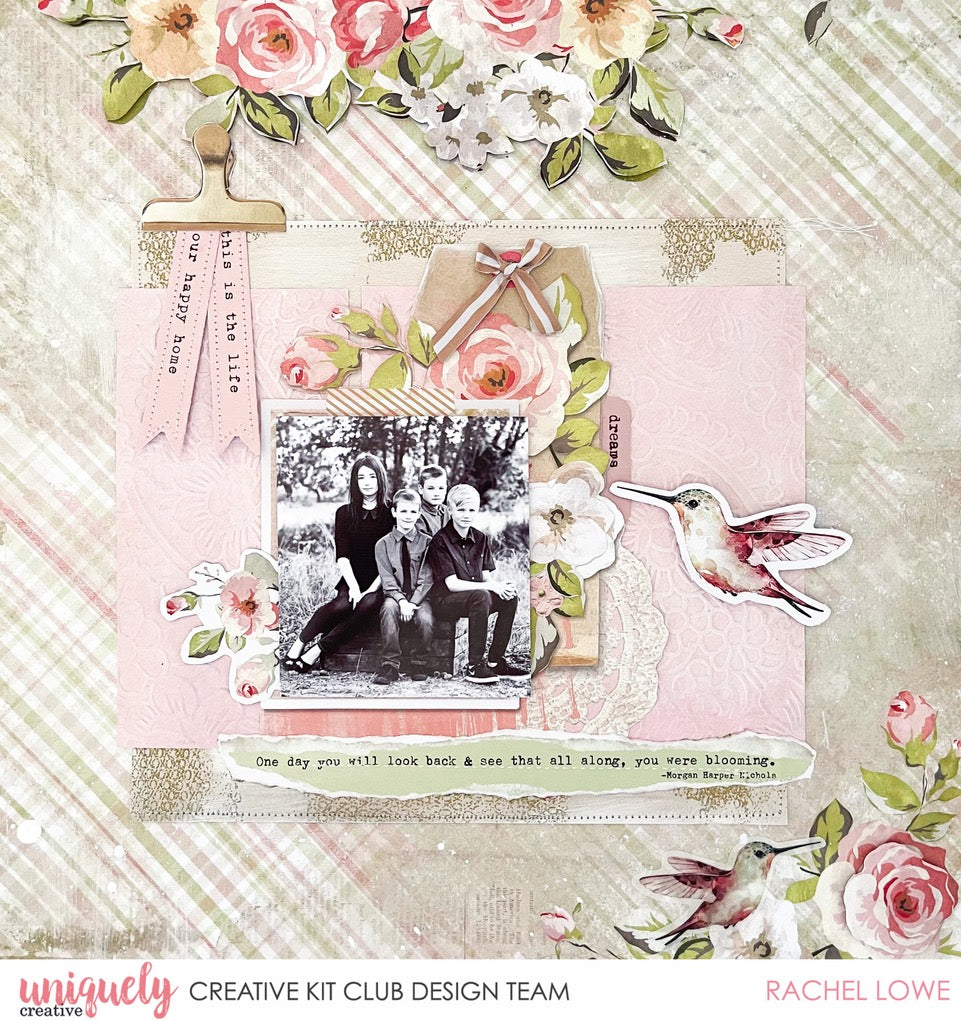
1. Using the Fleur paper as your base. Use the second sheet in the collection kit and fussy cut the floral bloom and attached with foam tape.
2. Cut a 7 1/2" x 8" strip from the Primrose paper using the Kraft coloured section. Randomly add the XOXO stamp around the edges. Heat emboss with gold embossing powder, or you could just stamp instead.
3. Next cut out the frame/tag/doily piece from the Flourishing paper and set aside. Cut three strips from the remaining pink 2 1/2" x 5 1/2" strips x by 3. Then use the captivating embossing folder on the three strips and adhere as shown in the diagram.

4. Adhere the fussy cut piece from Flourishing paper and centre on the embossed pink paper strips.

5. Choose two of the sentiment banners and add machine stitching. I fussy cut the gold bull clip from the Grow paper. Adhere the bottom part of the bull clip so the top sits slightly up giving the clip a more realistic look.
6. Tear the sentiment from the cut-a-part sheet and adhere with wet glue.
7. Tuck one of the tabs under the florals around the tag and layer the hummingbird creative cut over the florals.

8. Add your photo with foam tape slightly off centre of the printed frame.
9. Lastly add one of the bow creative cuts to the tag, a creative cut floral tucking it under your photo on the left side of my photo. Using a matching rose creative cut (slightly smaller and with foam tape) and add to the rose printed at the bottom of the base paper, creating more dimension and adding a vellum hummingbird so it looks as though it is hovering over the smaller floral bloom.
10. Add splashes of white gloss spray to add to the shabby feel of this layout.

