How To Make A Stunning Easter Slimline Card - Stephanie Donnini

Uniquely Creative Products Used:
- UCL1734 Be Hoppy Laser Cut
- UC1858 Be Hoppy Stamp Set
- UCD2040 Be Hoppy Die
- UC1842 Teacup Builder Stamp Set
- UC1987 Teacup Builder Die
- UCD1966 - Slim Doily Border Die
- Patterned Paper
- Foam Mounts.
Other Products Used:
- White Embossing Powder
- VersaMark Ink
- Heat Tool
- Iridescent Sequins
- White Gel Pen
- Watercolour Paper
- Zig Clean Colour Brush Markers
Copic Markers Used:
- Y000
- B000
- B02
- G000
- BV000
- BV1
- BG11
- R81
- R83
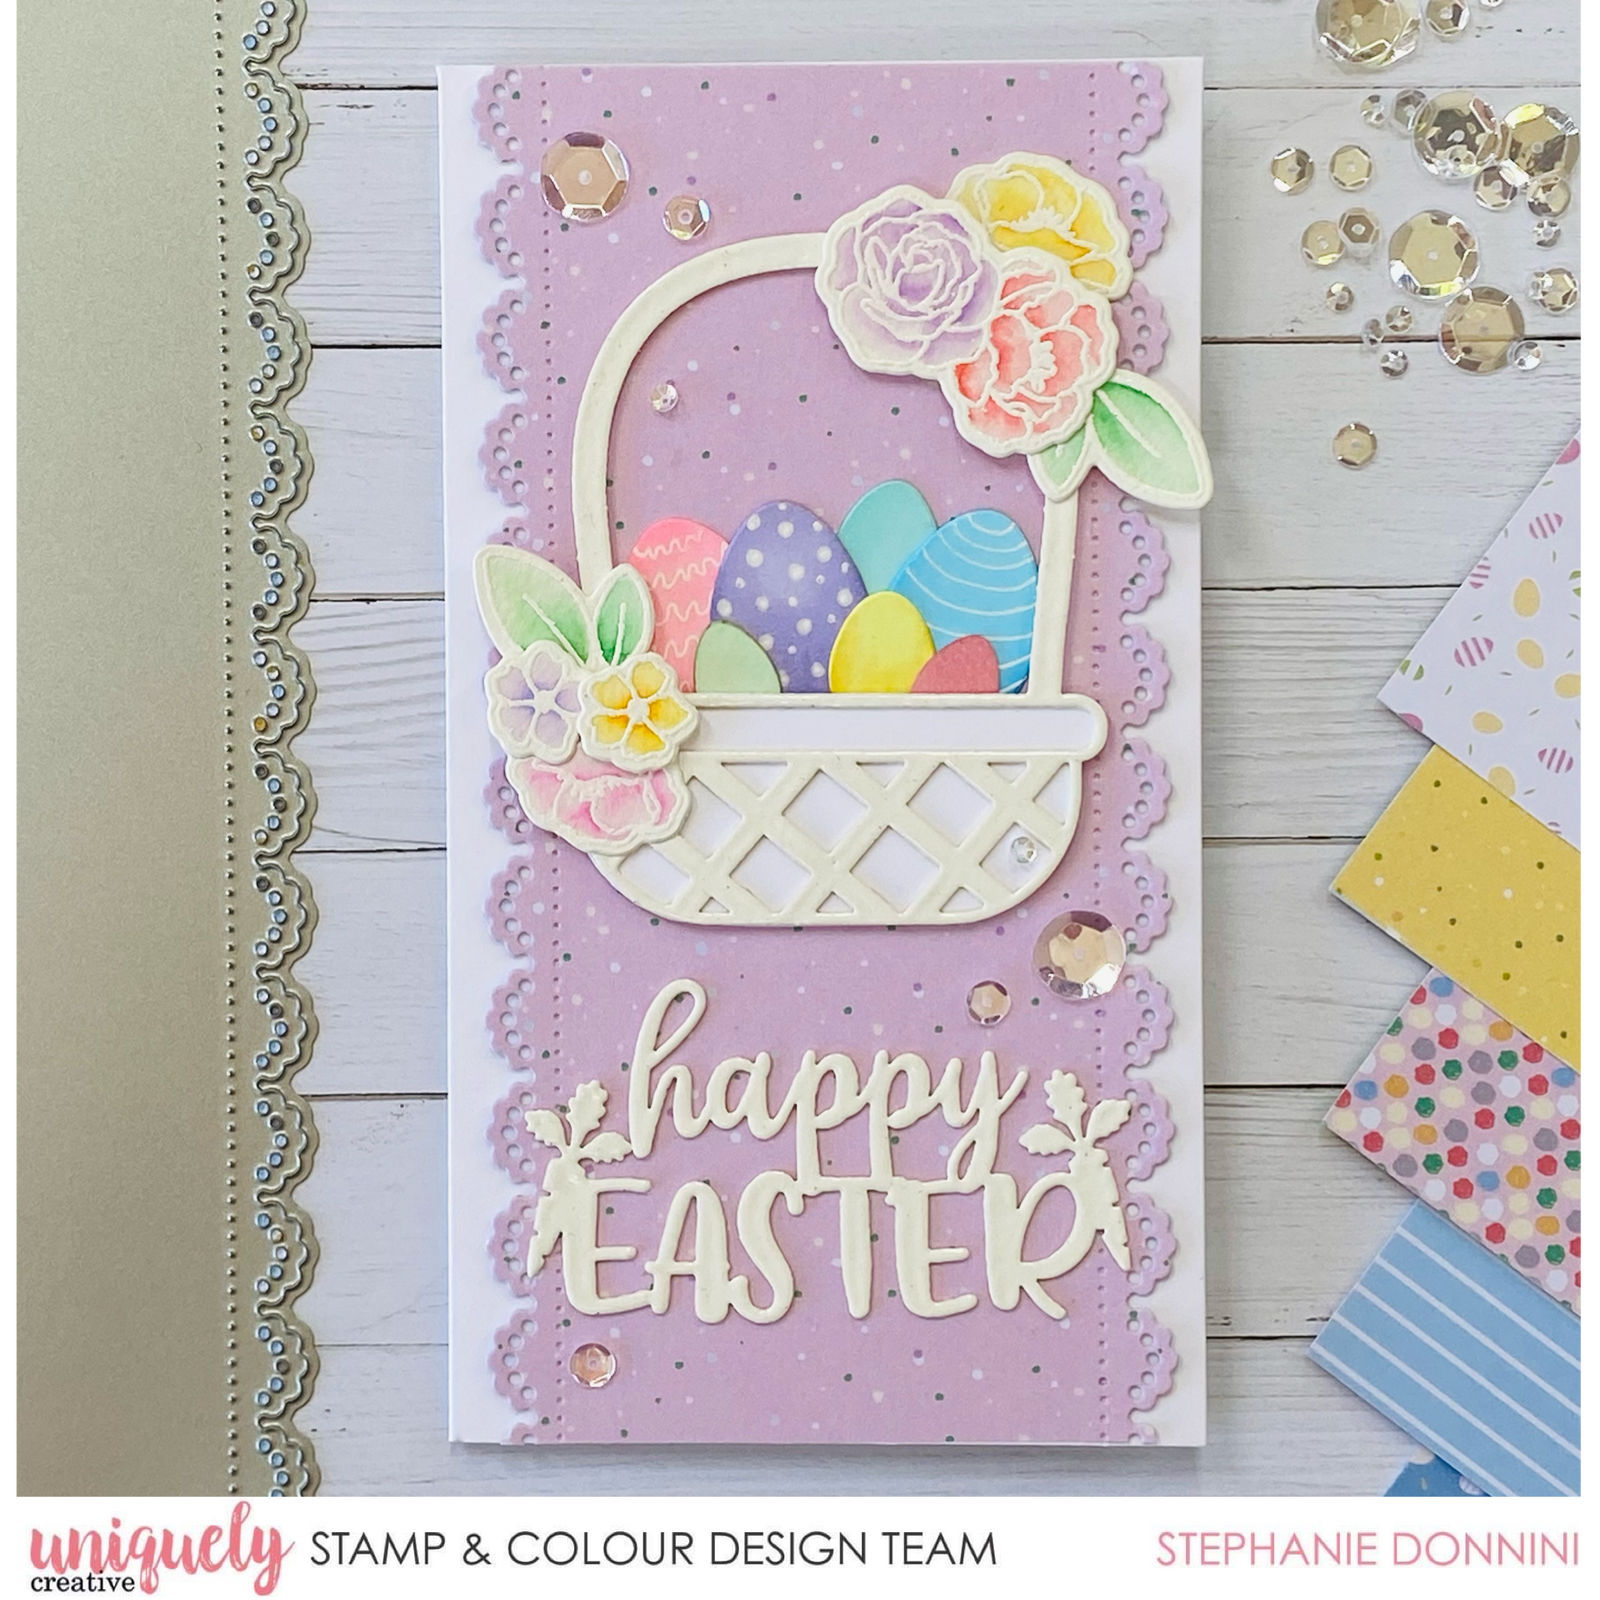
1. Die cut the Slim Doily Border from a piece of patterned paper in the ‘Be Hoppy’ mini kit. Attach it to a mini slimline card base and cut off the excess paper.

2. To add the floral elements, use the stamps from the Teacup Builder Stamp Set. White heat emboss flowers on a piece of watercolour paper, then use watercolour paints or markers to add colour. Use co-ordinating dies to cut images out.

3. Die cut several egg shapes from the ‘Be Hoppy’ die set. Also, use the smaller eggs from the ‘Be Hoppy’ laser cut. Colour these in various pastel shades and add detail using a white gel pen.

4. Take the ‘Happy Easter’ and basket laser cut, coat them in versa mark ink then white heat emboss them. Repeat this process twice for a nice glossy finish. Add some white cardboard to the back of the basket to fill in the gaps.

5. Arrange and adhere the eggs on the card base, then secure the basket on top with foam mounts for dimension. Place the flowers on the sides of the basket. Add some gems or sequins as the final touch.
