Christmas Inked Background Tutorial - Natalie Elphinstone

Would you like to learn how to create a stunning inked background, perfect to use for your Christmas cardmaking? Natalie Elphinstone has a great cardmaking tutorial today to show you how to make this great Christmas card using Uniquely Creative products. Follow the instructions below to make your own Christmas card.
Uniquely Creative Products Used:
- UC1882 Elf Hugs Stamp Set
- UCD2078 Elf Hugs Die
- UCL1754 Elf Christmas Laser Cut
- UCD2070 Stitched Arches Die
- UNIQOLOUR Markers
- Watercolour Paper
- Foam Mounts
- Uniquely Creative Blending Brush
- White Pearls
Other Products Used:
- Sizzix Holographic Cardstock
- Gold Glitter Embossing Powder
- White Glitter
- Studio Calico Inks
Card Size: 10.5cm x 14.8cm (UC Rectangle Card)
Instructions:
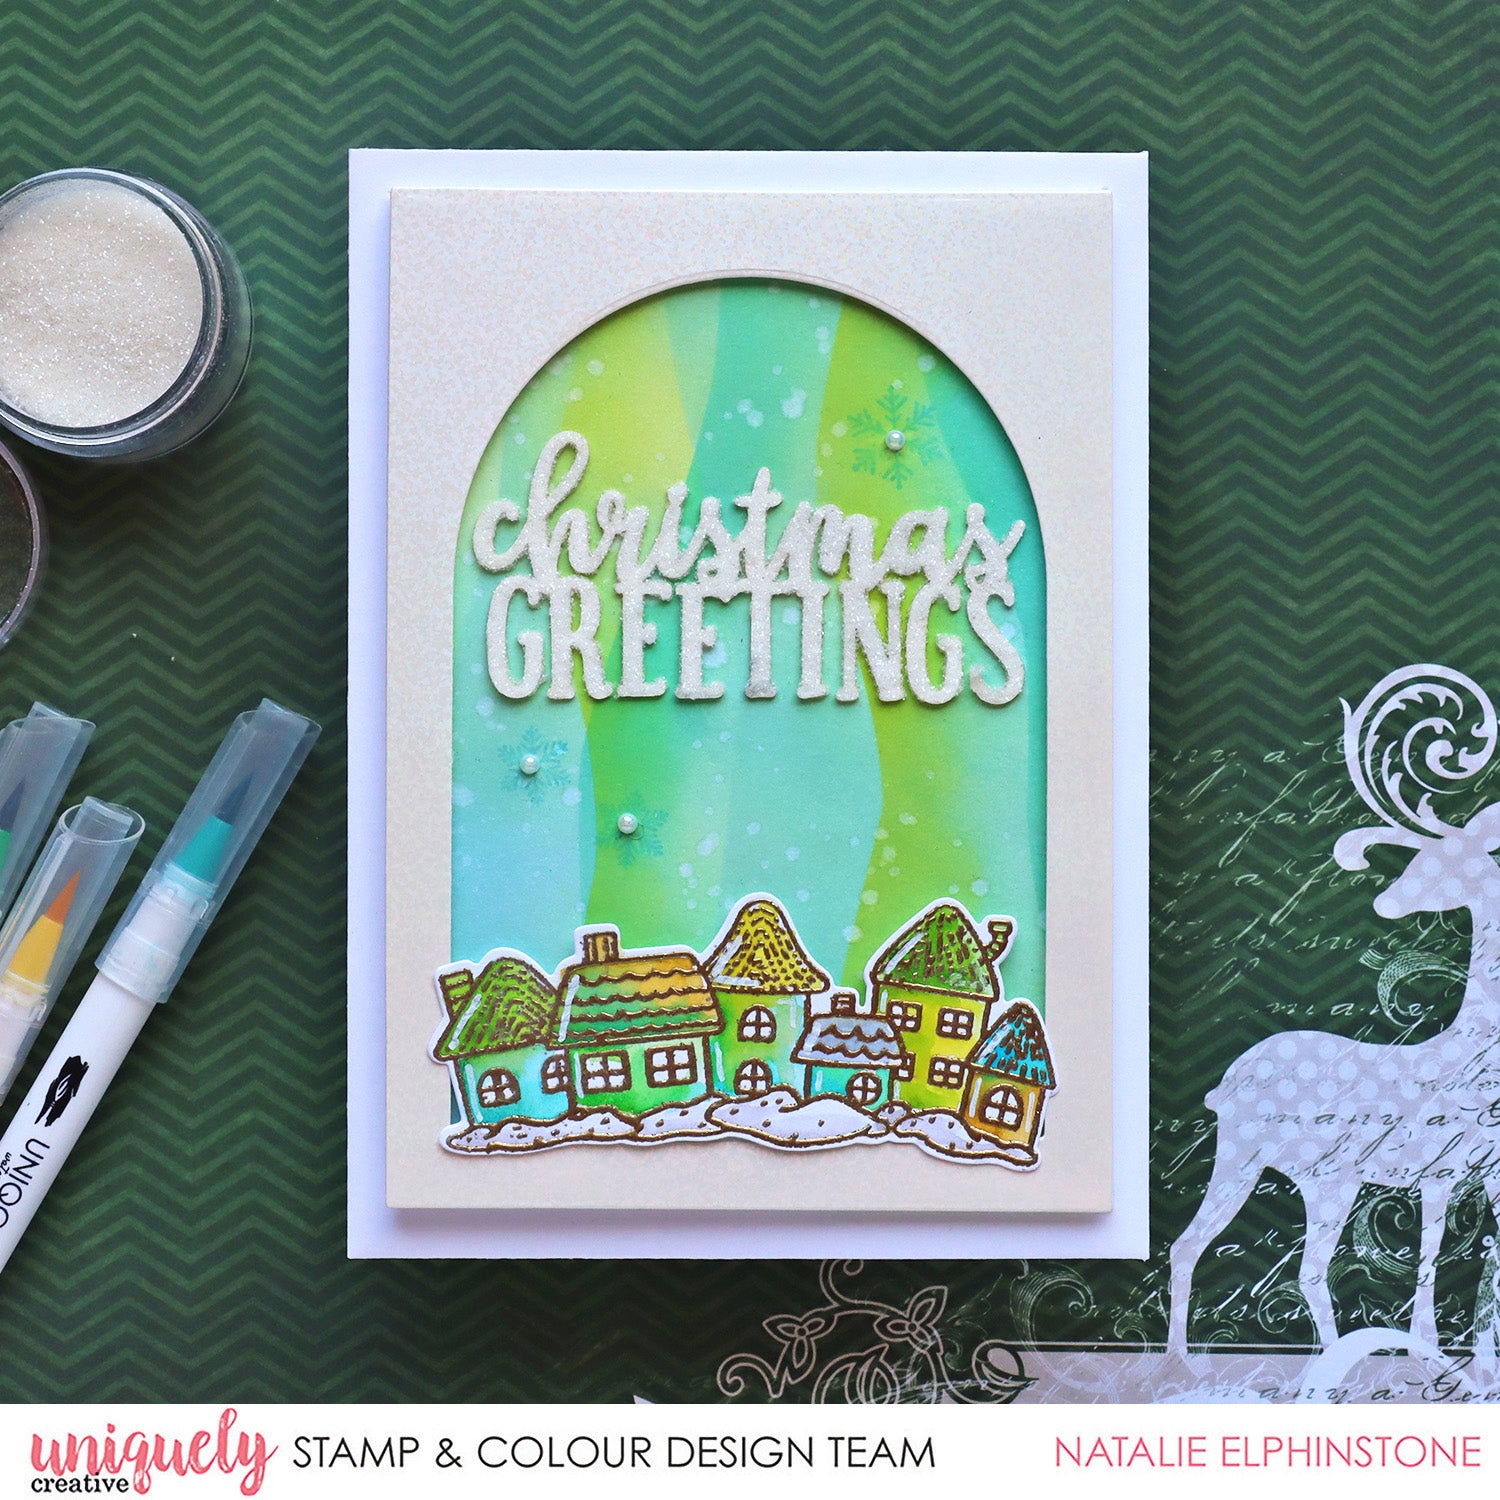
1. To create a Northern Lights effect for the background, start by ink-blending a background with different shades of blue and green. No need to get overly perfect here, because most of it will be covered up.

2. Using scrap paper, freehand cut some long curvy strips, making sure each is slightly different.

3. Using these strips as a stencil, ink blend along one edge. Use the same inks as in the background, but use a slightly heavier hand.

4. Using different strips each time, and a different colour ink, work from one side of the background to the other until it was fully covered. Flick some splashes of water on at the end to look a bit like a galaxy of stars.

5. For the main image, stamp and emboss the row of houses in gold glitter embossing powder and colour them with Uniqolour Markers. Choose similar greens and blues to the background.

6. Cover the laser cut sentiment in white glitter for added shimmer.

7. To assemble the card, die cut the Stitched Arches die from cardstock (such as the Sizzix Holographic Cardstock) and adhere over the top of your background piece. Add the laser cut sentiment and image, finishing off the card with some white pearls.

 |
 |