Christmas Joy Tutorial - Kelly McCausland

Uniquely Creative Products Used:
UCD1977 Nesting Scallop Square Die, UCUCD1976 Nesting Stitched Squares, UCD2016 Eucalyptus Wreath Die, UCE1729 Gold Pearls, Aussie Christmas Laser Cut for the word ‘JOY’, Pattern Paper
Other Products Used:
Light Kraft Card, White Card Stock, Shimmer Vellum, Gold Glitter Paper, Gold Glitter Embossing Powder, Versamark Ink, White Acrylic Paint For Splattering, Glue, Foam Squares
Instructions:
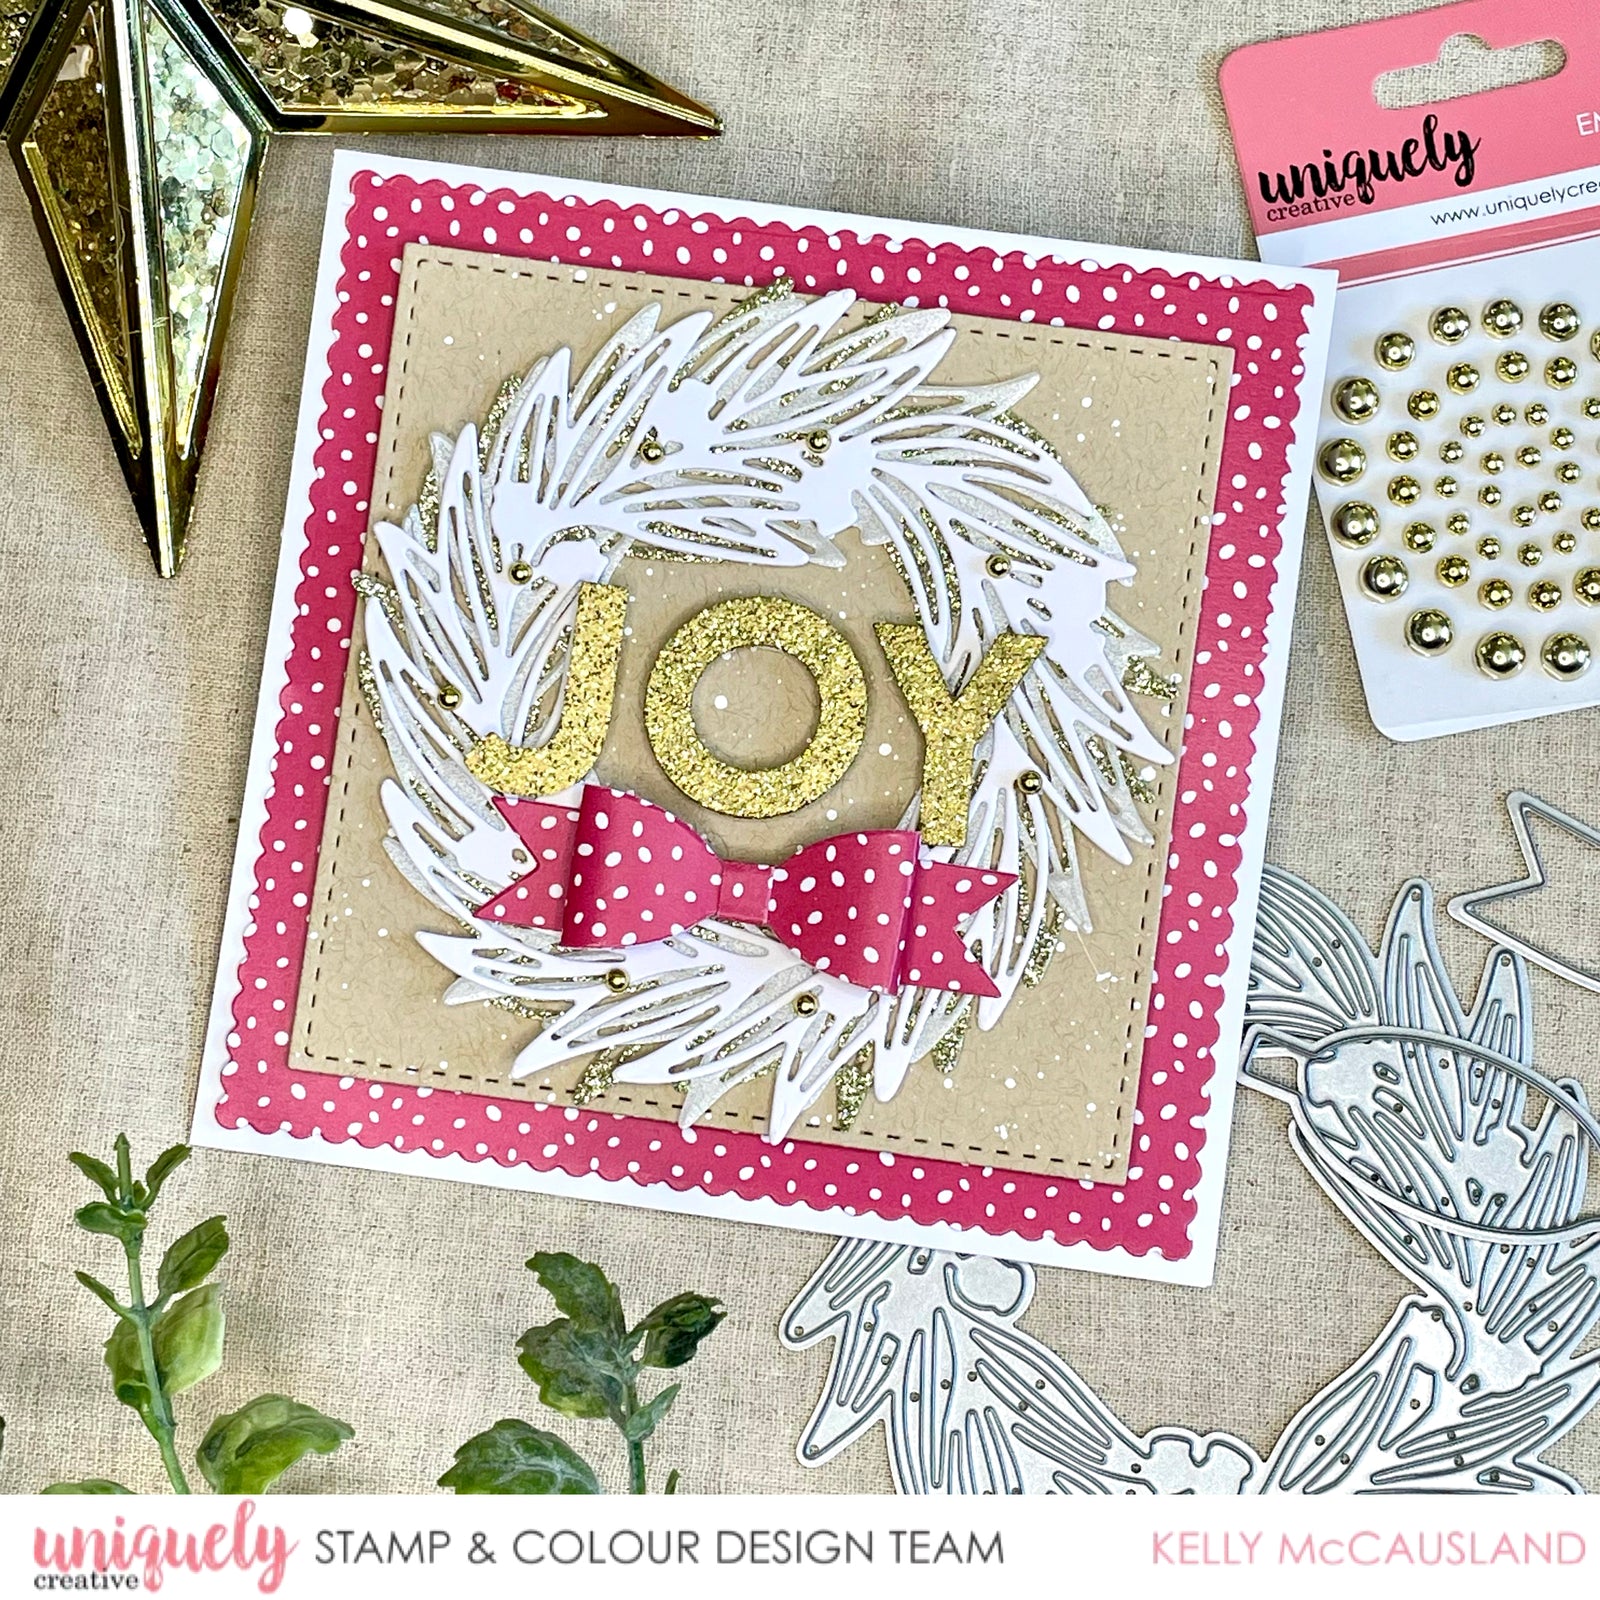
1. Make a white card base measuring 12 x 12 cm square. Cut 3 wreaths with the eucalyptus wreath die, one from gold glitter paper, one from shimmer vellum and one from white card stock.

2. Cut a scallop square using the dotty paper from the kit and a matching bow. Adhere your square to your card front.

3. Cut a stitched square that is smaller than the scallop square you first cut out of a light kraft card stock. This will allow a border of your patterned paper. Add a little water to some white paint and splatter onto your kraft square. Once dry use some foam squares to the back and adhere to your card front.

4. Layer and glue together your 3 wreaths starting with the gold glitter on the bottom, the vellum then the white card stock on the top. Glue your die cut bow together.

5. Ink the ‘JOY’ laser cut from the kit with versamark ink or similar and add gold glitter embossing powder (or whatever you have). Heat with heat tool to set.

6. Finish your card by adhering the wreath in the centre on your card front, adding your bow and the sentiment. Add a few gold pearls in the wreath to finish.