Congratulations Tutorial - Kelly McCausland

Uniquely Creative Products Used:
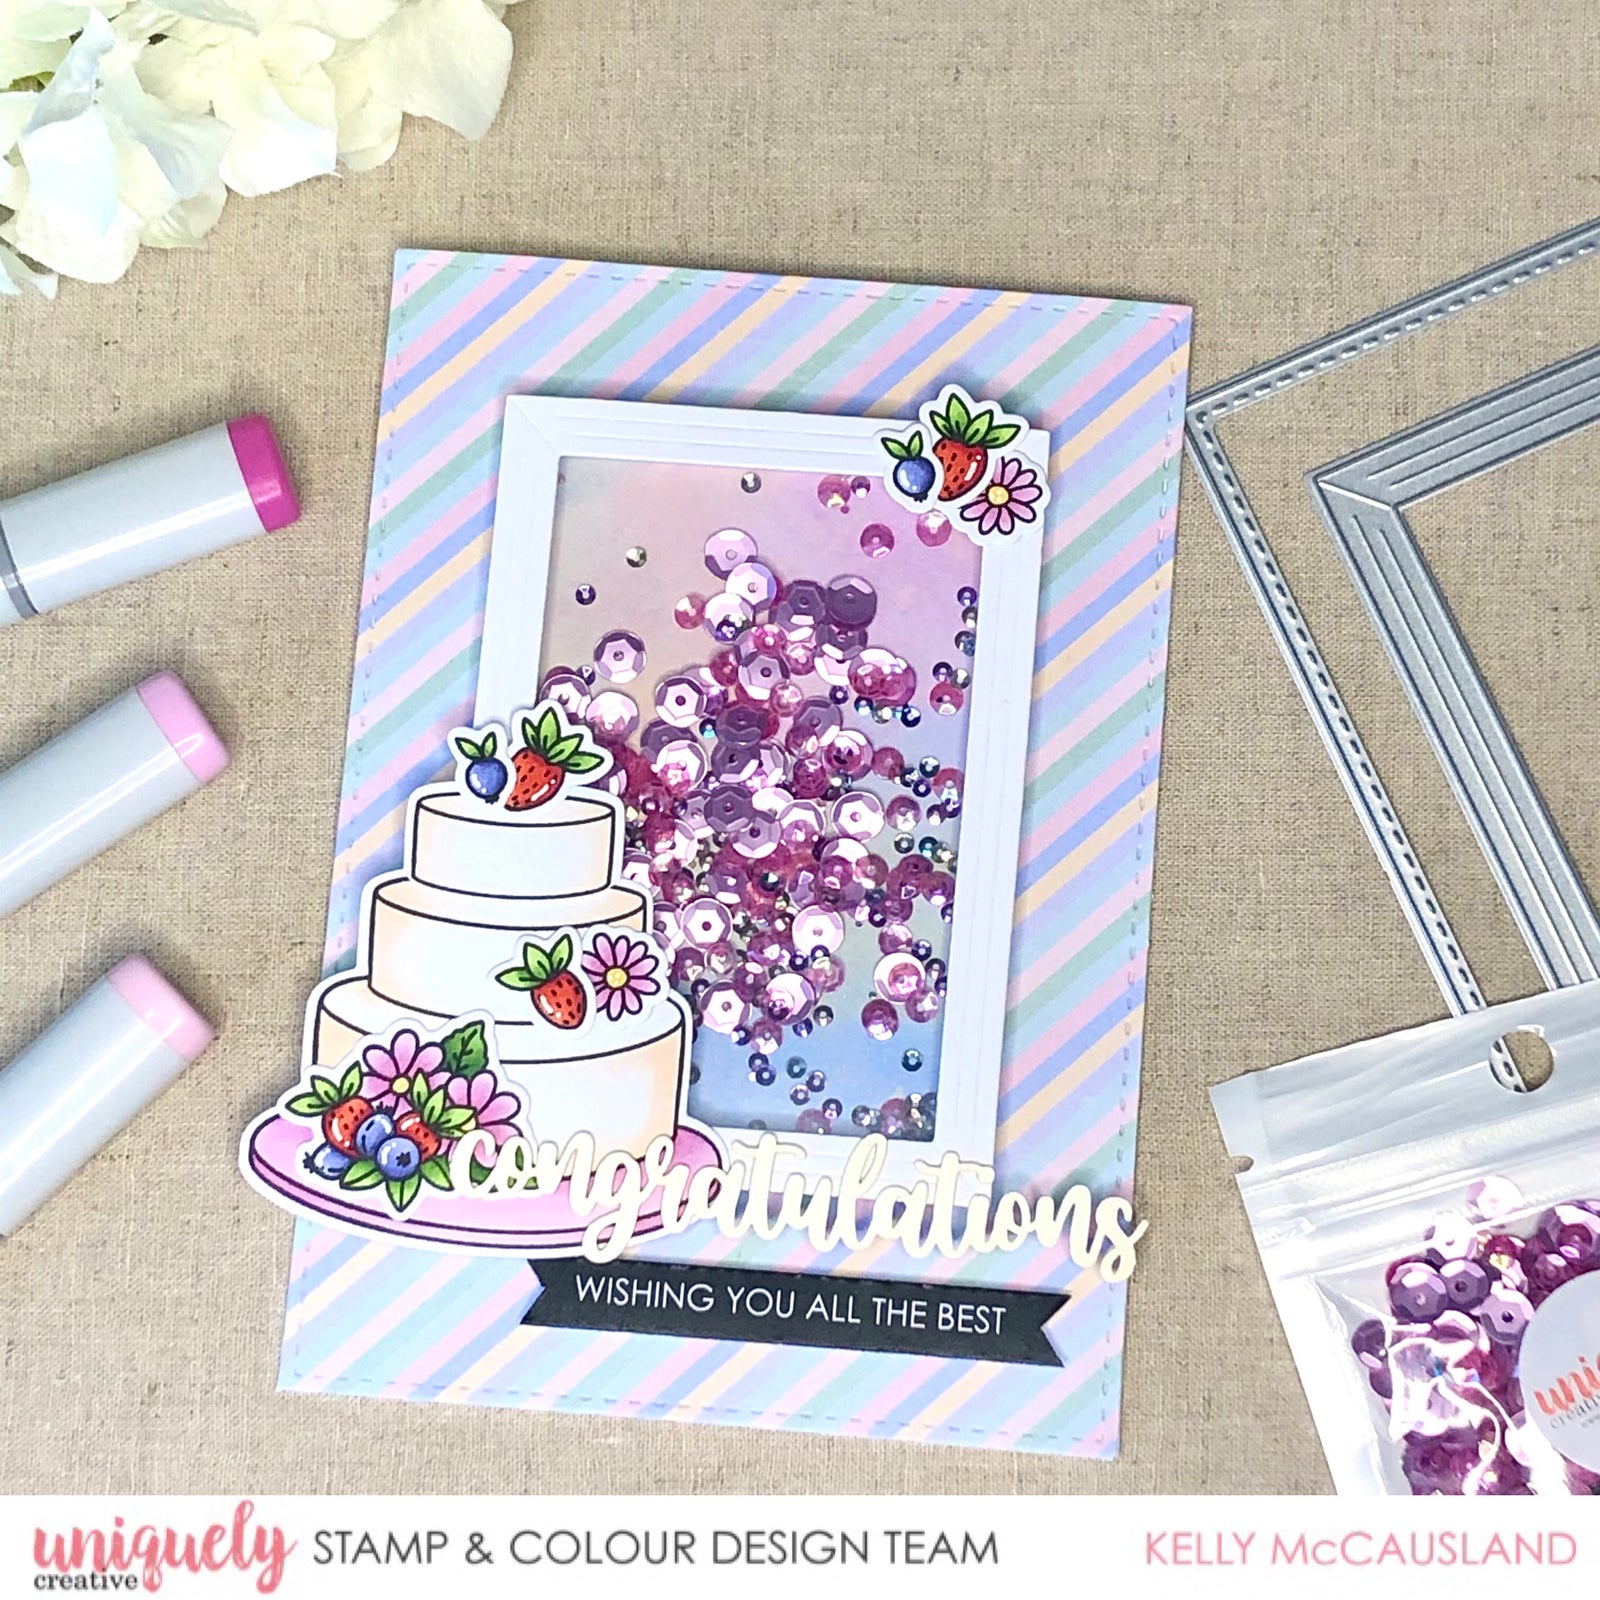
UC1843 Cake Builder Stamps, UC1993 Cake Builder Die, UCD1974 Stitched Rectangle Nesting Die, UCD1907 Frames Die, Uniquely Creative Violet Garden Sequins, Fox Builder Kit Laser Cut Sentiment, Fox Builder Kit Cut Apart Sheet, UCD1958 Cut Apart Essentials Die #5, Pattern Papers from the Fox Builder Kit
Other Products Used:
Copics:
Cake: E000, E01, 0
Plate: RV52, RV63, RV55
Flowers: RV52, RV63, RV55, YG17, YG67, G28, Y35
Blueberries: BV02, BV13, BV08, YG23, YG17, YG67
Strawberries: R22, R24, R29, YG23, YG17, YG67
Foam Tape / Glue
Instructions:
1. Choose a paper to use as your background paper for your card. Cut a stitched rectangle from it using your nesting dies and adhere to your card base. Cut a frame from white card stock using the frames dies. Cut another piece of paper for the back of your shaker from another matching paper and also a piece of acetate for your shaker window.

2. Next make your shaker window. Adhere your acetate to the back of your white frame die cut. Next add foam tape to the back of the frame. Kelly has used a double layer for her sequins to move around more freely, but a single layer is fine too. Use a powder tool if you have and run around the inside of your foam tape to remove any sticky. Wipe any excess powder away then add sequins to your window and adhere the backing paper to the back of your window.

3. Stamp and colour your images and prepare your sentiments.

4. Adhere your shaker window to your card. Natalie stuck down slightly closer to the top to balance out everything being added to the bottom of the window. Add you flowers to your cake and then adhere to the right side of your shaker window. Finish your card by adding your sentiments.