Create Your Own Rainbow Tutorial - Ashleigh Newton-Spence

Uniquely Creative Products Used:
UCD1974 Stitched Nesting Rectangle, UC1855 Unicorn Magic Stamp Set, UCD2030 Unicorn Magic Die, Cut-A-Part Sheet – Unicorn Magic, UCD1985 Cut-A-Part Essentials #6 Die, UCD2003 Stitched Nesting Circles, Unicorn Magic Paper – Blue Dots
Other Products Used:
X-Press It Blending Card, Hero Arts Intense Black Ink, UniPin Fine Line Pen, Sakura Gelly Roll Pen - White, White Cardstock, Kokuyo Dot Liner Glue Tape
Copic Markers
Yellow – Y23, Y21, Y02, Y00, Y13, Y15
Green – G28, YG67, YG07, YG06, G21, G24
Teal – BG09, BG07, BG13, BG15, BG32, BG34
Pink – RV17, RV19, R85, R83, RV32, RV11
Purple – V17, V15, BV11, V25, V06, V09
Red – R05, R08, R46, R89, R27, R35
Orange – YR01, YR02, YR04, YR07, YR12, YR18
Blue – B06, B06, B12, B14, B18, B28
Leaves – G07, YG45
Instructions:
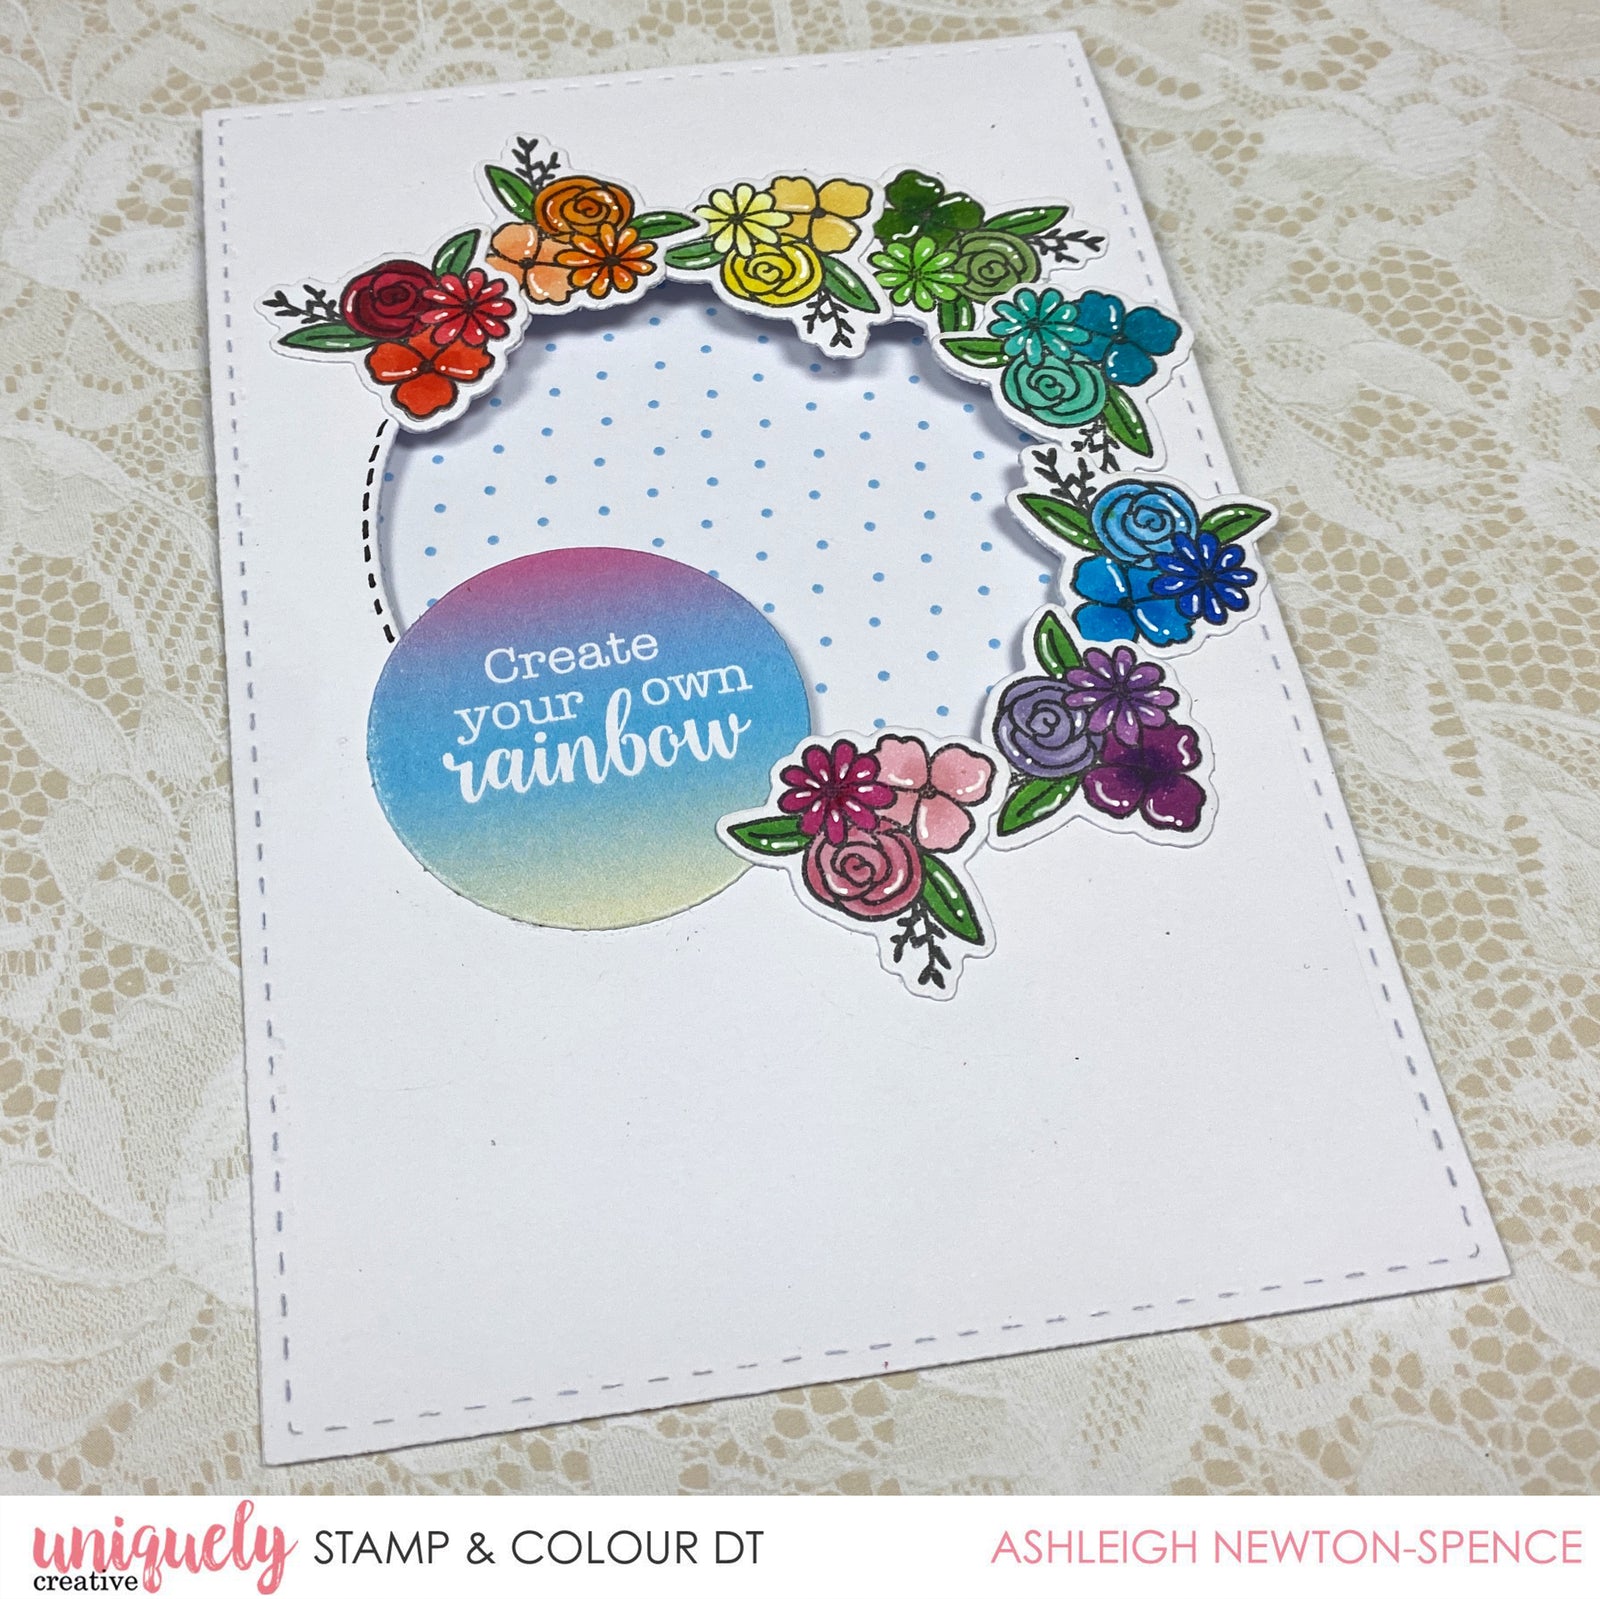
1. Stamp out the small flower bunches on to some Blending card using a Copic friendly ink. Then, using your markers colour in the flowers. I chose to do different shades of each colour for the different flowers in each colour bunch, but you could do them all the same.

2. Cut out the flower bunches using the matching die.

3. On a stitched rectangle, measuring 9.2cm wide by 13.1cm high, cut a circle from the middle. I used a stitched circle die with a 6.8cm diameter. Then, using a piece of white cardstock the same size, cut the same circle in the same place.

4. Using the Essentials #6 die, cut out the round sentiments from the Cut-a-Part sheet included in the kit.

5. Stick the sentiment circle down to the bottom left side of the circle on the stitched rectangle panel. Then stick down the floral images in rainbow order moving up and around the circle. Remember to rotate the die cuts a little so they don’t all look the same.

6. Using a fine liner pen, draw in the stitches to complete the circle.

7. Cut a few extra dies of the flower to stick to the back of the window so you can't see the markers bleed through the page. This step isn’t necessary but will give your card a more finished look.

8. Cut one last stitched circle from the blue spotty patterned paper. I chose to make this one just a bit bigger than my window. Stick it down to the inside of the card, lined up with the window.

9. Add white gel pen highlights to the flowers.
