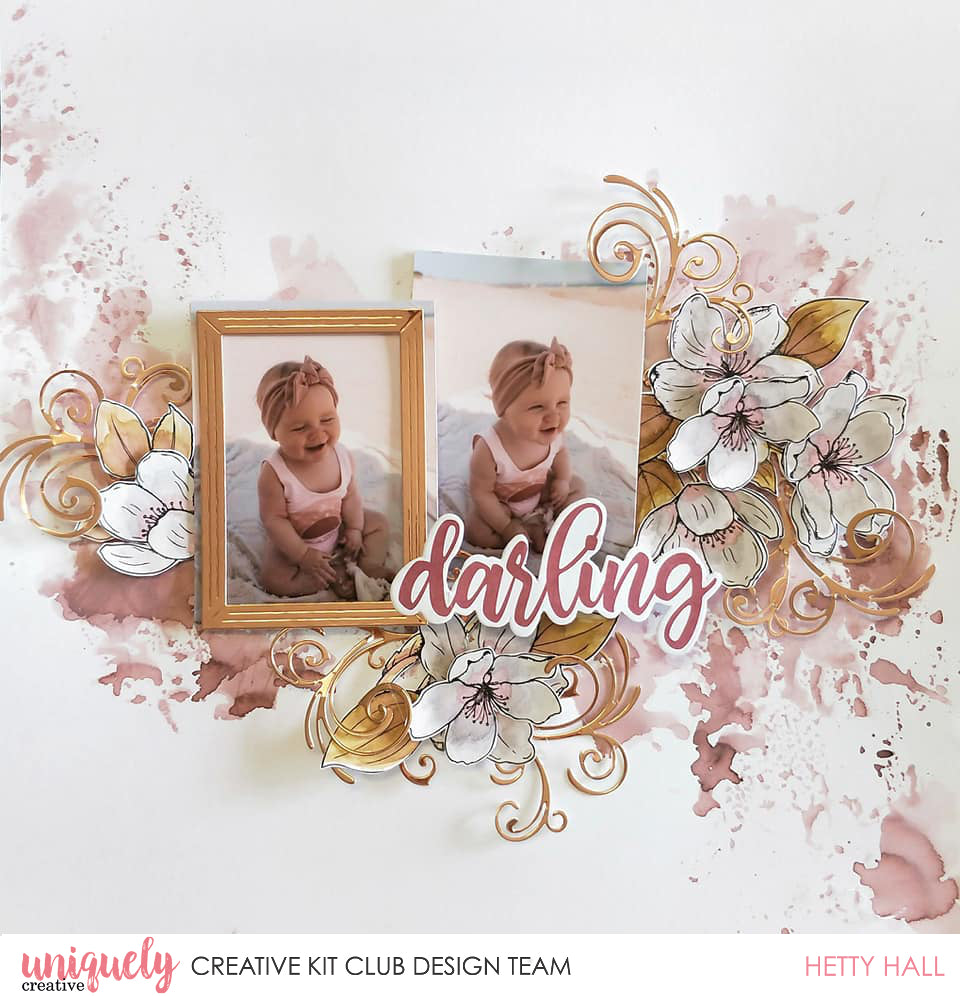
Darling - Hetty Hall

Uniquely Creative Products Used
Winter Rose Watercolour Flowers Cut-A-Part Sheet, Watercolour Cardstock, UNIQOLOUR Markers, Flourish Die, Frames Die, Rose Gold Cardstock
Other Products Used
Trimmer, Scissors, Double-sided Tape, Foam Tape, Hot Glue Gun
Photo Size 3"x 4" (x2)
Instructions:
1. Use some plastic wrap (I used the plastic wrap from the creative cuts) and add colour from UNIQOLOUR Marker and water. Mix, turn over plastic wrap and smooch onto watercolour paper. Repeat until happy with your design. Set aside to dry.

2. Add some grey UNIQOLOUR marker to the plastic wrap, and mix with some water. Colour some of your flower images on the watercolour cut-a-part sheet. Just add a little bit of colour first and build up some shading in certain areas by adding more colour and let dry in between layers.

3. Add Red UNIQOLOUR Marker to plastic wrap, blend with some water and add a tiny bit of colour to the centre of the flowers.

4. Add Red UNIQOLOUR Marker to plastic wrap, blend with some water and colour in leaves. Once dry build up your colour by adding some brown. Remember to keep adding that water to your colour.

5. Fussy cut your coloured images. Towards the end, I coloured the remaining flowers and leaves that are similar to these images to have more flowers than shown in this image below

6. Adhere your photos to the background. The photo on the left is raised with some foam tape.

7. Start arranging your flowers around your photos, some of which are layered on top of others. All flowers are attached with some foam tape for dimension.
8. Die cut 5 swirls from the rose gold foil and tuck them in between your flower layers. To finish die cut a frame (middle size) from rose gold foil card and add to your focal point photo, in my case the one that was raised with some foam tape.
2 Responses

Paula Taylor
April 07, 2020
Fantastic step by step 👍 and the subtle colours are gorgeous 💜 thank you for sharing ⭐️⭐️⭐️⭐️⭐️