Family Tutorial - Kylie Kingham

Uniquely Creative Products Used:
UCP-2345 Floral, UCP2247 Blooming, UCP2348 Aster, UCP2350 Primrose, UCP2351 Blossom, UCP2355 Creative Cuts, UCP2356 Vellum Creative Cuts, UCE1885 Chantilly Flowers Lace Pieces, Cut-A-Part Sheet.
Other Products Used:
Double Sided Tape, Glue, Foam Adhesive Squares, Scissors, Trimmer Board, Pencil.
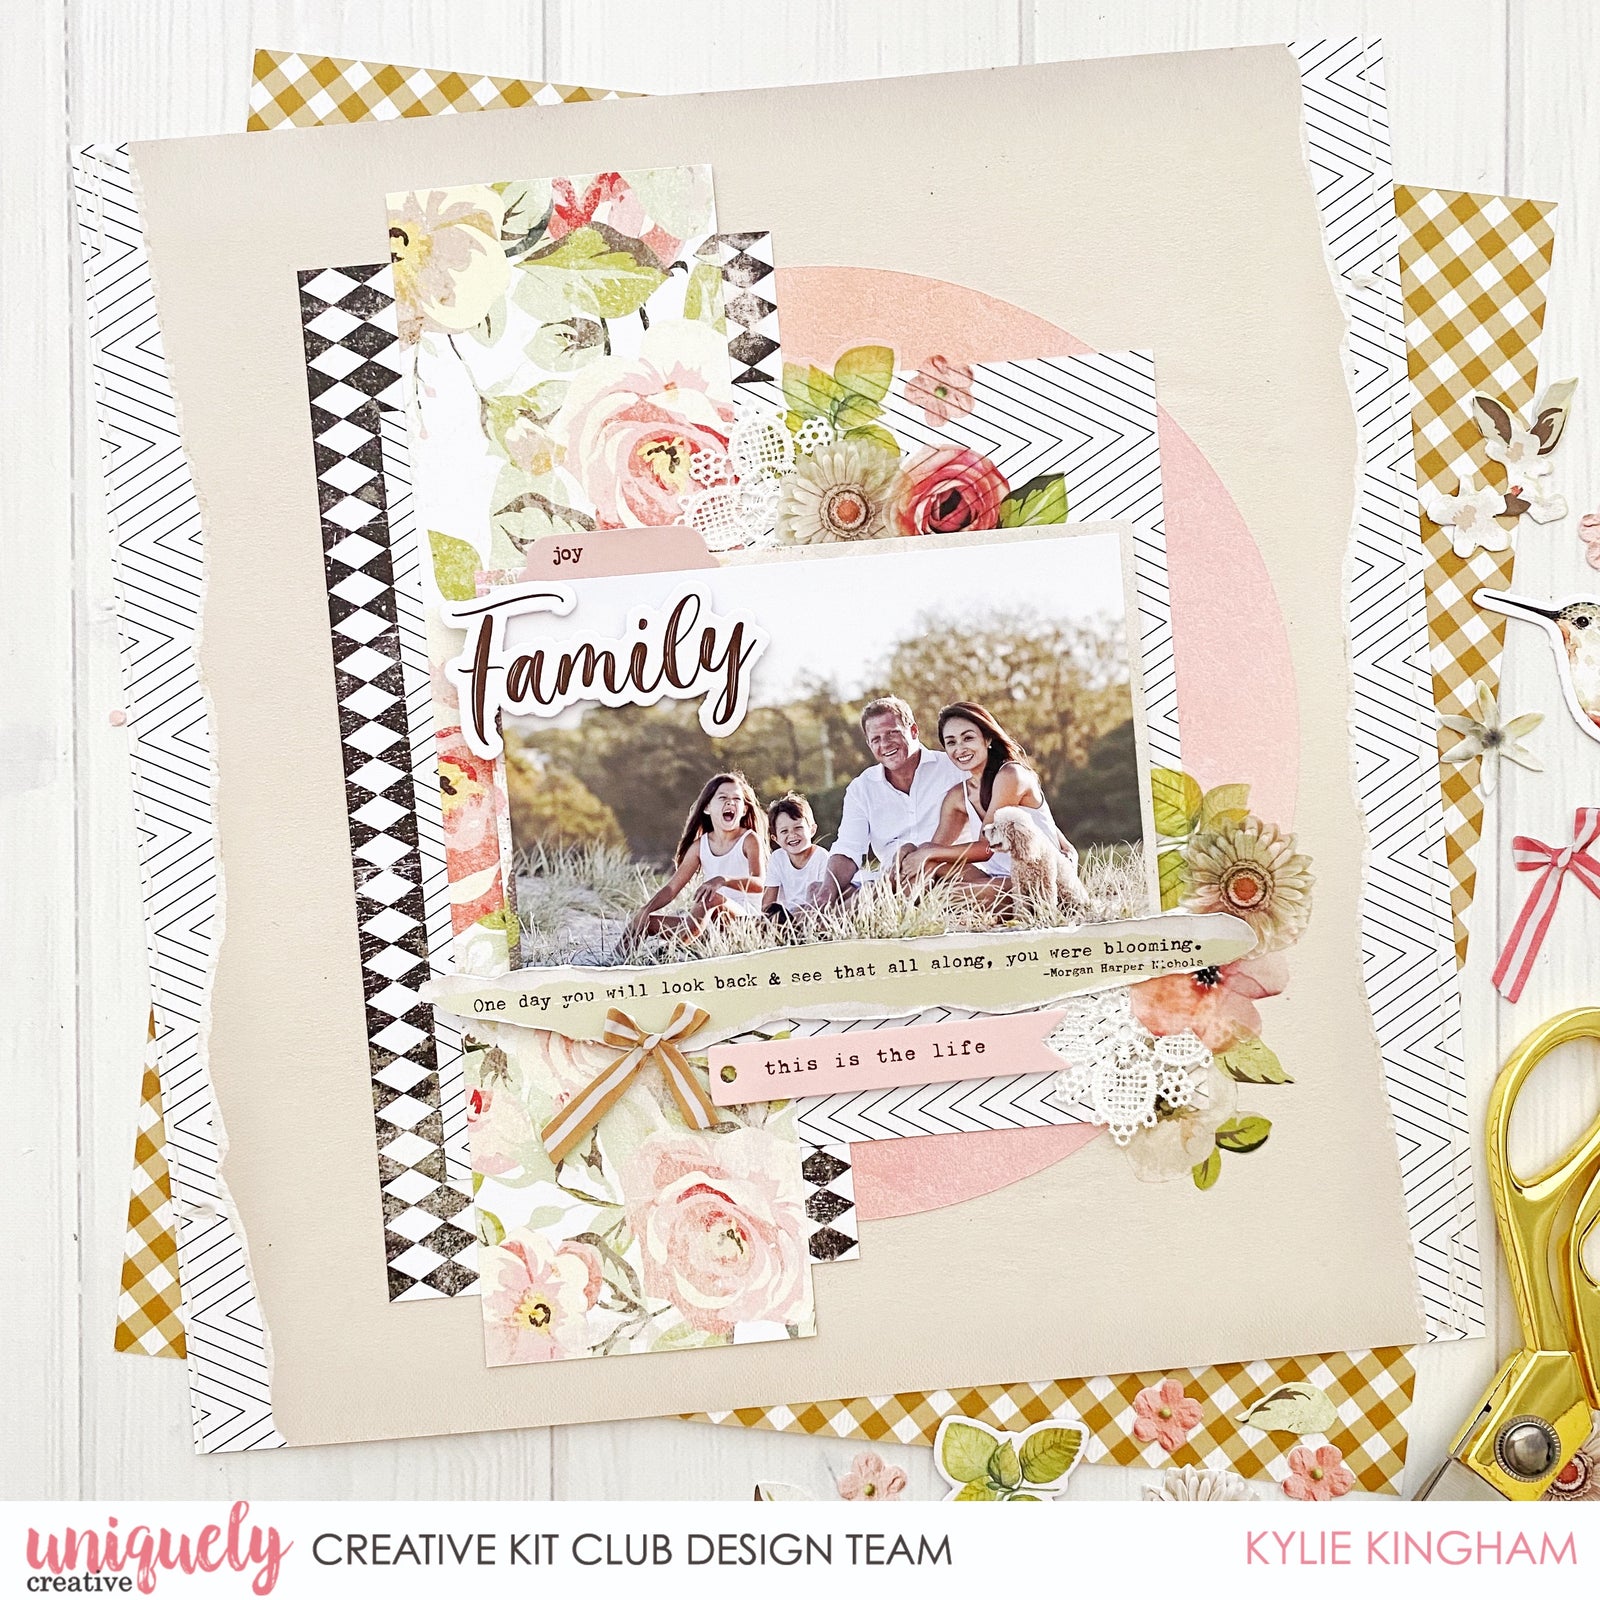
Instructions:
1. Remove the branding strip from the PRIMROSE paper. Using a dinner plate as a guide, trace and cut a circle from BLOSSOM paper. Adhere to the background paper centred but to the right a little. Trim a 11cm x 24cm piece of BLOOMING paper and adhere over the left side of the circle.

2. Trim a 18cm x 18cm piece of FLORAL paper and adhere centred on the layout. Trim a 8cm x 27cm piece of FLORAL paper (reverse flower side) and adhere down the left of the circle.

3. Trim a 6”x 4” piece of ASTER paper as a photo mat. Trim photo to measure 5.75”x 3.75”and adhere to the photo mat. Using foam squares, adhere the photo centred on the page. Fussy cut the long strip featuring a quote from the cut-a-part sheet and distress the edges a little. Use foam squares to adhere to the base of the photo. Adhere a small bow from the Creative Cuts.

4. Adhere the large ‘FAMILY’ title from the Creative Cuts over the photo and add a sub-title below. Cut a tab from the cut-a-part sheet and adhere to the top of the photo.

5. To finish, layer some of the Lace Flowers and Vellum Creative Cuts for balance.
