Get Well Soon Tutorial + Bonus Card - Natalie Elphinstone

Uniquely Creative Products Used:
- UC1859 Aussie Heroes Stamp Set
- UCD2042 Aussie Heroes Die
- Aussie Heroes Laser Cut
- UCE1811 Rectangle Card & Envelopes
- UCE1804 Foam Mounts
- UCE1778 Uniquely Creative Blending Brush
- UCE1733 Mint Pearls
- UCE1732 Cobalt Pearls
Other Products Used:
- Catherine Pooler Inks
- White Embossing Powder
- Versamark Ink
- Ink Sprays
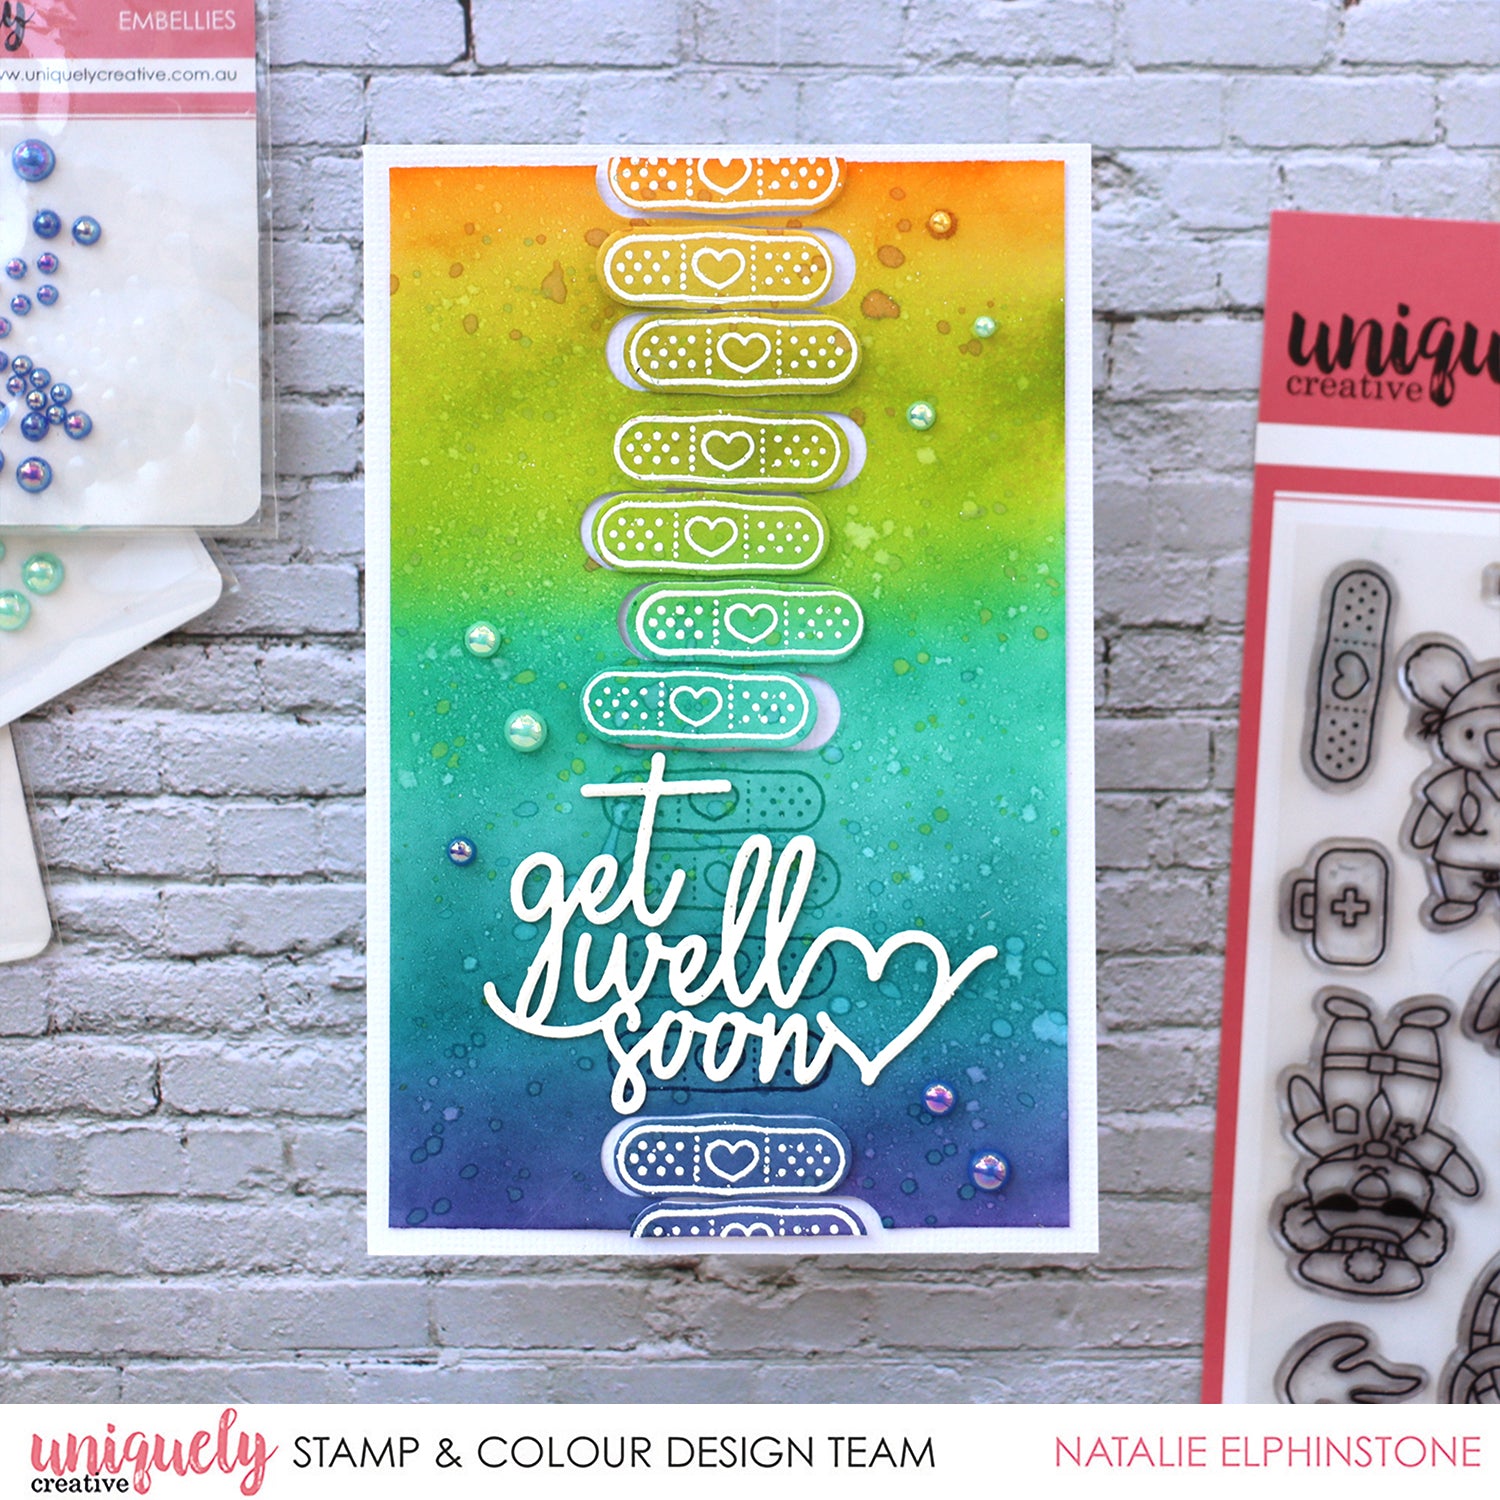
1. Create the background panel by first stencilling on a gradient of colours. Starting with yellow from the top, through green, turquoise, and finishing with dark blue down the bottom. Splatter a few drops of similar coloured spray inks as well.

2. Using the lasercut from the “My Heroes” mini kit, heat-set it with white embossing powder so it will match the rest of the white embossing I’m about to do.

3. Using the bandaid from the “My Heroes” set, stamp and emboss it straight down the middle of my background piece. Leave space about 2/3 of the way down for the Lasercut piece to fit in later.

4. In the spare space, stamp more bandaids in the same ink used to blend the background. Die-cut (or fussy cut) all the white embossed bandaids. Adhere the background piece to a white card and glue the sentiment in place. Use foam tape to adhere the bandaids, slightly off-kilter to their background. And lastly finish with a scattering of pearl bling.


Bonus Card


