Modern scrapbooking layout with vintage papers
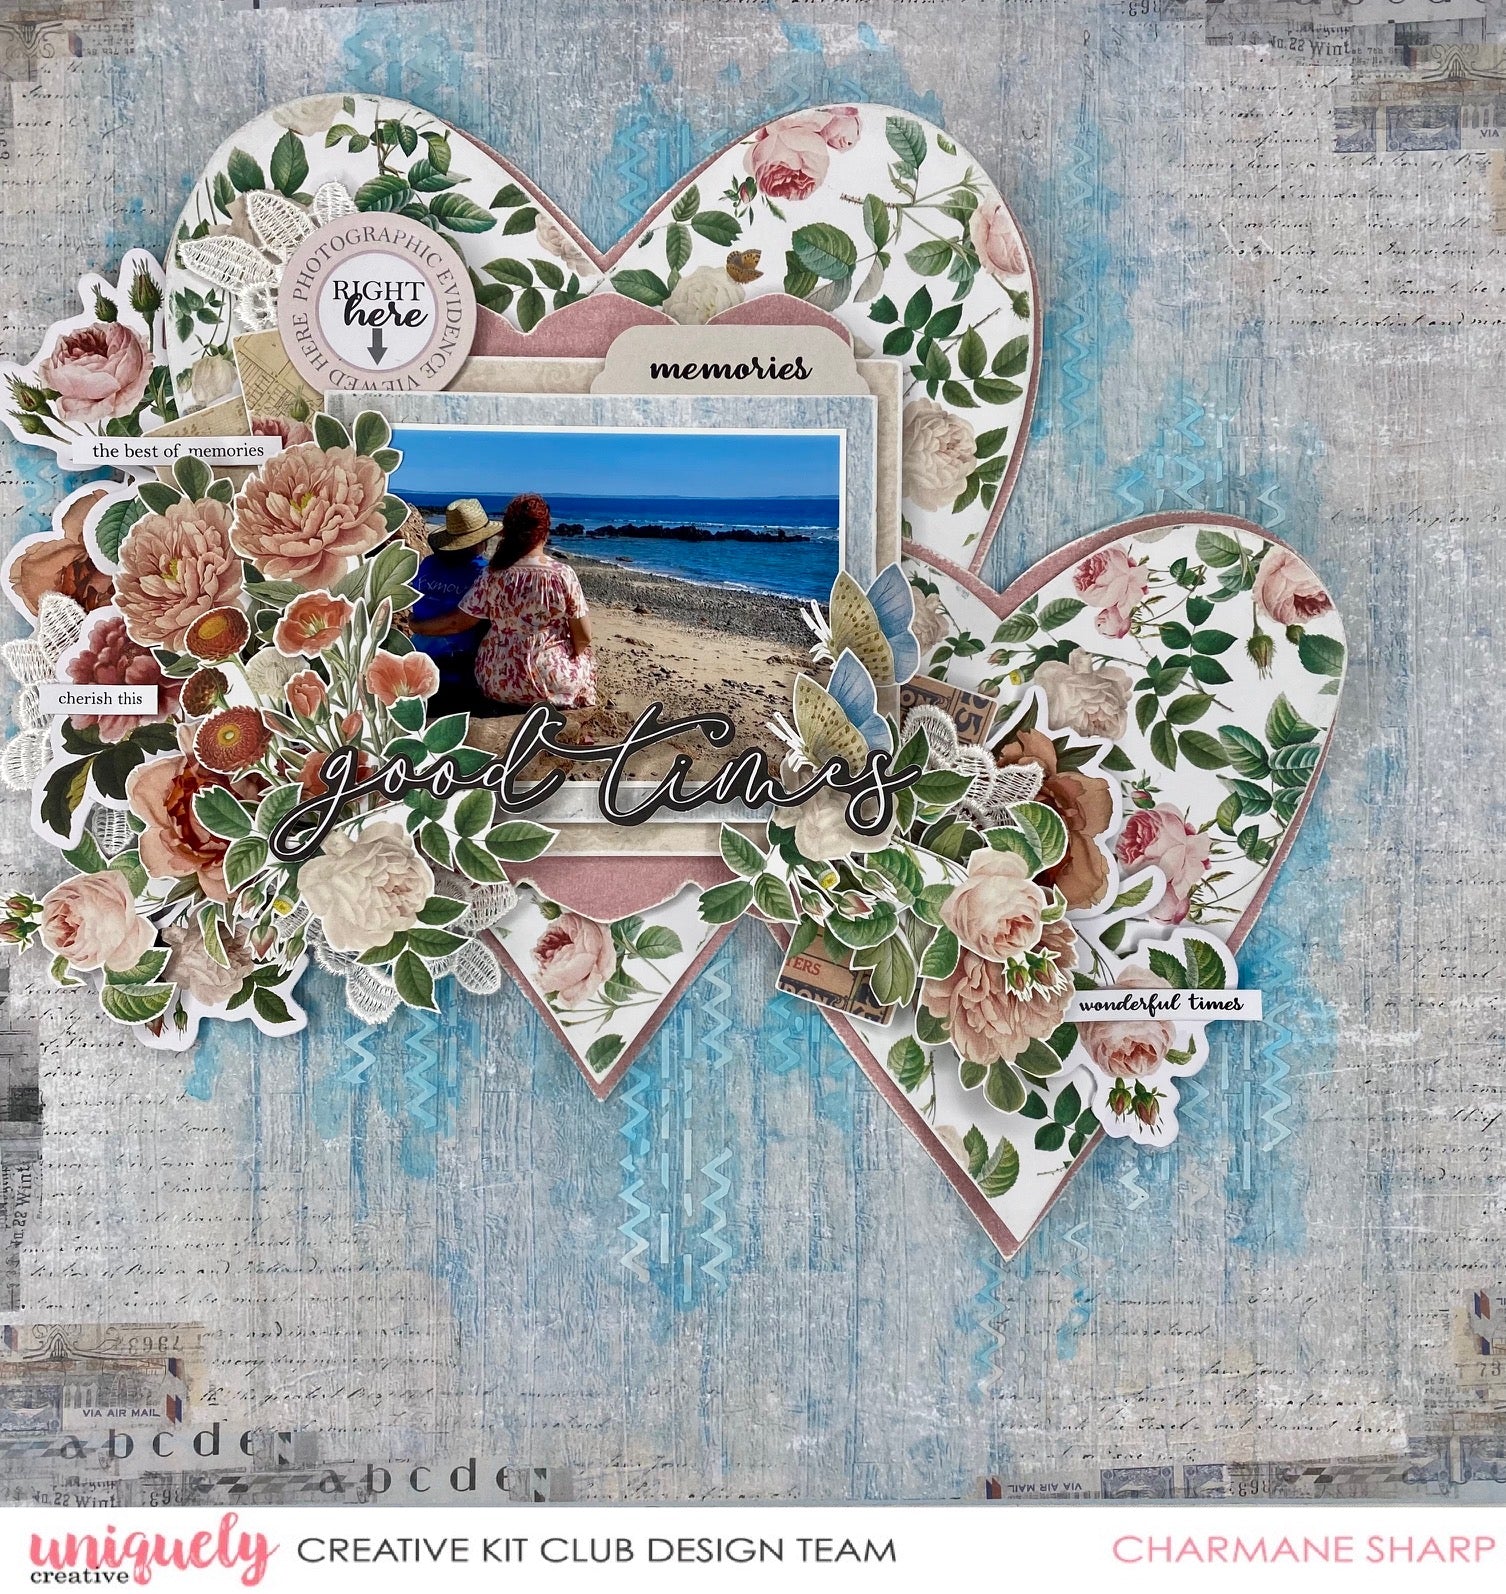

Vintage scrapbooking papers are not just for your heritage photos, you can use them to create beautiful shabby chic scrapbooking layouts with your current day photos too. Design Team member Charmane Sharp has used our new Tapestry of Time Collection to make this lovely shabby chic page today. Read on for a full step by step tutorial.
Uniquely Creative Products Used:
- UCP2329 Vintage Map
- UCP2324 Remember When
- UCP2330 Old Times - Fussy Cuts
- UCP2331 Ephemera paper
- UCP2334 Creative Cuts
- UCMM1744 Abstract Stitching Stencil
- UCE1902 Lace Rose Pieces
- UCCA1734 Misty Rose Cardstock
Other Products Used:
- Trimmer
- Scissors
- Glue
- Foam Squares and Strips
- Double sided Tape
- Sanding Block
- Texture Paste
- Watercolour Clear Gesso and Paint Brush.
1. Use the reverse side of the Vintage Map paper as your background, coat with clear gesso to protect it from wet elements later.
2. Fussy cut elements from the cut-a-part sheet, Ephemera Paper, and the Old Times paper.

3. Fold your Uniquely Creative invoice in half and freehand draw half a heart on folded edge and cut out so you have a heart template. Lay on Misty Rose Cardstock and trace around. Do the same on Remember when paper. Draw a line inside your folded heart approx 2cm to make a smaller heart. Trace again on paper and cardstock as before. Cut out hearts from cardstock. When cutting out from Remember When pape, r cut inside your line about 5mm so when you join them you will see cardstock showing.

4. Sand all the edges of your hearts and join down the middle of your heart only and not all the way to the point. Use a small glue or similar and roll the bottom of the heart and top left and right sides for a gentle curl.
5. Place Hearts on your background and mark under your hearts with a pencil to outline their position. Using texture paste you can apply through the stencil coming out all around the hearts keeping it straight so you don’t waste product.

6. Adhere Hearts to background as per finished photo. Trim your photo and cut a piece of the vintage map reverse side approx 7mm larger than your photo on all sides and sand the edges. Mount your photo on this and attach foam squares on the back and the memories tab you cut out. Cut a piece from the reverse side of the Old Times paper with 5mm side edges and 7mm approx top and bottom edge. Sand the edges and stick together so your photo is framed.
7. Cut the piece shown in image 4 from the Old Times paper to use as a template. Cut a piece of Misty Rose Cardstock approx 12.5cm x 9.8cm. Place your template at the top of the shorter side and trace around it. Repeat at the bottom and cut them out and sand the edges. Add foam squares to the middle and mount together like image 4. Add foam squares to the back and adhere to your large Heart by centring it.

8. Add creative cuts, fussy cut pieces and Lace Roses to layout by raising the top ones with foam squares and gluing the underneath ones. Foam squares will need to be doubled for the right here circle.

9. Add next layer of your fussy cut flowers gluing and raising as you want depending on if you like definition between your layers. Otherwise you can keep it flatter.

10. Add your title from the creative cuts. Glue down the fussy cut rose and the butterfly. Cut some words from the Cut-a-part sheet and adhere on your flowers as per finished layout photo.
11. Use a blue watercolour with a brush and and run it out from the hearts to highlight your stencil work.