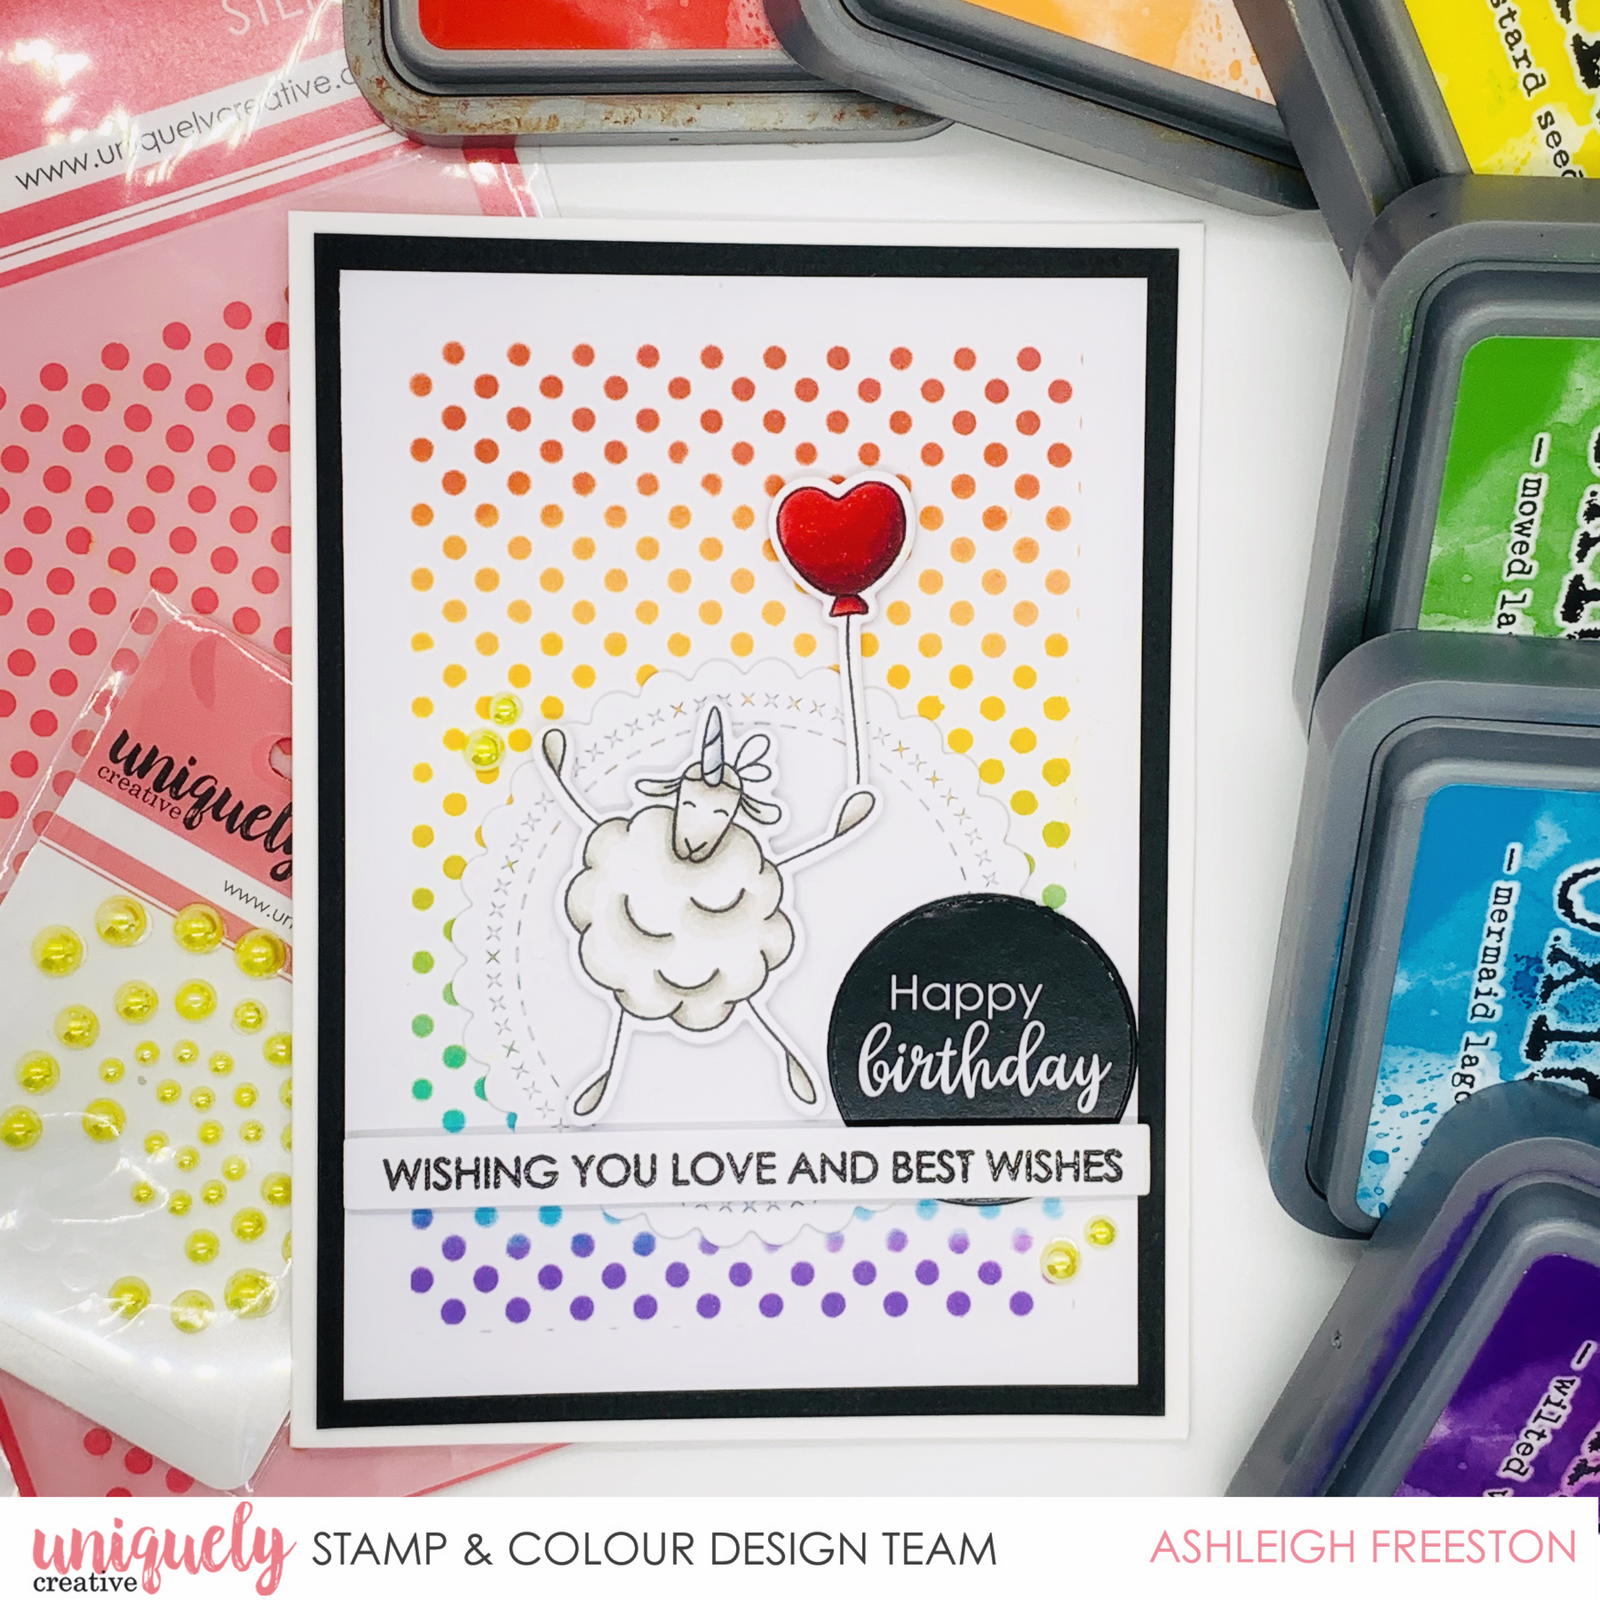
Love & Best Wishes - Ashleigh Freeston

Card Size: 4 ¼” x 5 3/4"
Uniquely Creative Products Used
Special Delivery Stamp Set, Special Delivery Dies, Cross Stitched Circles Die, Happy Mail Cut-a-Part Sheet, Cut-a-Part Essentials #2 Stamp, Cut-a-Part Essentials #5 Die, Foam Mounts – Squares & Strips, Sunshine Pearls, Tiny Dots Stencil, Fussy Cut Circles Die
Other Products Used
Smooth white cardstock, black cardstock, white card base, blending card, Distress Oxide: Candied Apple, Carved Pumpkin, Mustard Seed, Mowed Lawn, Mermaid Lagoon & Wilted Violet, blending tools, adhesives, die cutting machine, clear embossing powder, black ink
Colours Used
Copic Markers
Sheep – W00, W1, W2, W3, W5
Balloon – R35, R46, R59
Instructions
1. Cut base card down to 5 3/4” high.
2. Cut black cardstock to 4” x 5 ½””. Cut white cardstock to 3 ¾” x 5 ¼”.
3. On white cardstock, mask off about 1/2cm all around the edge of the cardstock and line up the Tiny Dots stencil. Ink blend Distress Oxides to colour the whole piece – Candied Apple, Carved Pumpkin, Mustard Seed, Mowed Lawn, Mermaid Lagoon & Wilted Violet

4. Die cut the medium sized Cross Stitched Scallop Circle from another piece of white cardstock. Die cut the ‘Happy Birthday’ from the Cut-a-Part Sheet with the Fussy Cut Circle die.
5. Line up the Cut-a-Part Essentials #2 stamp in a stamp positioning tool and ink with black ink. Stamp onto a piece of white cardstock and heat emboss with clear embossing powder. Die cut with the matching Cut-a-Part Essentials #5 die.

6. Colour the stamped images with the colouring medium of your choice – I used Copic markers. Die cut with the matching fussy cutting dies.

7. Assemble the card by adhering your background piece onto black cardstock, and then onto the card base. Arrange the die cut circle and sentiment circle as per the image. Adhere the sheep, balloon and long sentiment strip with foam mounts and add some Sunshine Pearls to complete the card.
