Happy Birthday Tutorial - Candy Chelepy

Uniquely Creative Products Used:
UCP2293 Canopy, UCP2288 Daintree, UCP2294 Leafy, UCP2292 Wilderness, UCEF2006 Palm Springs Embossing Folder, UCE1828 8mm Glass Domes, UCE1869 Enamel Dots, UCP2299 Creative Cuts, UCP2298 Vellum Creative Cuts, UCD2018 Layered Flowers Die
Other Products Used:
Trimmer, Die Cutting Machine, Scissors, Double Side Tape, Foam Tape, Glue, Dimensional Magic, Square Card Base
Instructions:
1. Use a square card base measuring 5 ¼ x 5 ¼ " or you can cut your own by using white cardstock and cut to measure 5 1/5 x 10 ½ inches. Fold this in half to measure 5 ¼ x 5 ¼ inch square.
2. Cut a 5 ¼ x 5 ¼ inch cream square from the Canopy paper. Then run it through the embossing folder. As the paper is bigger than the embossing folder place the part that isn’t embossed to the side of the folder and run through your machine.

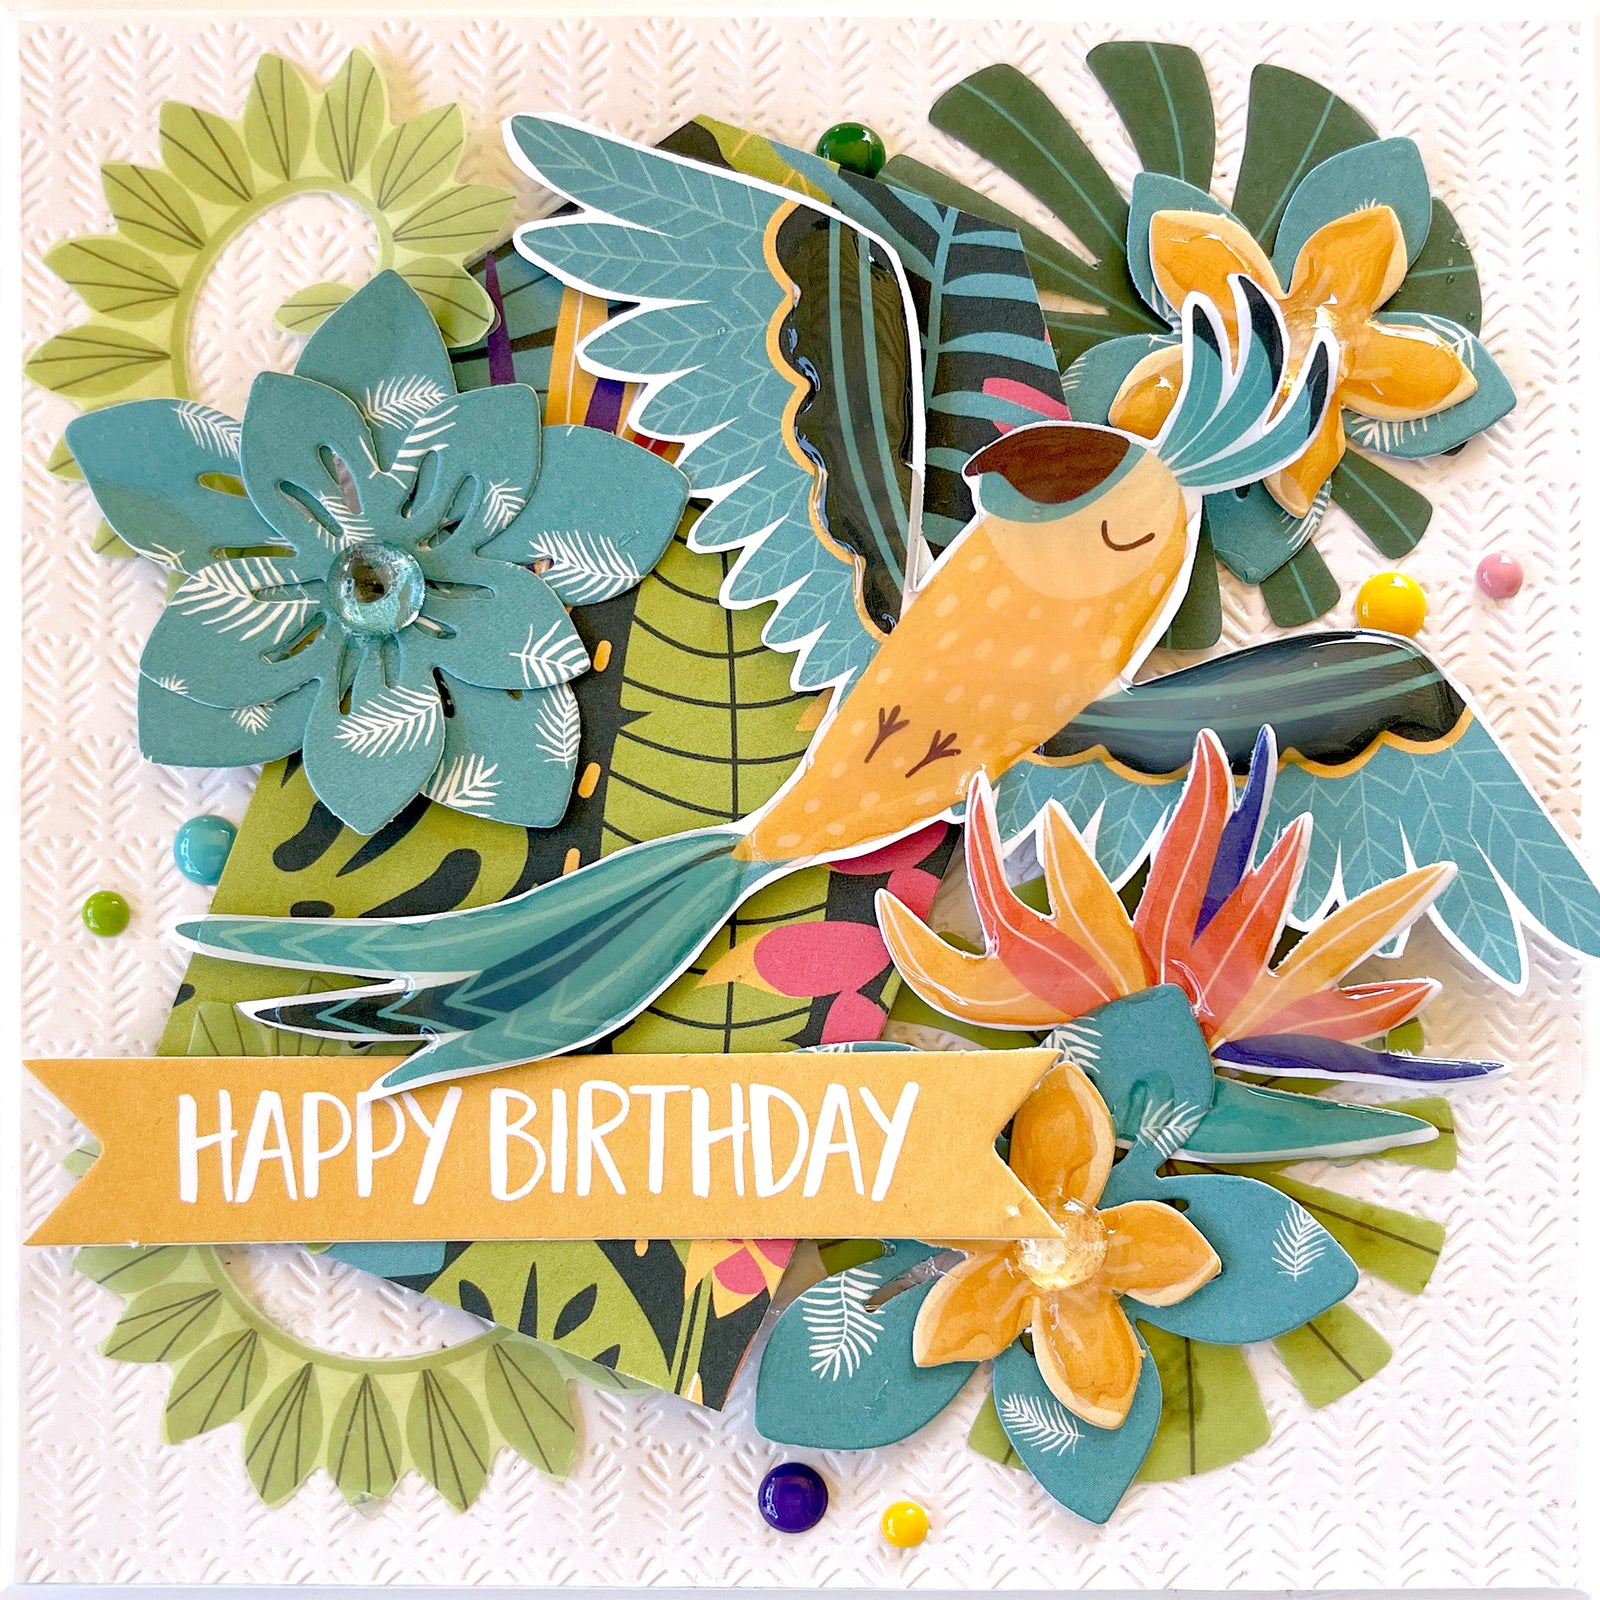
3. Cut a tag from the Daintree paper and also the parrot in flight ( yellow and teal) from the Wilderness paper. Cut two sets of flowers using the rainbow layered flowers die and the leafy paper.

4. From the vellum creative cuts pull out two of each of the leaves and from the Creative cuts pack 2 yellow flowers, the bird of paradise flower and the yellow happy birthday banner.

5. Tape the embossed cream paper to the card base. Place foam tape under the tag and place to the left side of the card at an angle. Glue the leaves around the tag.

6. Add your flowers, raise up your bird using foam tape and tape onto the card. Add the Happy Birthday sentiment and some glass domes to the centre of each flower. Also some enamel dots around to finish off.
