
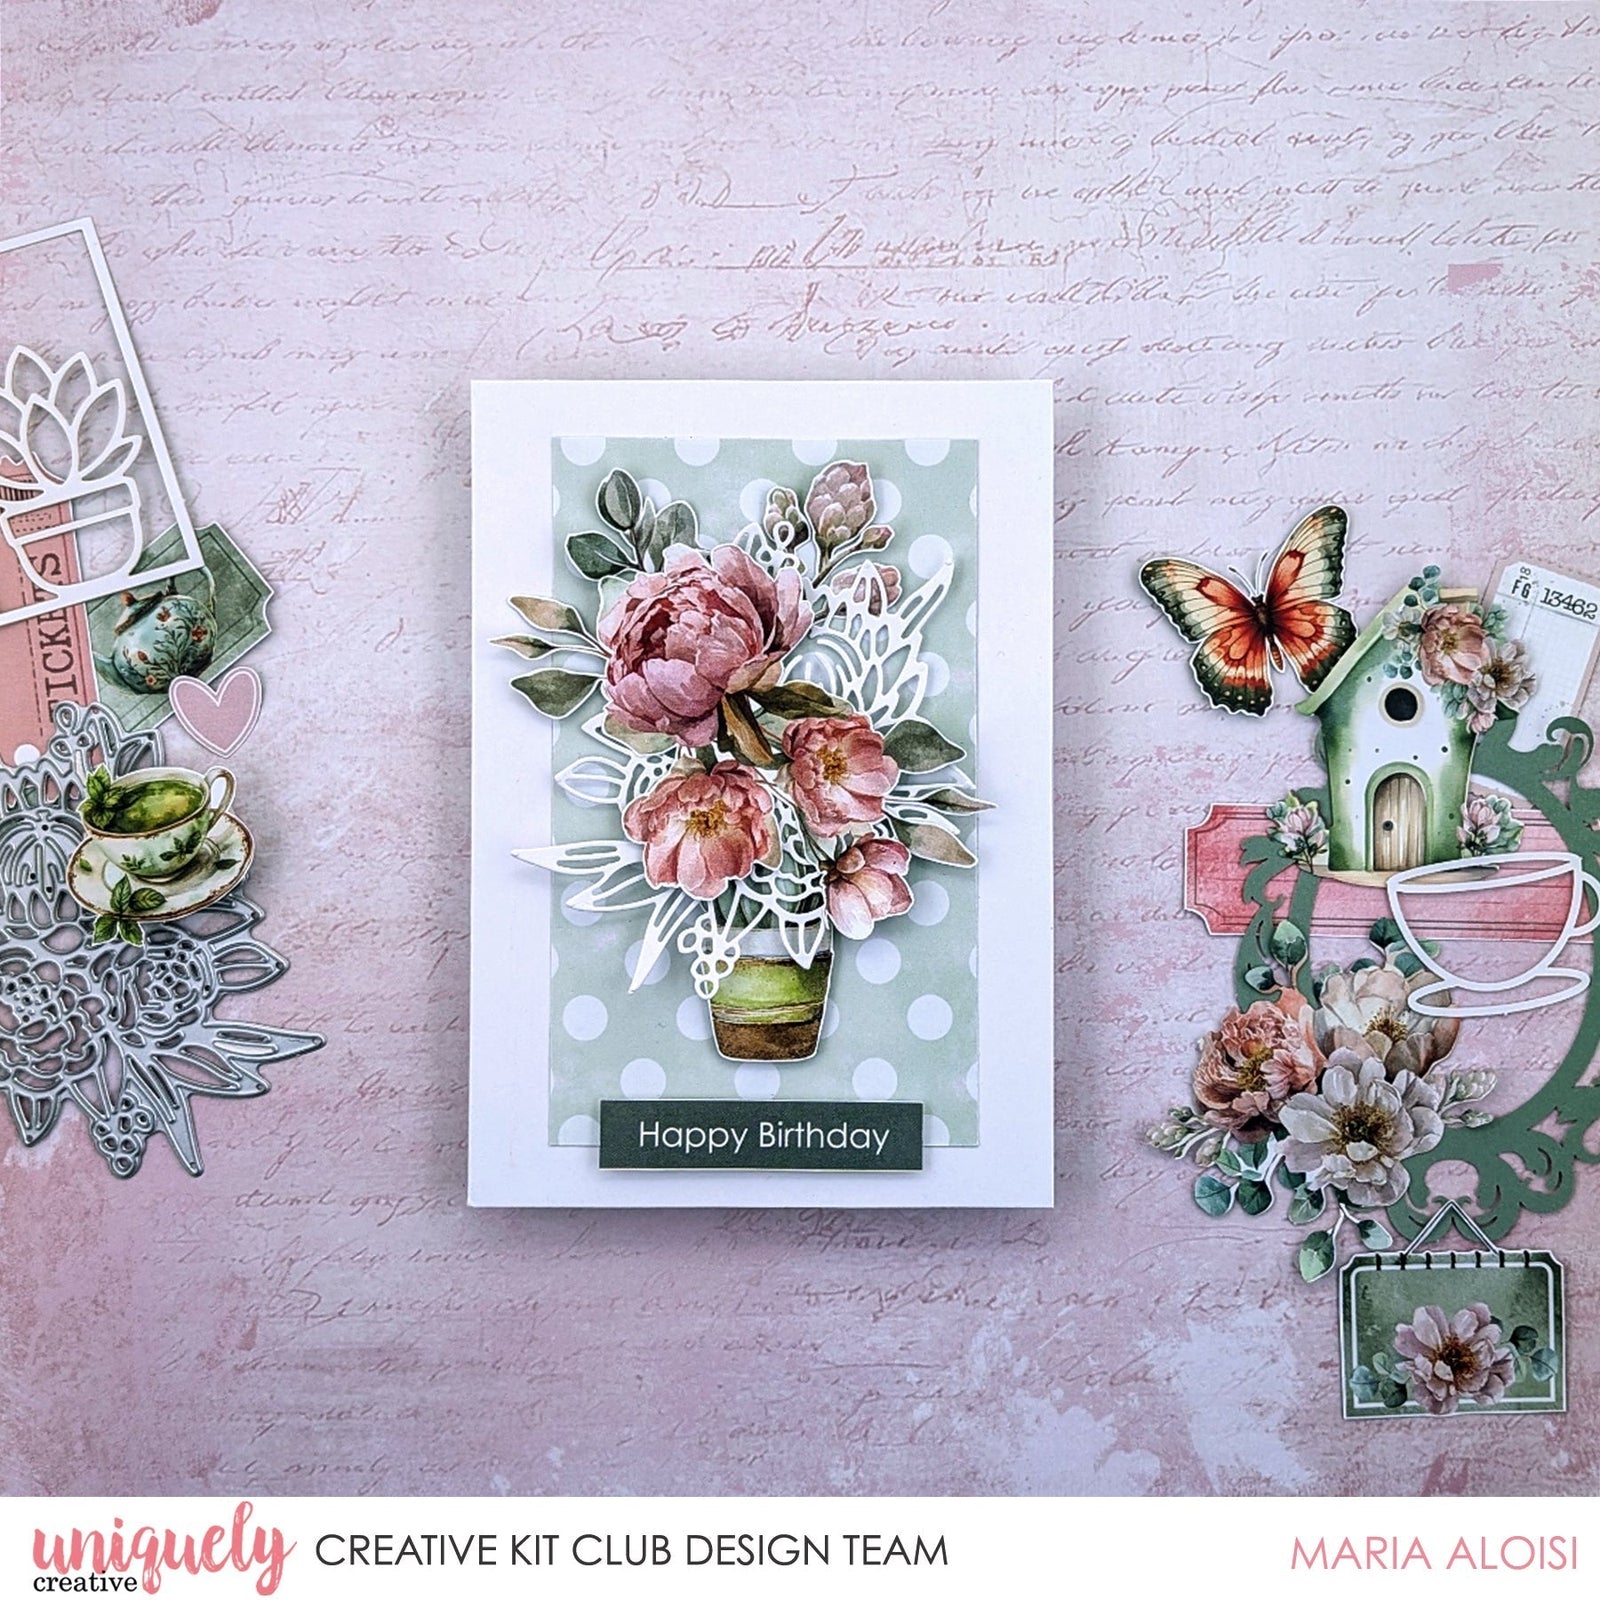

To recreate this beautiful card created by Design Team member Maria Aloisi you can follow the steps below:
Uniquely Creative Products Used:
· UCP3112 Moments of Stillness Paper
· UCP3119 Beautiful Rituals Paper
· Cut-a-part Sheet
· UCD2229 Protea Posy Die
· UCCA1797 Cloud
· UCE1803 Foam Mounts & Squares
· UCE1811 Rectangle Cards & Envelopes
· UCE1859 6mm Double Sided Tape
· UCE1872 Fussy Cutting Scissors
· UCE1935 Craft Tweezers
Other Products Used:
· Trimmer, die cutting machine
· Craft knife, ruler, glue
Card size is 10.5cm x 14.8cm
Step 1:
Cut a 3” x 5” piece from the Moments of Stillness (reverse) paper and adhere to the centre of the card.
Step 2:
Fussy cut a plant image from the Beautiful Rituals paper. Using Foam Mounts add to the card.
Step 3:
Using the Protea Posy Die and the Cloud (reverse) cardstock, die cut a piece. Using Foam Mounts, add to the card.
Step 4:
Fussy cut a large floral image and two smaller floral images from the Beautiful Rituals paper.
Step 5:
Add the large floral image on top of the die cut piece and tuck the smaller images under the die cut piece.
Step 6:
Cut the ‘Happy Birthday’ sentiment from the cut-a-part sheet. Add to the card using Foam Mounts.