Happy Birthday Tutorial - Stephanie Donnini

Uniquely Creative Products Used:
- UC1864 Winter Stamp Set
- UCD2055 Winter Die Set
- Winter Laser Cut
- UCD1958 Cut-a-Part essentials #5 die
- Uniquely Creative Foam Mounts
- UCD1767 Cross Stitch Circle Frames Die
- Uniquely Creative Bubble beads
- Uniquely Creative Mermaid Bubble Beads
Other Products Used:
- Black Amalgam Ink
- White Embossing Powder
- Versamark Ink
- Smooth White Cardstock
- Watercolour Paper
- Watercolour Paints
- Iridescent Sequins
- Laminator
- Minc Reactive Foil- Hot Pink
- White Gel Pen
-
Distress Oxide- Prize ribbon, Tumbled glass
Instructions:
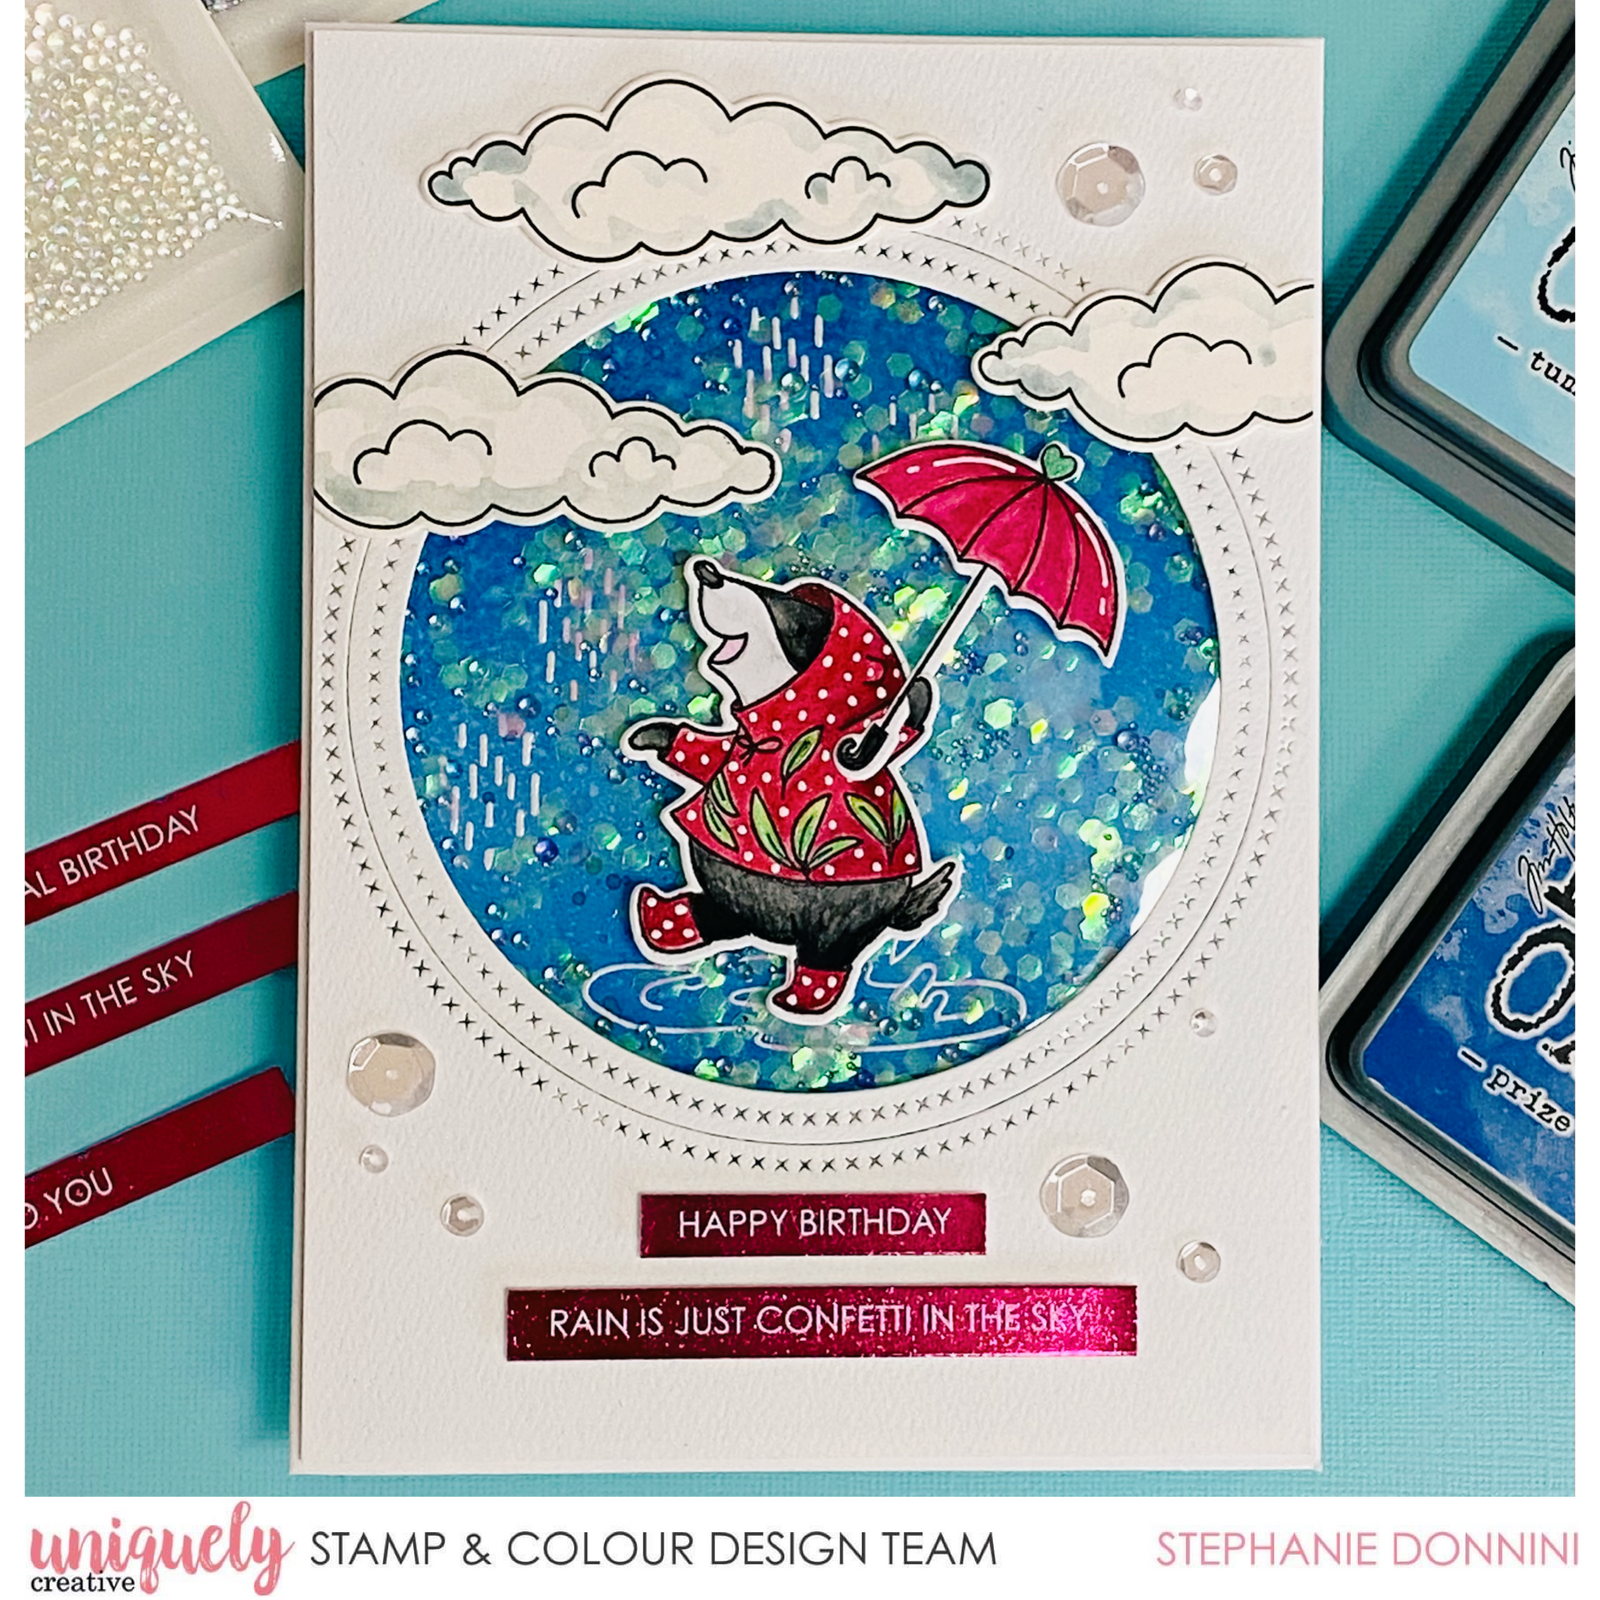
1. Take a piece of 5 x 7cm watercolour cardstock. Blend Prized Ribbon Distress Oxide to the outer edges, and then Tumbled Glass in the centre. If you would like a darker sky add a small amount of Black Soot too. Spray the entire background with water. Once dry, add some Prized Ribbon splatters.

2. On a piece of 5x7 smooth white cardstock, die cut the largest Cross Stitch circle frame. Keep the stitched circle and outer frame connected with some tape.

3. Use the raindrops and puddle stamp form the Winter kit and white heat emboss them on the background. Use the circle frame from the previous step as a guide where to place the images.

4. On the back of the cross-stitched circle panel adhere a piece of clear acetate, then cover the entire panel with foam tape or mounts. Fill the centre of the blue background with sequins and an assortment of Bubble beads, then attach the front panel.

5. Stamp cloud images, a badger, and an umbrella with black waterproof ink onto some watercolour cardstock. Once painted and die cut, use a white gel pen to add dot details to the jacket and boots.

6. The kit comes with great sentiments to use on your cards. Using the Cut-A-Part Essentials #5 die to create even, hassle-free strips. Tip: Jazz the strips up by using a laminator to coat them in reactive foil. Place the foil on top of the strips in a piece of folded copy paper, then feed through the laminator.

