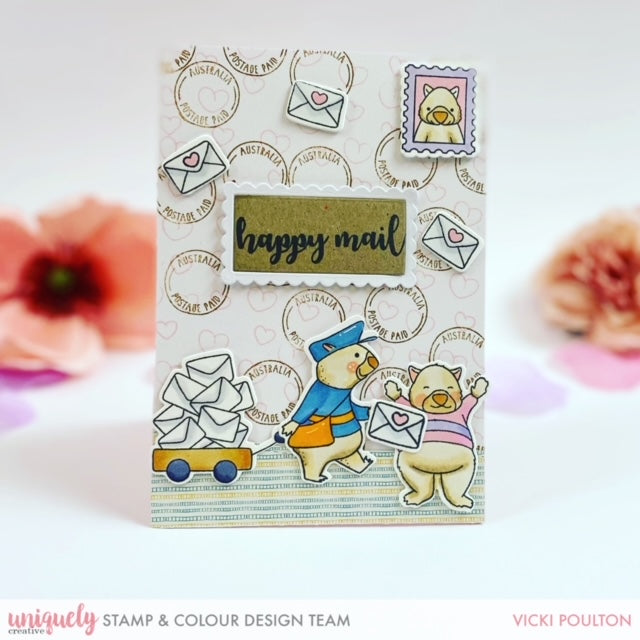
Happy Mail - Vicki Poulton

Uniquely Creative Products Used
Happy Mail Stamp Set, Happy Mail Die Set, Happy Mail Patterned Paper, Post Dies
Other Products Used
White card, Kraft card, brown ink, pink ink, black ink, foam tape, double sided tape
Colours Used
Copic Markers:
Wombat - E43, E41, E40, E31, E33, R20
Blues - B95, B45
Yellows - YR23, YR15
Lilacs - BV29, BV23, BV02, BV00
Pinks - R81, RV02
Grey - C0, C2
Instructions
1. Trim a piece of white card down to fit on the card base. Stamp hearts all over the background in pink ink, until the background is completely covered.


2. Stamp the postage stamp using brown ink, ensuring that you can still see the heart design.

3. Stamp the Happy Mail images and colour with Copic markers. Die cut the images with the coordinating dies.

4. Using patterned paper, make a hill and adhere onto the bottom of the card.

5. Die cut the post dies twice - Once using white card for the frilly frame, and again using Kraft cardstock to place in the middle of the frame. Add some washi to the back of the piece to ensure that both pieces are secure.

6. Stamp the 'Happy Mail' greeting onto the post die cut with black ink.

7. To complete the card, adhere all pieces onto the card base using double sided tape and foam tape.
