Hello Dino Tutorial - Natalie Elphinstone

New tutorial using the new stamp and colour card making kit. This kit included the clear stamp Dino Roar is is fun to colour with our markers.
Uniquely Creative Products Used:
- UC1863 Dino Roar Stamp
- UCD2051 Dino Roar Die
- UCL1739 Dino Roar Laser Cut
- Dino Roar Cut-a-Part Sheet
- Scene Builder Grass and Clouds Stencil
- Uniqolour Markers
- Watercolour Paper
Other Products Used:
- Heidi Swapp Minc Reactive Mist and Foil
- Tim Holtz Distress Oxide inks
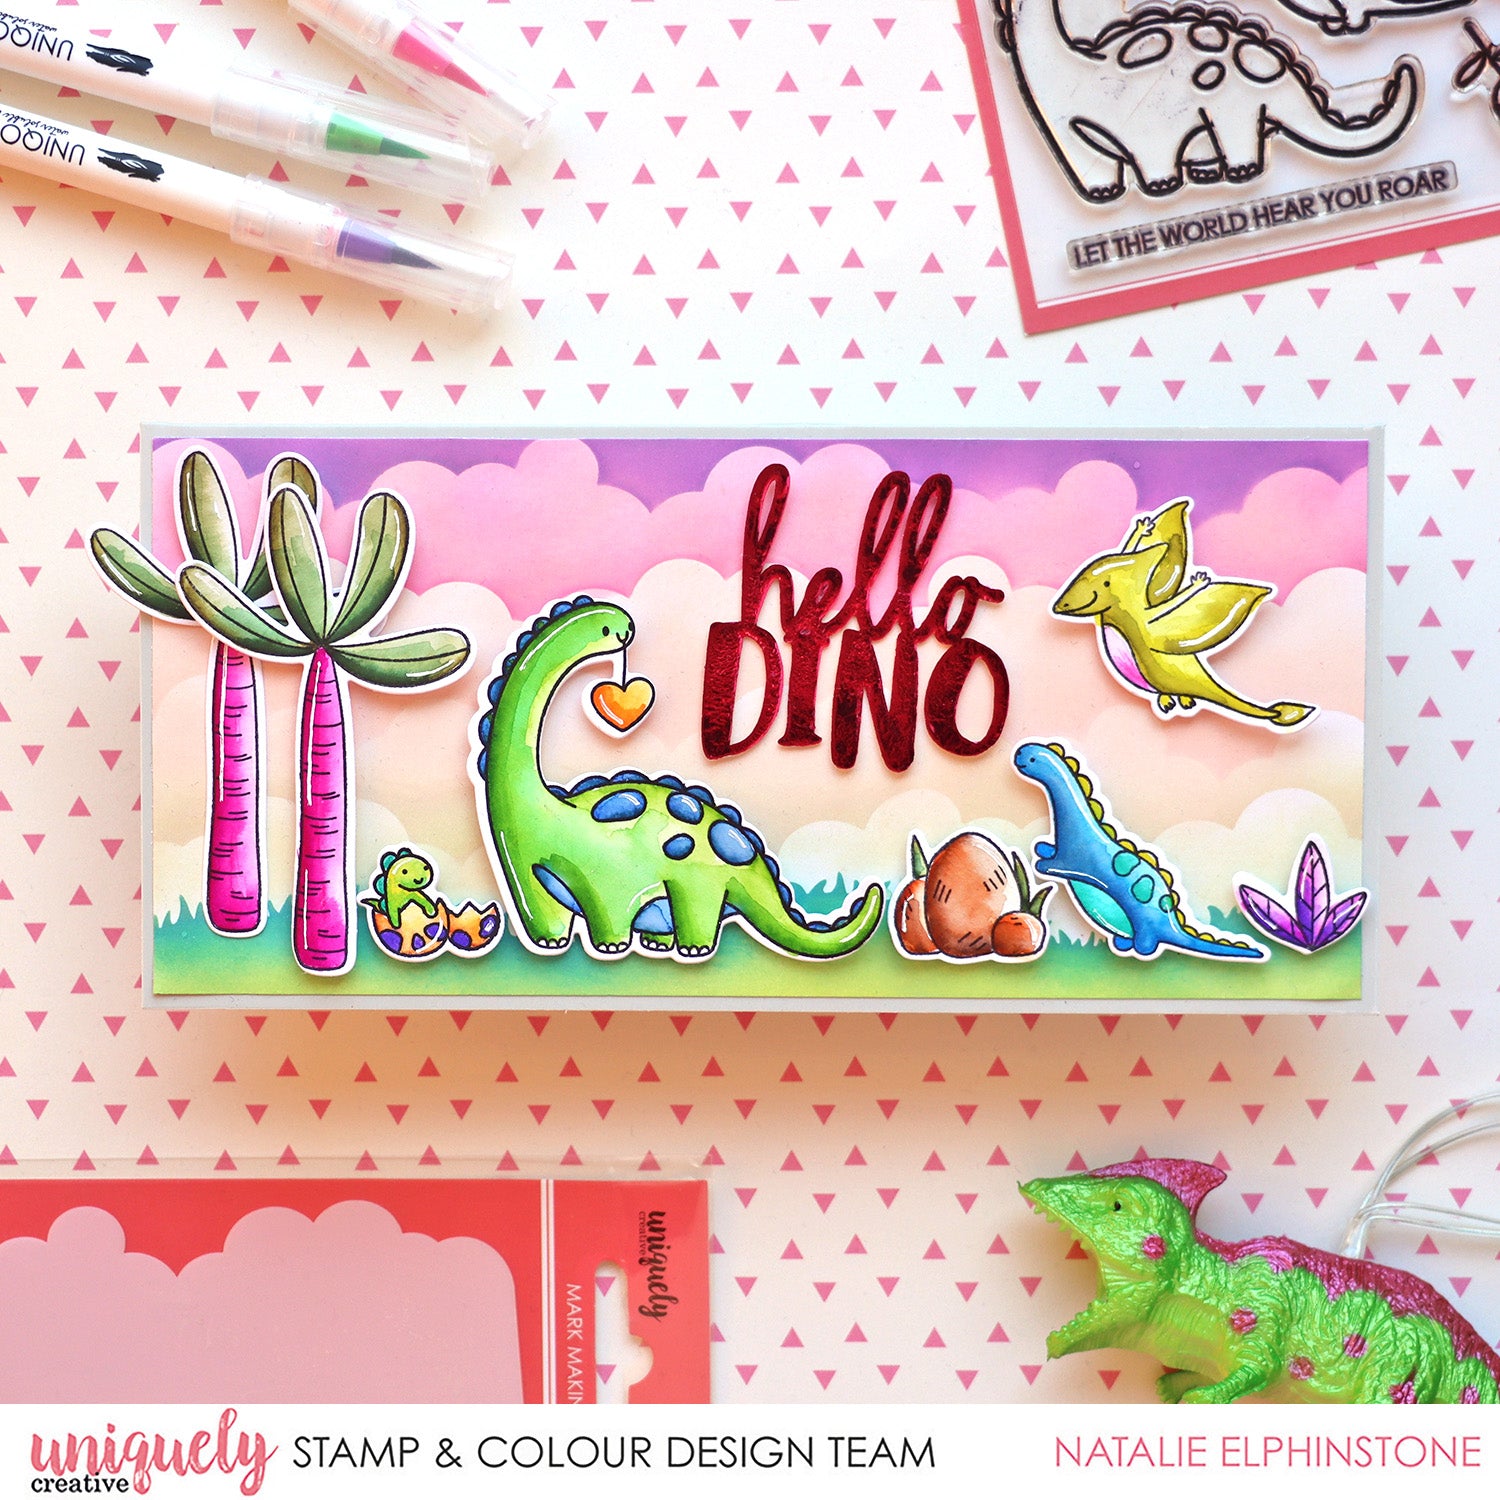
Instructions:
1. Stamp all your images onto Watercolour paper and then die cut (or fussy cut) them out. Use your Uniqolour Markers to colour them in.

2. Create the background scene sing the Scene Builder Grass and Cloud Stencil. Stencil the grass down the bottom – using a darker green towards the top, and a lime green towards the bottom. Start with the clouds, a total of 4 layers for this card, transitioning from a purple down through pinks and into a cream/beige colour.

3. Natalie wanted to give her sentiment some major WOW factor. She painted the lasercut “Hello Dino” with Heidi Swapp Minc Reactive Mist and waited for it to dry.

4. Natalie used a hot pink Minc Reactive foil and ran it through her Minc machine for these spectacular results. It looks so shiny in real life.

5. Assemble your card.