Hello Tutorial - Vicki Poulton

Uniquely Creative Products Used:
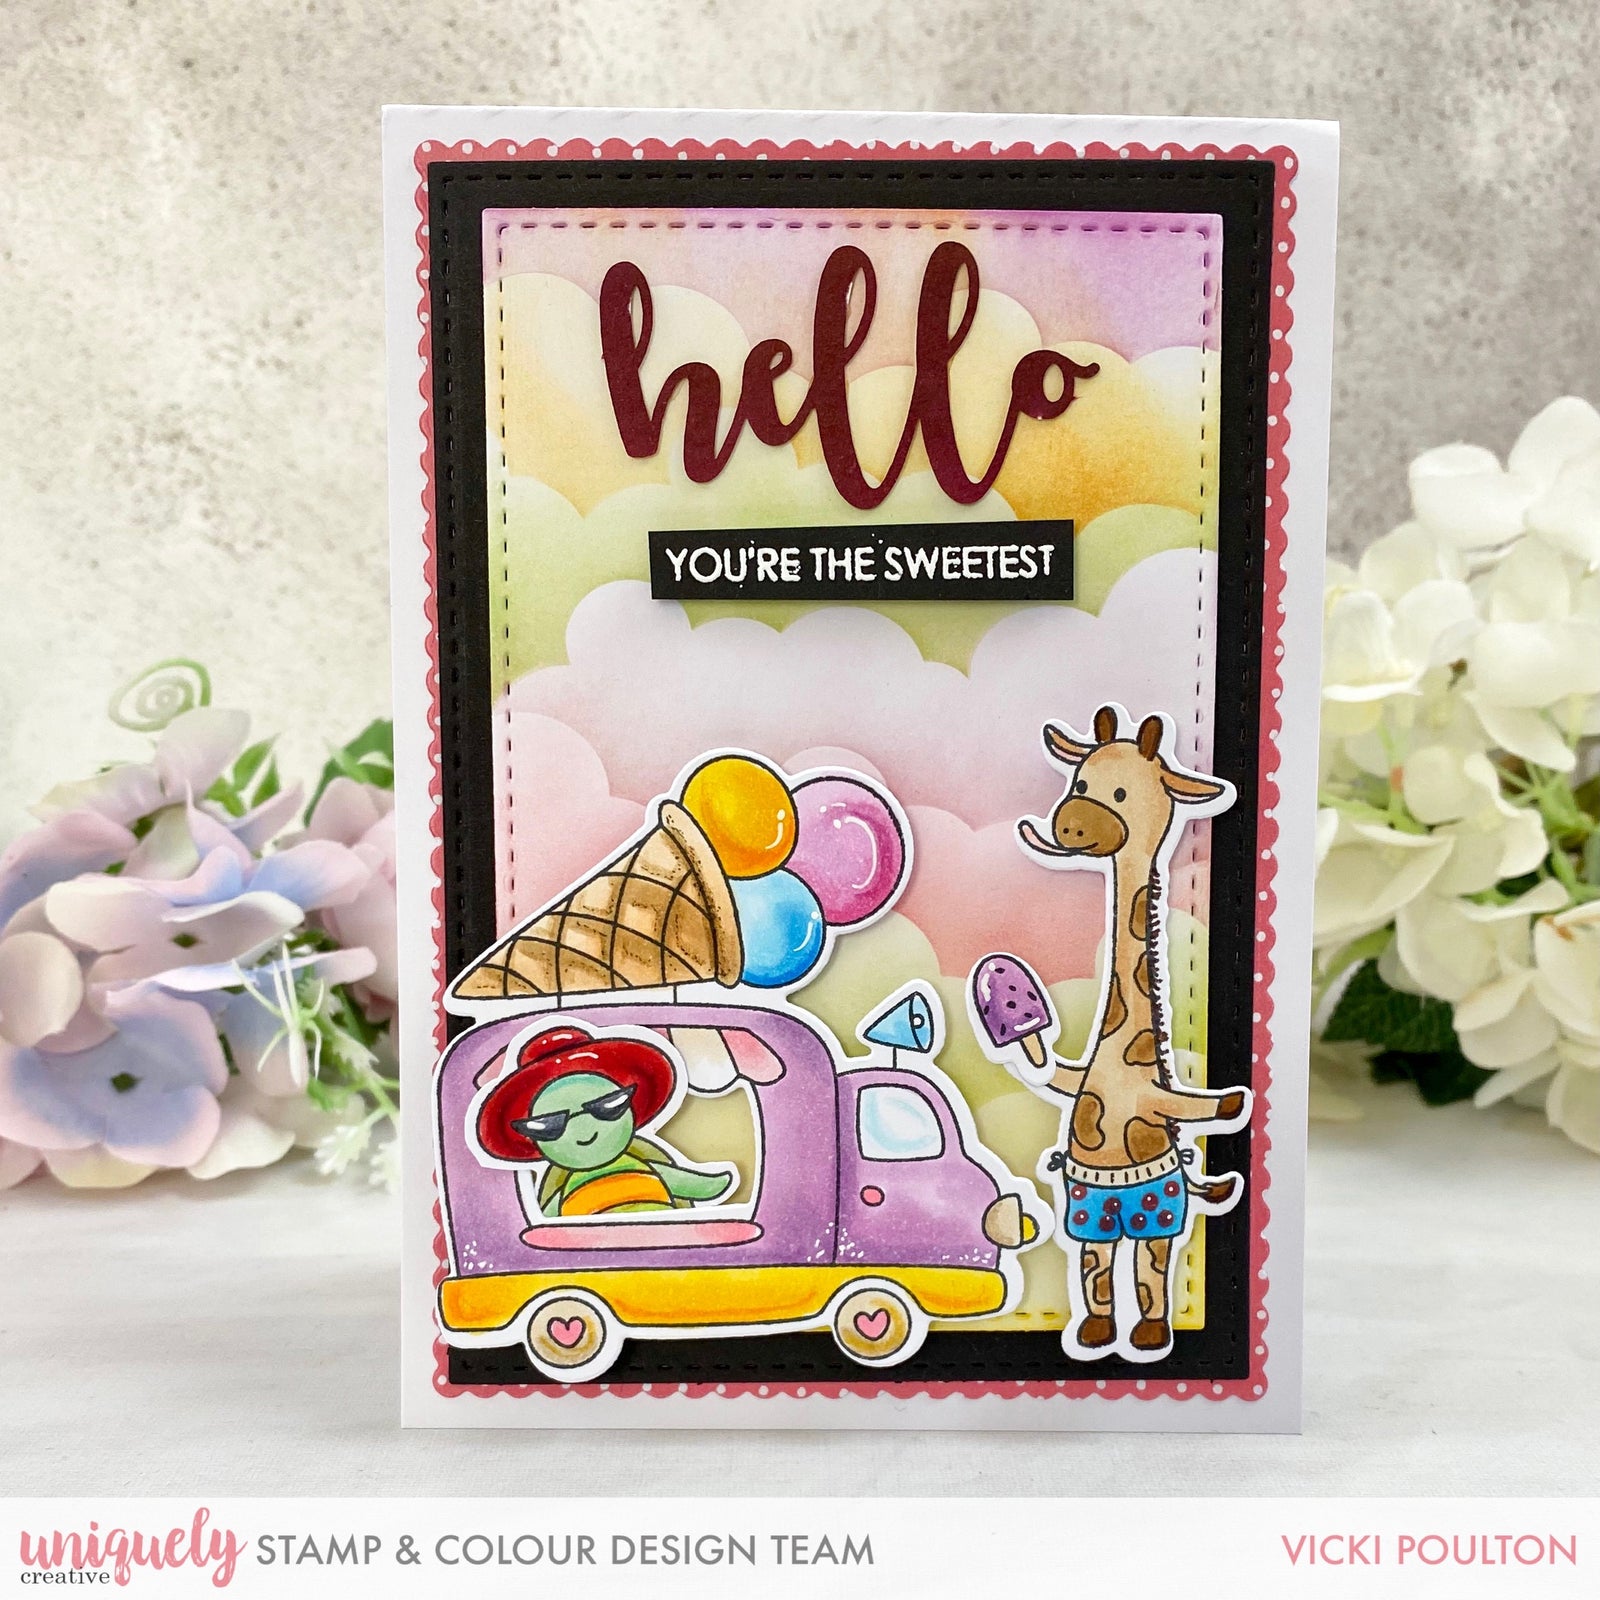
UC1853 Summer Clear Stamp Set, UCD2025 Summer Die, UCMM1751 Scene Builder Clouds & Grass Stencil, UCMM1753 Scene Builder Trees Stencil, Cut-A-Part Sheet, Laser Cut, Pattern Paper, UCD1958 Cut-A-Part Essentials #5, UCD1974 Stitched Nesting Rectangle Die, UCD1975 Scalloped Nesting Rectangle Die
Other Products Used:
White Card, Black Card, Versamark Ink, White Embossing Powder, Pigment Inks
Copics:
Ice Cream Van: E51, E53, E55, RV52, RV55, V12, V17, B00, B02, B05, RV11, RV13, E41, E43
Turtle: YG03, B00, V12, V15, RV11, G82, RV69
Giraffe: E31, E33, E55, E57, R27, R29, E41, R20
Instructions:
1. Cut down a piece of pattern paper using the scalloped nesting rectangle die and run through your die cutting machine.

2. Die cut a piece of white card using the stitched rectangle nesting die.

3. Using the scene builder stencil ink blend your background using yellow, green, pink and purple inks.

4. Using a piece of black card die cut a stitched nesting rectangle die and die cut a larger piece to layer this under the ink blended panel. Adhere these together and adhere these onto your piece of pattern paper. Then adhere onto your blank card.

5. Colour in the "hello" piece of the laser cut, using PVA glue add this to the top of your card.
6. Stamp and colour your images using the above copic markers. Die cut using the co-ordinating dies. Adhere these onto your card using foam dots.
7. Stamp a greeting using versamark ink onto some black card. Sprinkle white embossing powder over the top and heat set this with a heat gun. Trim the sentiment down and add to your card.

8. Your card is now complete.