Using frames to make a cute Easter Card with Rachel Finn
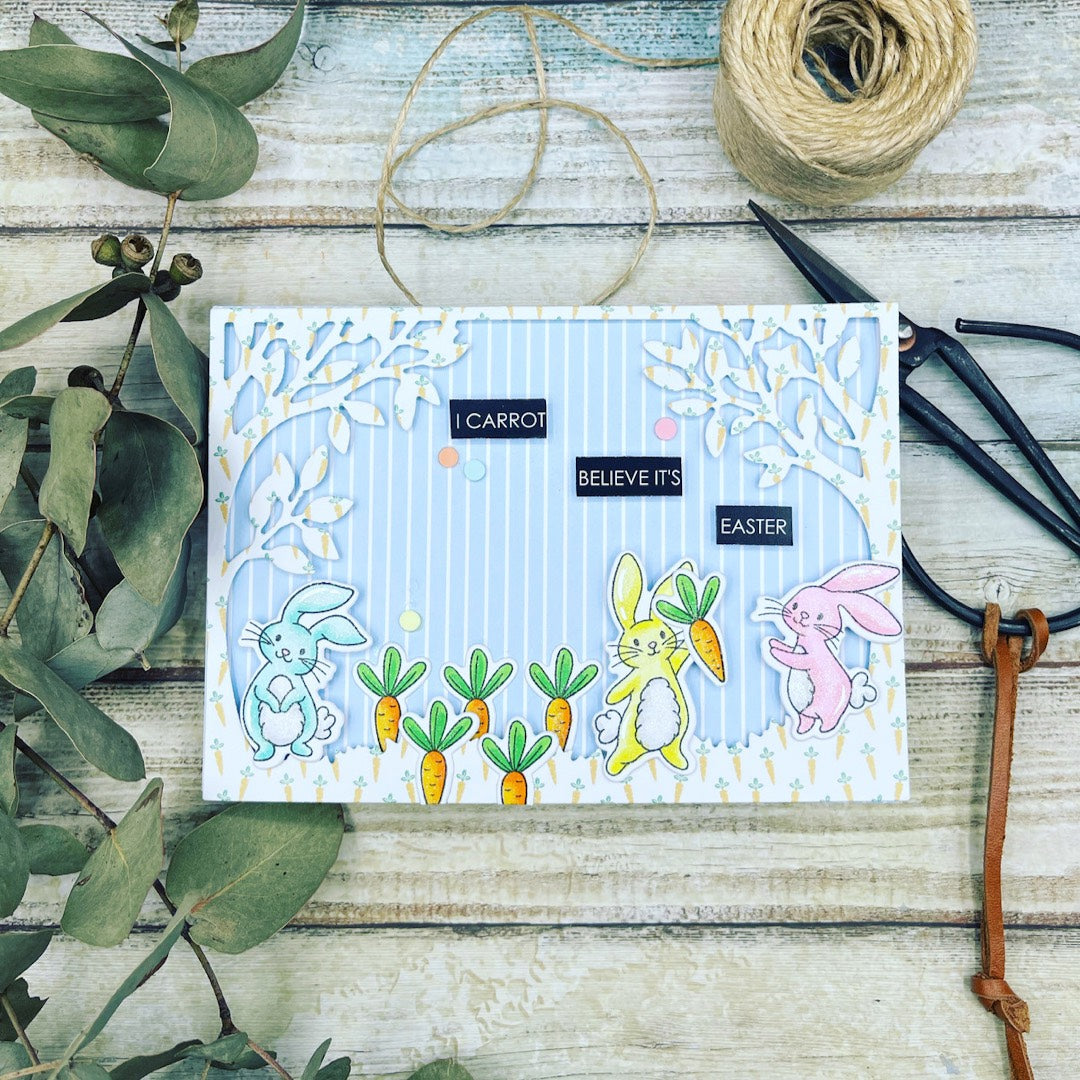

We have added a new 'Scene Builder Frame Die' to our collection and its a great one to use with our new Be Hoppy Stamp Set. Today our Design Team Member Rachel Finn has created a tutorial for you on how to create this cute Easter card to gift to your family and friends.
Uniquely Creative Products Used:
- UC18587 Be Hoppy Stamp Set
- UC2040 Be Hoppy Dies
- Cut-a-part Sheet
- Patterned Paper
- Craft Sprinkles Pastel Confetti
Other Products Used:
- Foam Squares
- White Card Base
- Glue
- Double Sided Tape
- White Ball Pen
- Wink of Stella.
Copic Markers Used:
- Pink Bunny – RV52, RV02, R21
- Yellow Bunny – Y11, Y02, Y15
- Aqua Bunny – BG11, BG32
- Bunny Nose – RV52
- Bunny Tail and Belly – N0, N1
- Carrots – Y17, YR15, YR68, G14, G05, G17
1. Firstly fold a piece of white card in half for your card base.
2. Select the blue and white striped paper, cut it to the size of the folded card base and glue down.
3. Use the tree die on the carrot paper to create the frame for the card.

4. Placing foam mounts on the back of the tree frame, attach to the blue and white side of the card base.
5. Select the bunnies and carrot from the Be Hoppy stamp set. Stamp in black, three bunnies and six carrots on white card stock. Colour the bunnies and carrots with Copic sketch markers. A good idea would be to choose different colours for the bunnies so each of them stand out.

6. Once you have finished colouring the bunnies and carrots, die cut using the matching dies and place foam squares on the back of the coloured bunnies.

7. Turn them over and stick it down with some of the bunnies overlapping the tree frame. Choose a sentiment for the card.

8. Add glue to the back of the coloured carrots and slide three behind the tree frame to give depth to the card. Add one carrot to hand of the middle bunny and the other two to be placed on top of the tree frame at the bottom. Please note you will need to trim the ends of the bottom two carrots to fit on the card.
9. Trim the sentiment into pieces and add to the card with foam squares.

10. Cover bunnies and carrots with Wink of Stella to give that little bit of sparkle. Then use the white ball pen to add highlights the bunnies. The ears are a good example of this.
11. Finish off by scattering some Craft Sprinkles Pastel Confetti on the card.