It's a Cats Life - Lydell Quin

Uniquely Creative Products Used UCP2154 Hands of Time, UCP2158 Brave & Free, UCP2156 In Stereo, UCP2159 Be Awesome, Country Roads Cut-a-Part Sheet, Upper Case Outline Alpha Dies, Alphabet Stickers - Black Lower Case, Black Sparkle Brush, Starry Sequins, Cut-a-Part Essential Die, Acrylic Blending Block
Other Products Used Trimmer, scissors, T-square ruler, double-sided tape, foam tape, glue, black Distress Ink, Tim Holtz Tiny Attacher (stapler), die-cutting machine, black string, edge distressing tool, paint brush and water
Photo Size: 3 x 2"x3" Photos


Instructions
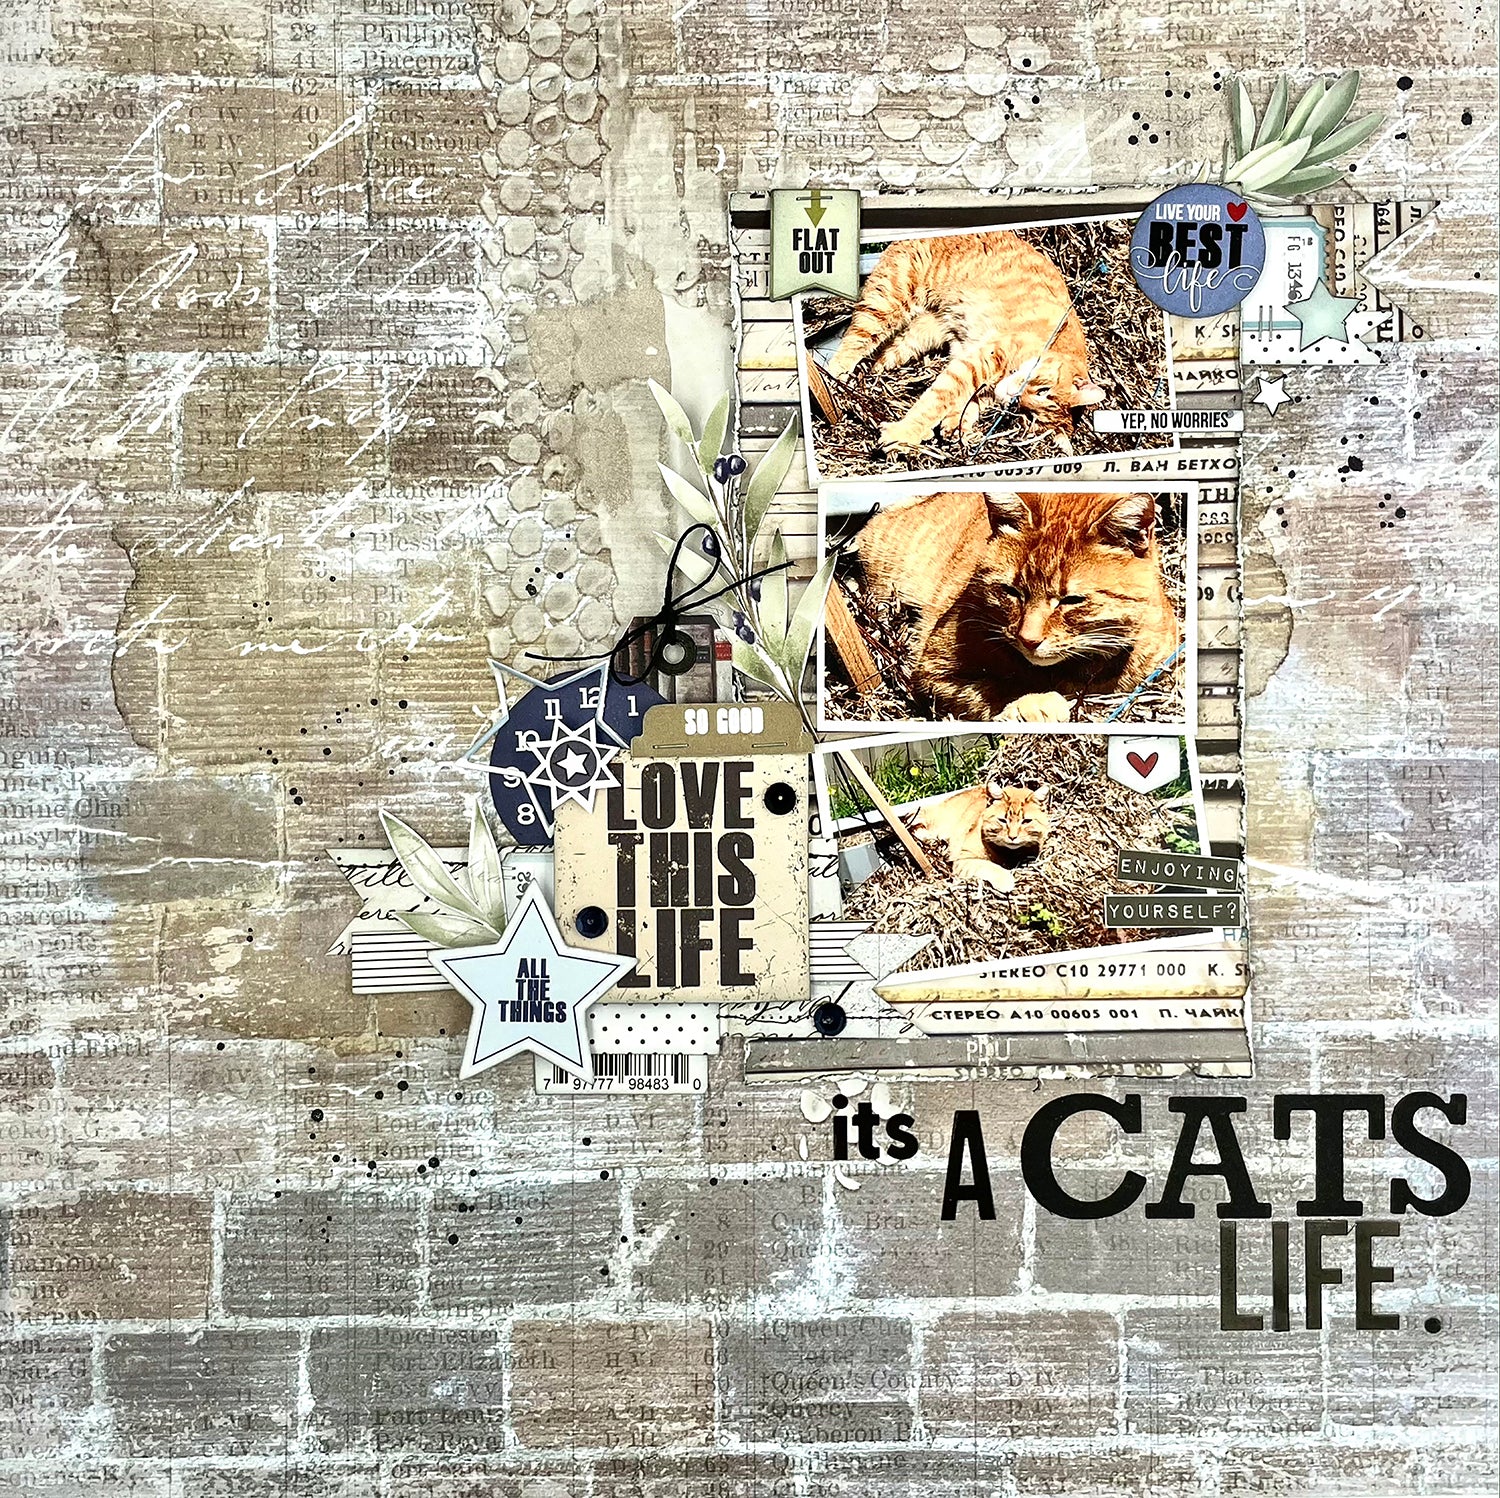
1. Use UCP2154 Hands of Time as a background. From UCP2156 In Stereo, cut a piece 4" wide (from the top down) and 7" long. Ink, then distress the edges.
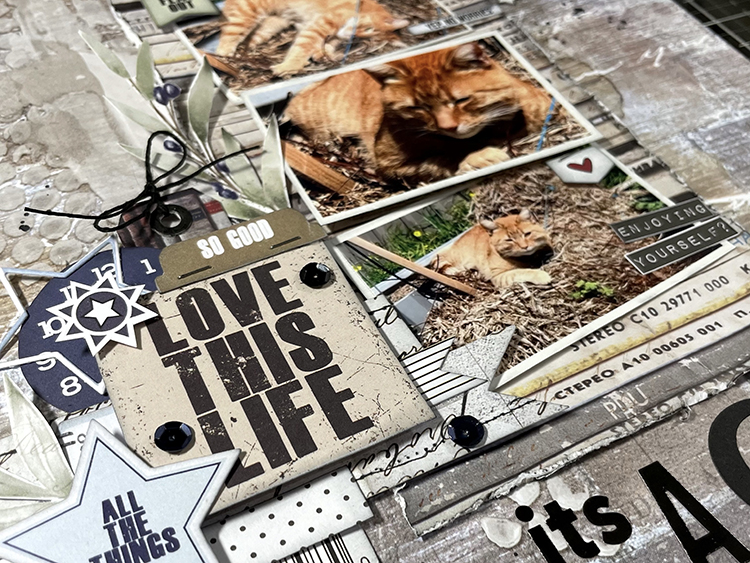
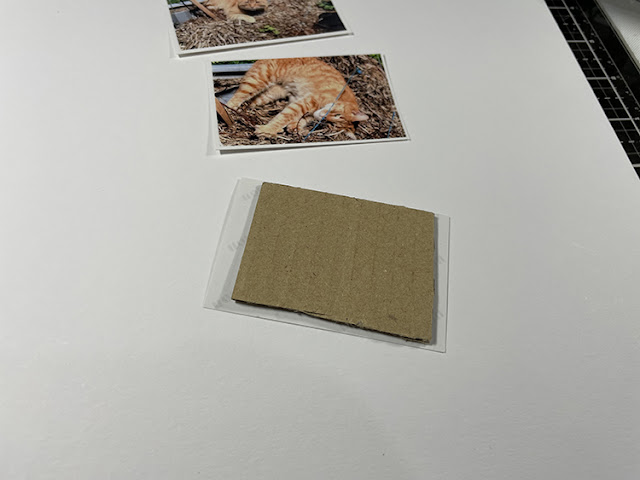
2. Place your photos down to mark their placement and start arranging as you like. Add some cardboard to the back o the centre photo to make it stand out.
3. To make the layered element at the top right of the photos, cut a strip from UCP2156 In Stereo 1" wide with the text showing. Flag the end and ink the edges. 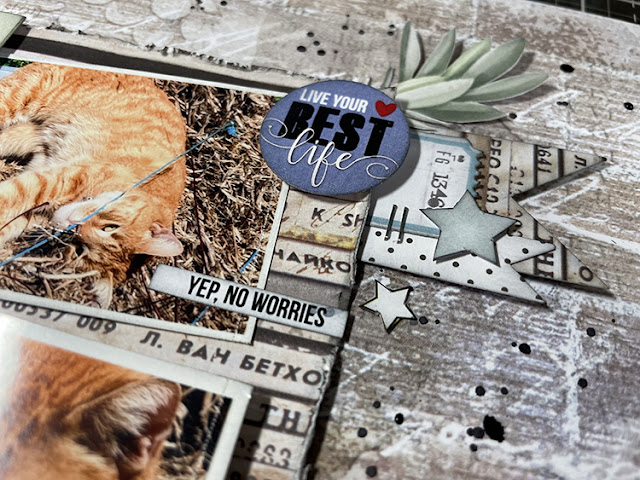
4. Trim a piece of the black and white dot from the reverse side of the manufacturer's strip. Flag the end & ink. Cut a ticket in half and ink. Collect a couple of stars and an olive branch/leaves and staple bits together to form one piece. Slide-in behind top right of the top photograph and adhere when it's in place.
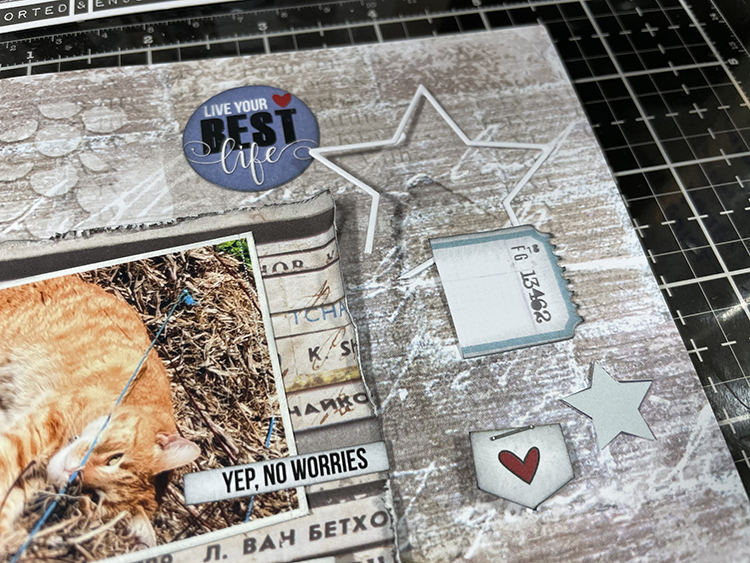

5. Find the circle element "live your best life" from the cut-a-part sheet (use foam tape to lift) and set on top of photo corner. (See main layout photo for reference)
6. Use "flat out" flag tab from Cut-a-Part Sheet and staple. Add foam tape for dimension. Attach to your photo (top left).
7. Create the bottom left layered element using strips, tags and little bits and pieces from the layer cut and Cut-a-Part sheets.
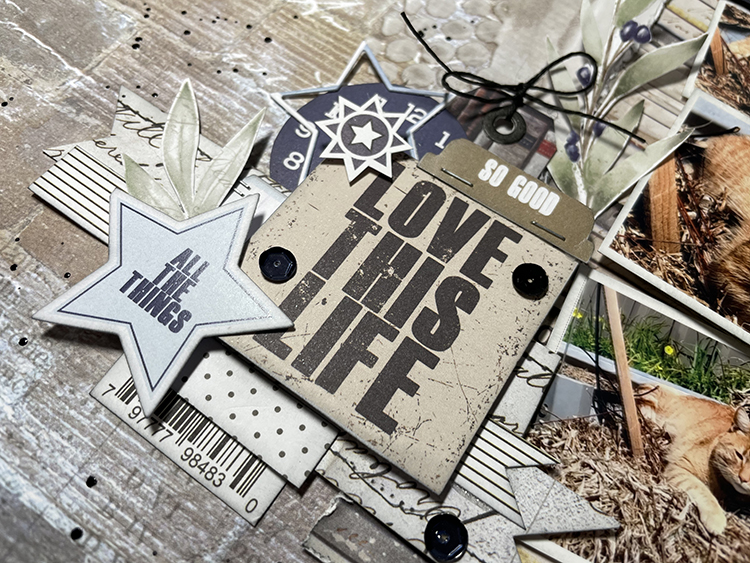
8. Add string to the tag, foam tape to lift elements and create dimension and sequins here and there as filler details.
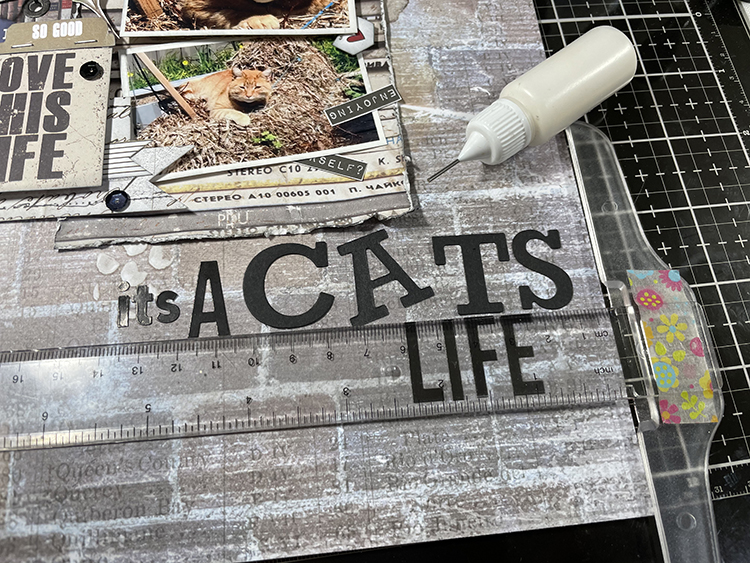
9. Add your title from a mix of Alphabet Stickers and Alphabet Dies. A T-Square ruler helps ensure the letters are aligned


10. Finally, squeeze out a little black ink from the UC Sparkle Brush to your acrylic block and add a little water. Using a paintbrush, splatter around your layout. Hold scrap paper over the photos and embellishments to prevent unwanted splatters.