
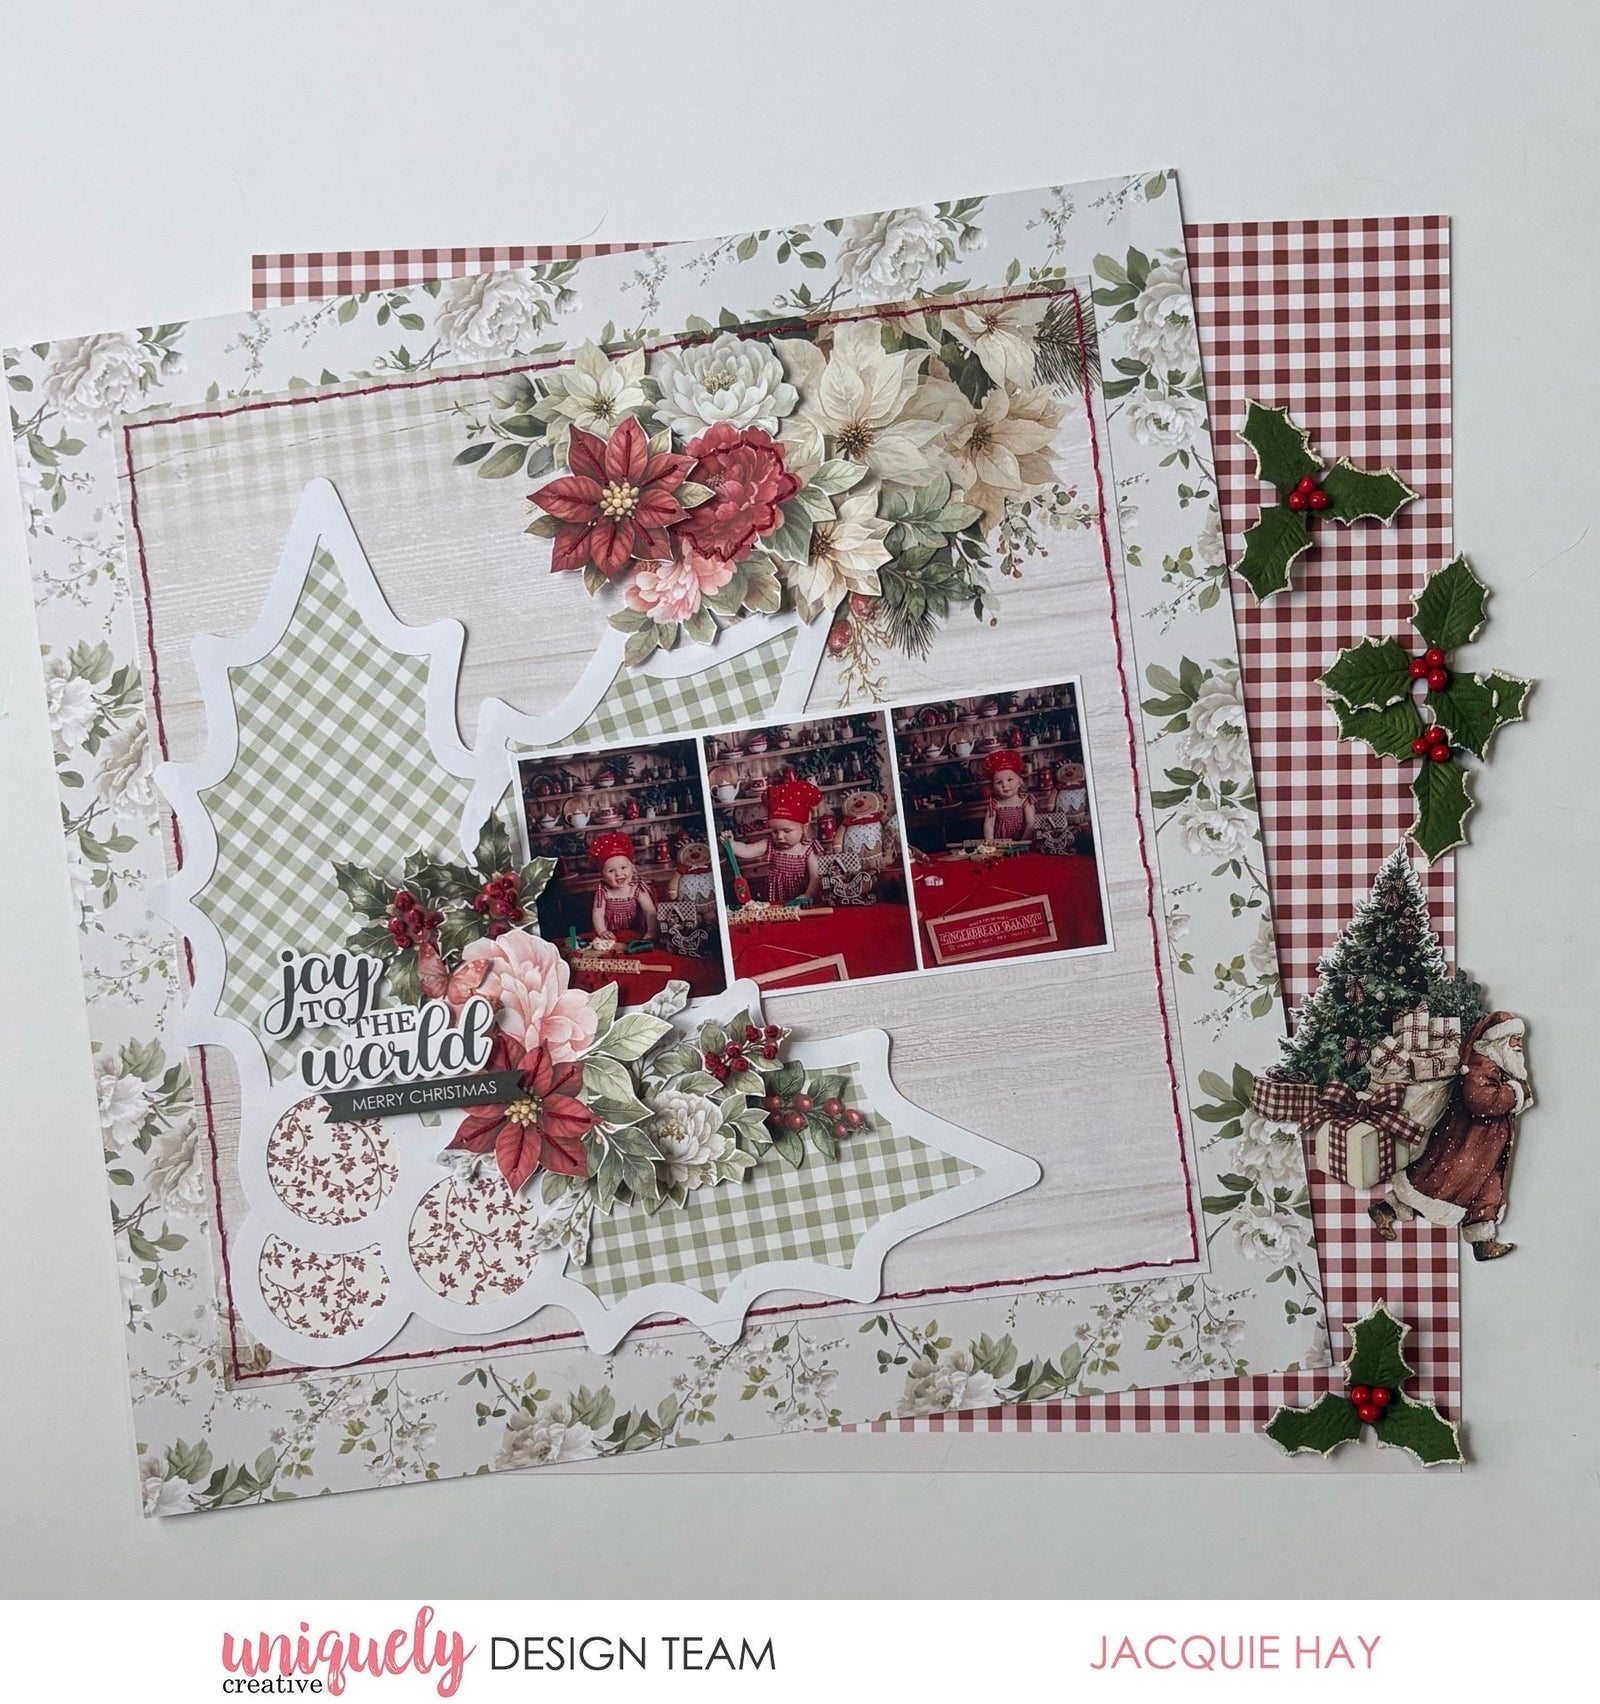

To recreate this beautiful layout created by Design Team member Jacquie Hay you can follow the steps below:
Uniquely Creative Products Used:
· UCP3206 Evergreen Lane Paper
· UCP3207 Merry Little Things Paper
· UCP3208 Letters To Santa Paper
· UCP3210 Treasured Trinkets Paper
· UCP3211 Home for the Holidays Paper
· UCP3216 Creative Cuts
· UCE2242 Holly Overlay
· UCE1720 Clear Sparkle Brush
· UCE1803 Foam Mounts Squares & Strips
· UCE1872 Fussy Cutting Scissors
· UCE1981 Die Release Tool
· UCE2192 Paper Perfect Quick Dry Glue
· UCE2194 Paper Perfect Trimmer
Photo sizes: (three) 1.75" x 2.5" portrait
Step 1:
Remove the branding strip form the Evergreen Lane paper (reverse). Gut the inside, leaving a 2” border. Use the border for your base page – See image 1
Step 2:
Cut a 10” square from a sheet of Letters To Santa paper, and attach to the centre of the Evergreen Border paper.
Step 3:
Using the Die Release Tool and a ruler, poke holes and then stitch around the edge of the Letters To Santa paper with embroidery thread – See image 2
Step 4:
Use Home For The Holidays paper to back the berries of the Holly Overlay, and Merry Little Things paper to back the leaves. Attach to the bottom left of the layout.
Step 5:
Attach photos matted on White Cardstock to the right of the layout – See image 3
Step 6:
Fussy cut flowers form the Treasured Trinkets paper. You may like to add stitching with embroidery thread. Create clusters using fussy cut flowers and Creative Cuts. Add a title from the Creative Cuts – See image 4