
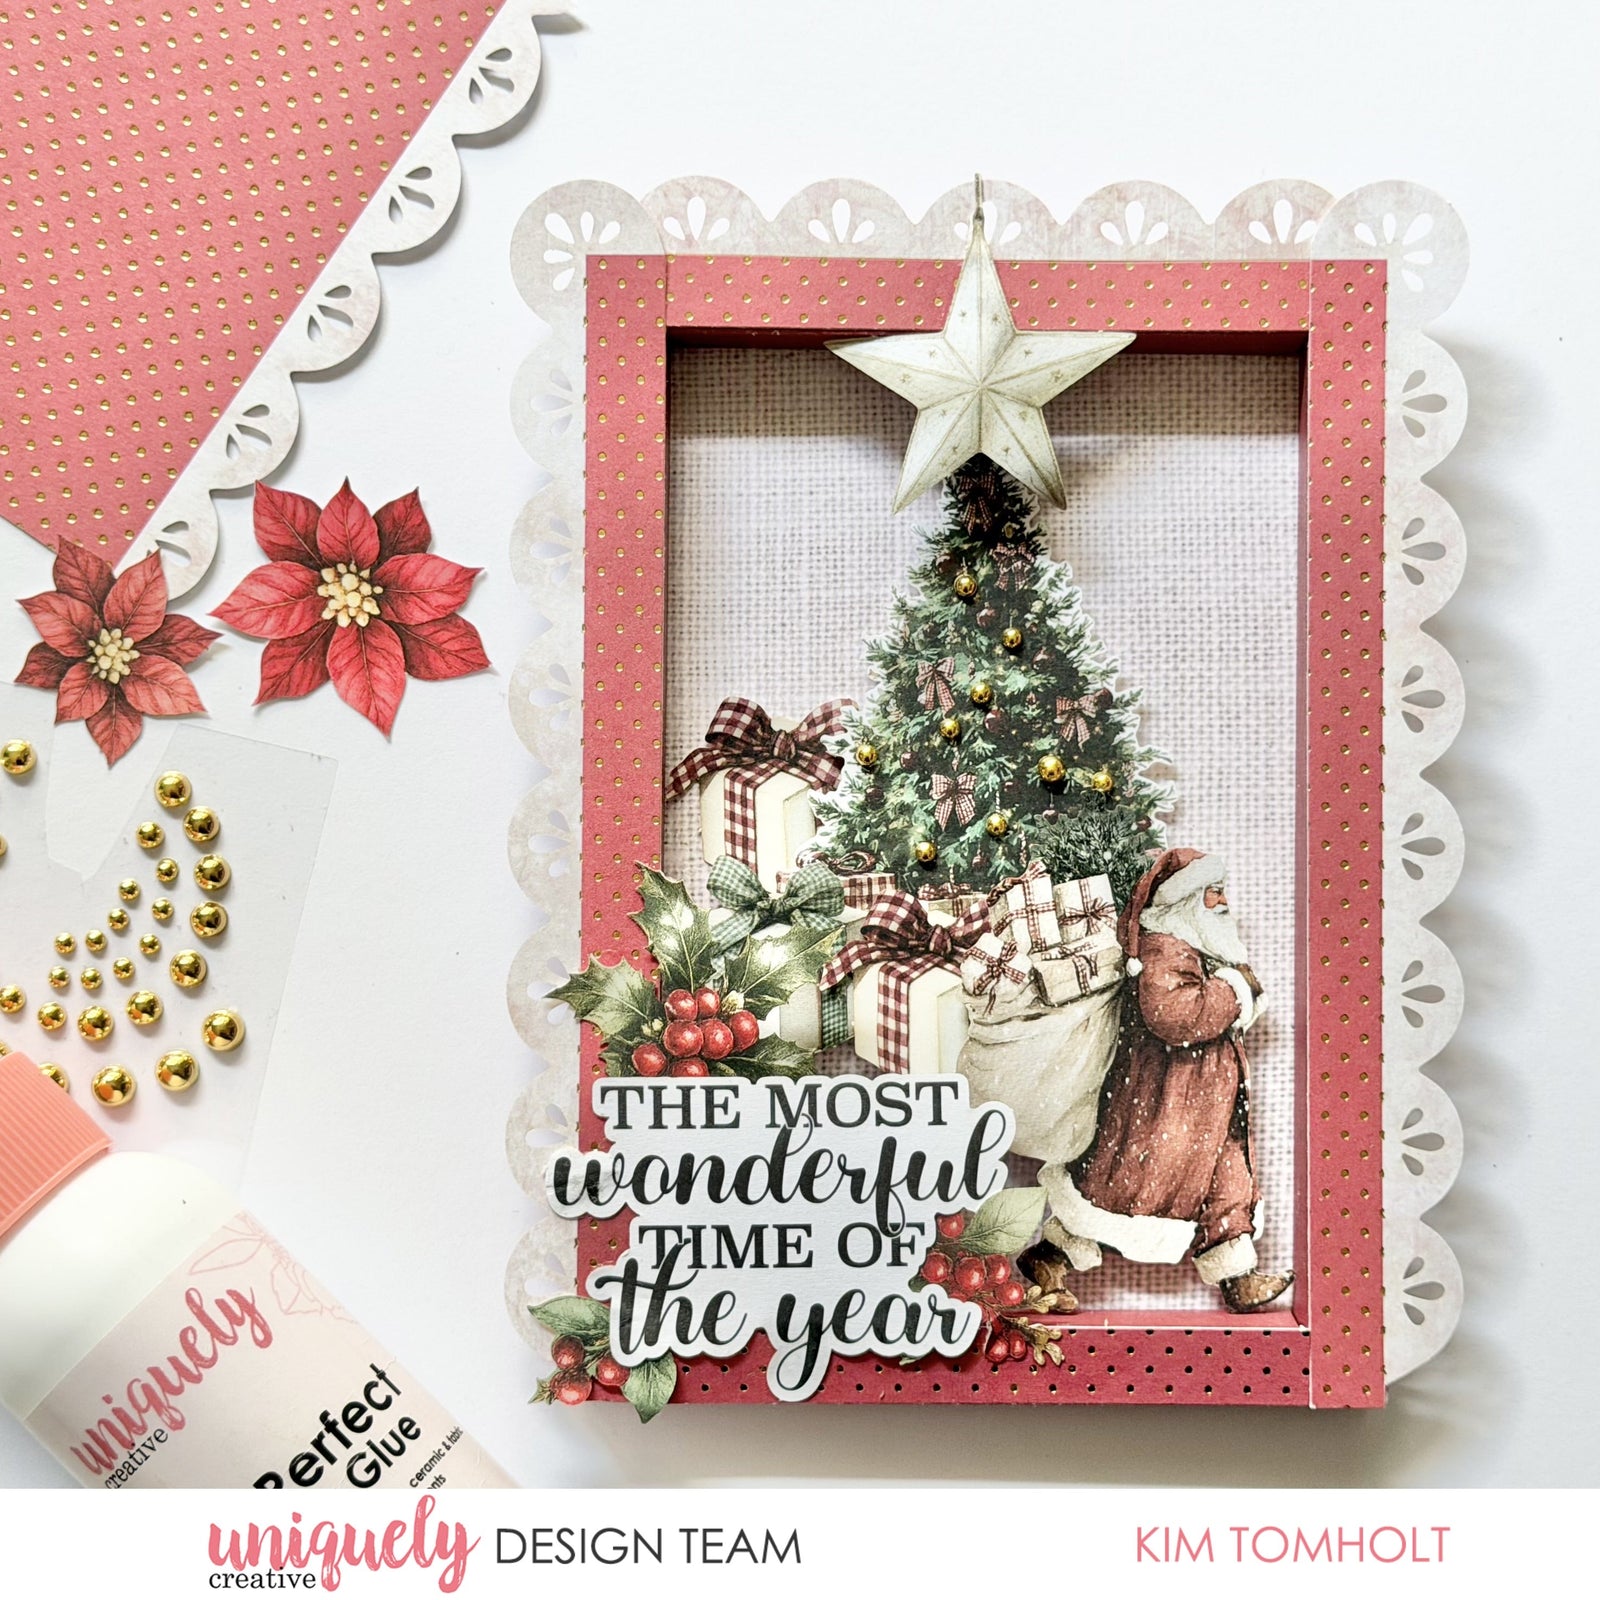

To recreate this amazing shadow box card created by Design Team member Kim Tomholt you can follow the steps below:
Uniquely Creative Products Used:
· UCE2244 Christmas Keepsakes Foiled Decorative Base Layer
· UCP3209 The Nutcracker Paper
· UCP3216 Christmas Keepsakes Creative Cuts
· UCCA178 Raspberry Cardstock
· UCE1729 Gold Pearls
· UCE1803 Foam Mounts Squares & Strips
· UCE1872 Fussy Cutting Scissors
· UCE1978 Foam Mounts Dots & Strips
· UCE2192 Paper Perfect Quick Dry Glue
· UCE2194 Paper Perfect Trimmer
Card size: 5" x 6 1/2 "
Step 1:
From Raspberry Cardstock, cut 22.8cm x 18.5cm – score at 1cm, 2cm, 3cm and 4cm mark on all 4 sides – See image 1
Step 2:
On the short edges, score at the 5cm mark only going up 2cm from the bottom of both the left and right sides. Rotate 180 degrees and repeat. Cut away the corner areas with scissors as shown– See image 2
Step 3:
Fold along all crease lines and use a bone folder to get a nice crisp edge. Cut The Nutcracker (reverse) to 10.4cm x 14.5cm and adhere to centre – See image 3
Step 4:
To create shadown frame, start glueing both long edges (sides) first, then short edges (top & bottom – See Image 4
Step 5:
Add a little bit of glue in the corners as shown when doing the short edges to keep box in shape – See image 5
Step 6:
Embellishing using 1mm foam mounts under the present and Christmas tree Creative Cuts and 2 layers of 2mm foam mounts under Santa – See image 6
Step 7:
Trim Foiled Decorative Base Layer so you have a 1cm strip of the red and gold, plus decorative edge. Adhere to Shadow Box edges, then add remaining embellishments with glue over the top – See image 7
Step 8:
Finally, cut a piece of Raspberry cardstock to 11cm x 30cm, score at 15cm and adhere to back of shadow box (top fold care)– See image 8
Rosemarie fry
October 03, 2026
So lovely for some one special