30 day change of mind returns available
30 day change of mind returns available
Add description, images, menus and links to your mega menu
A column with no settings can be used as a spacer
Link to your collections, sales and even external links
Add up to five columns
Add description, images, menus and links to your mega menu
A column with no settings can be used as a spacer
Link to your collections, sales and even external links
Add up to five columns
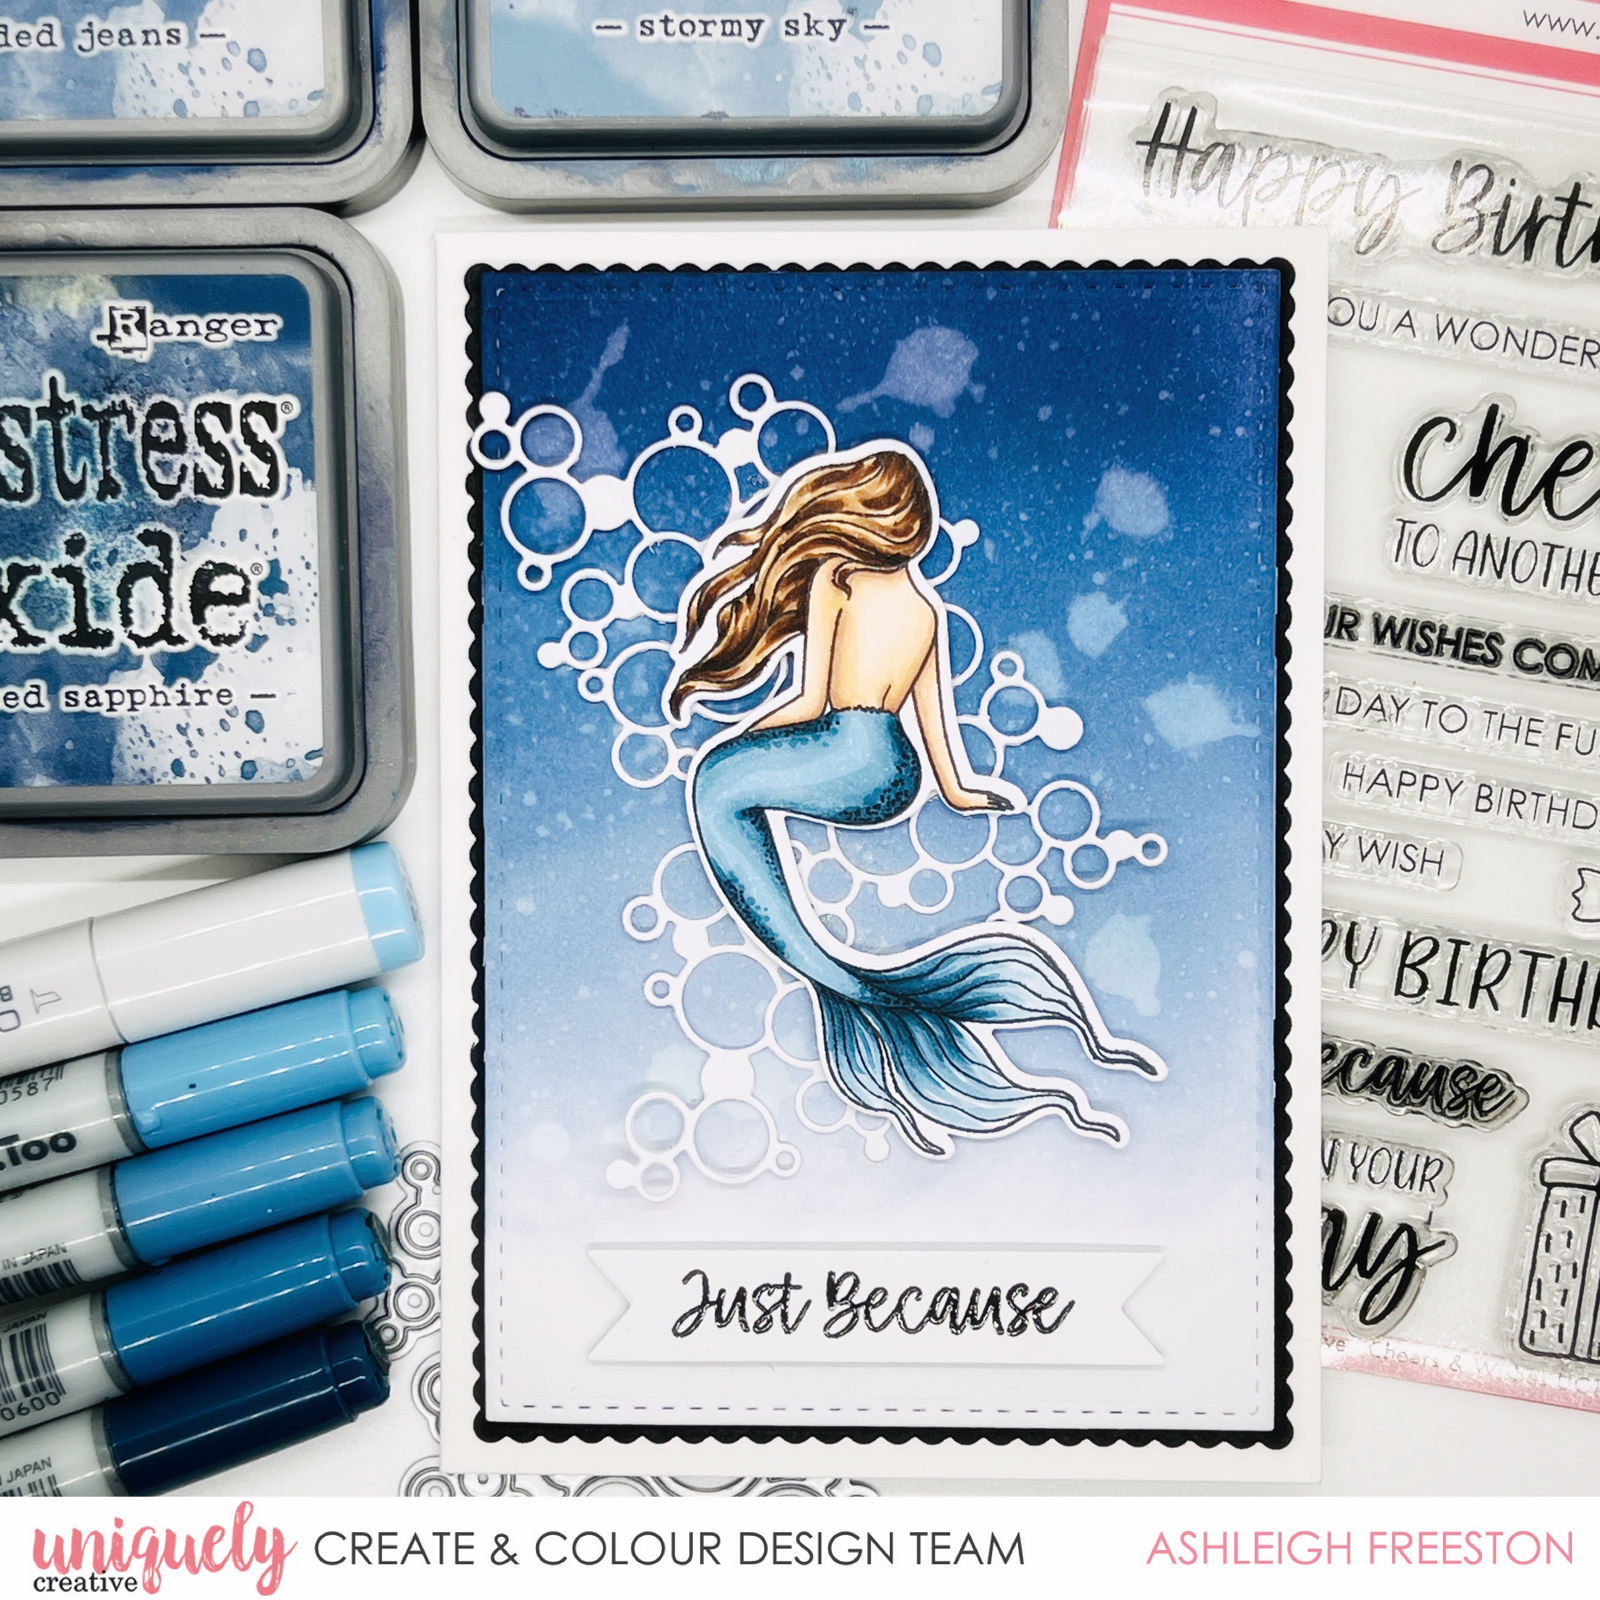
Just Because Card Tutorial - Ashleigh Freeston
November 12, 2023

Uniquely Creative Products Used:
- UC1905 Shades of Whimsy Stamp
- UCD2114 Shades of Whimsy Fussy Cutting Die
- UCD2116 Bubbly Whispers Die
- UCD1975 Scalloped Nesting Rectangle Dies
- UCD1974 Stitched Nesting Rectangle Dies
- UCD2105 Sentiment Surrounds Die
- UC1901 Cheers & Wishes Stamp Set
- UCE1811 Rectangle Cards & Envelopes
- Uniquely Creative Fussy Cutting Scissors
- Foam Mounts Dots & Strips
- Foam Mounts Strips
- Smooth white cardstock, black cardstock
- Chipped Sapphire, Faded Jeans and Stormy Sky Distress Oxide
- Onyx Black Versafine Ink
- Clear embossing powder
- Die cutting machine
- Water spray bottle
- Blending tool
- Heat tool
Copic Colours Used:
- Mermaid Skin – E000, E00, E21, E11, E04
- Mermaid Hair – E21, E23, E25, E27, E29
- Blue – B91, B93, B95, B97, B99
Card Size: 10.5cm x 14.8cm (UC Rectangle Card)
Instructions:
1. Die cut a stitched nesting rectangle from white cardstock. Die cut a scalloped nesting rectangle from black cardstock.

2. On white rectangle, ink blend from darkest to lightest – Start with Chipped Sapphire, working down from the top. Repeat with Faded Jeans, and then Stormy Sky Distress Oxide as you get closer to the bottom of the rectangle. Repeat until there are no harsh lines. Spritz some water over the background and remove any excess water.

3. Die cut 2 Bubbly Whispers from white cardstock. Cut into pieces

4. Stamp sentiment with Onyx Black Versafine Ink and heat emboss with clear embossing powder. Die cut with matching Sentiment Surrounds die

5. Colour image with the colouring medium of your choice (I used Copic Markers). Die cut with matching dies or fussy cut

6. Assemble the card by matting the background piece onto the black scalloped rectangle. Adhere the die cut bubbles on the background piece. Foam mount the mermaid image and sentiment banner to complete the card.

Leave a comment
Newsletter
Join our mailing list and never miss an update …