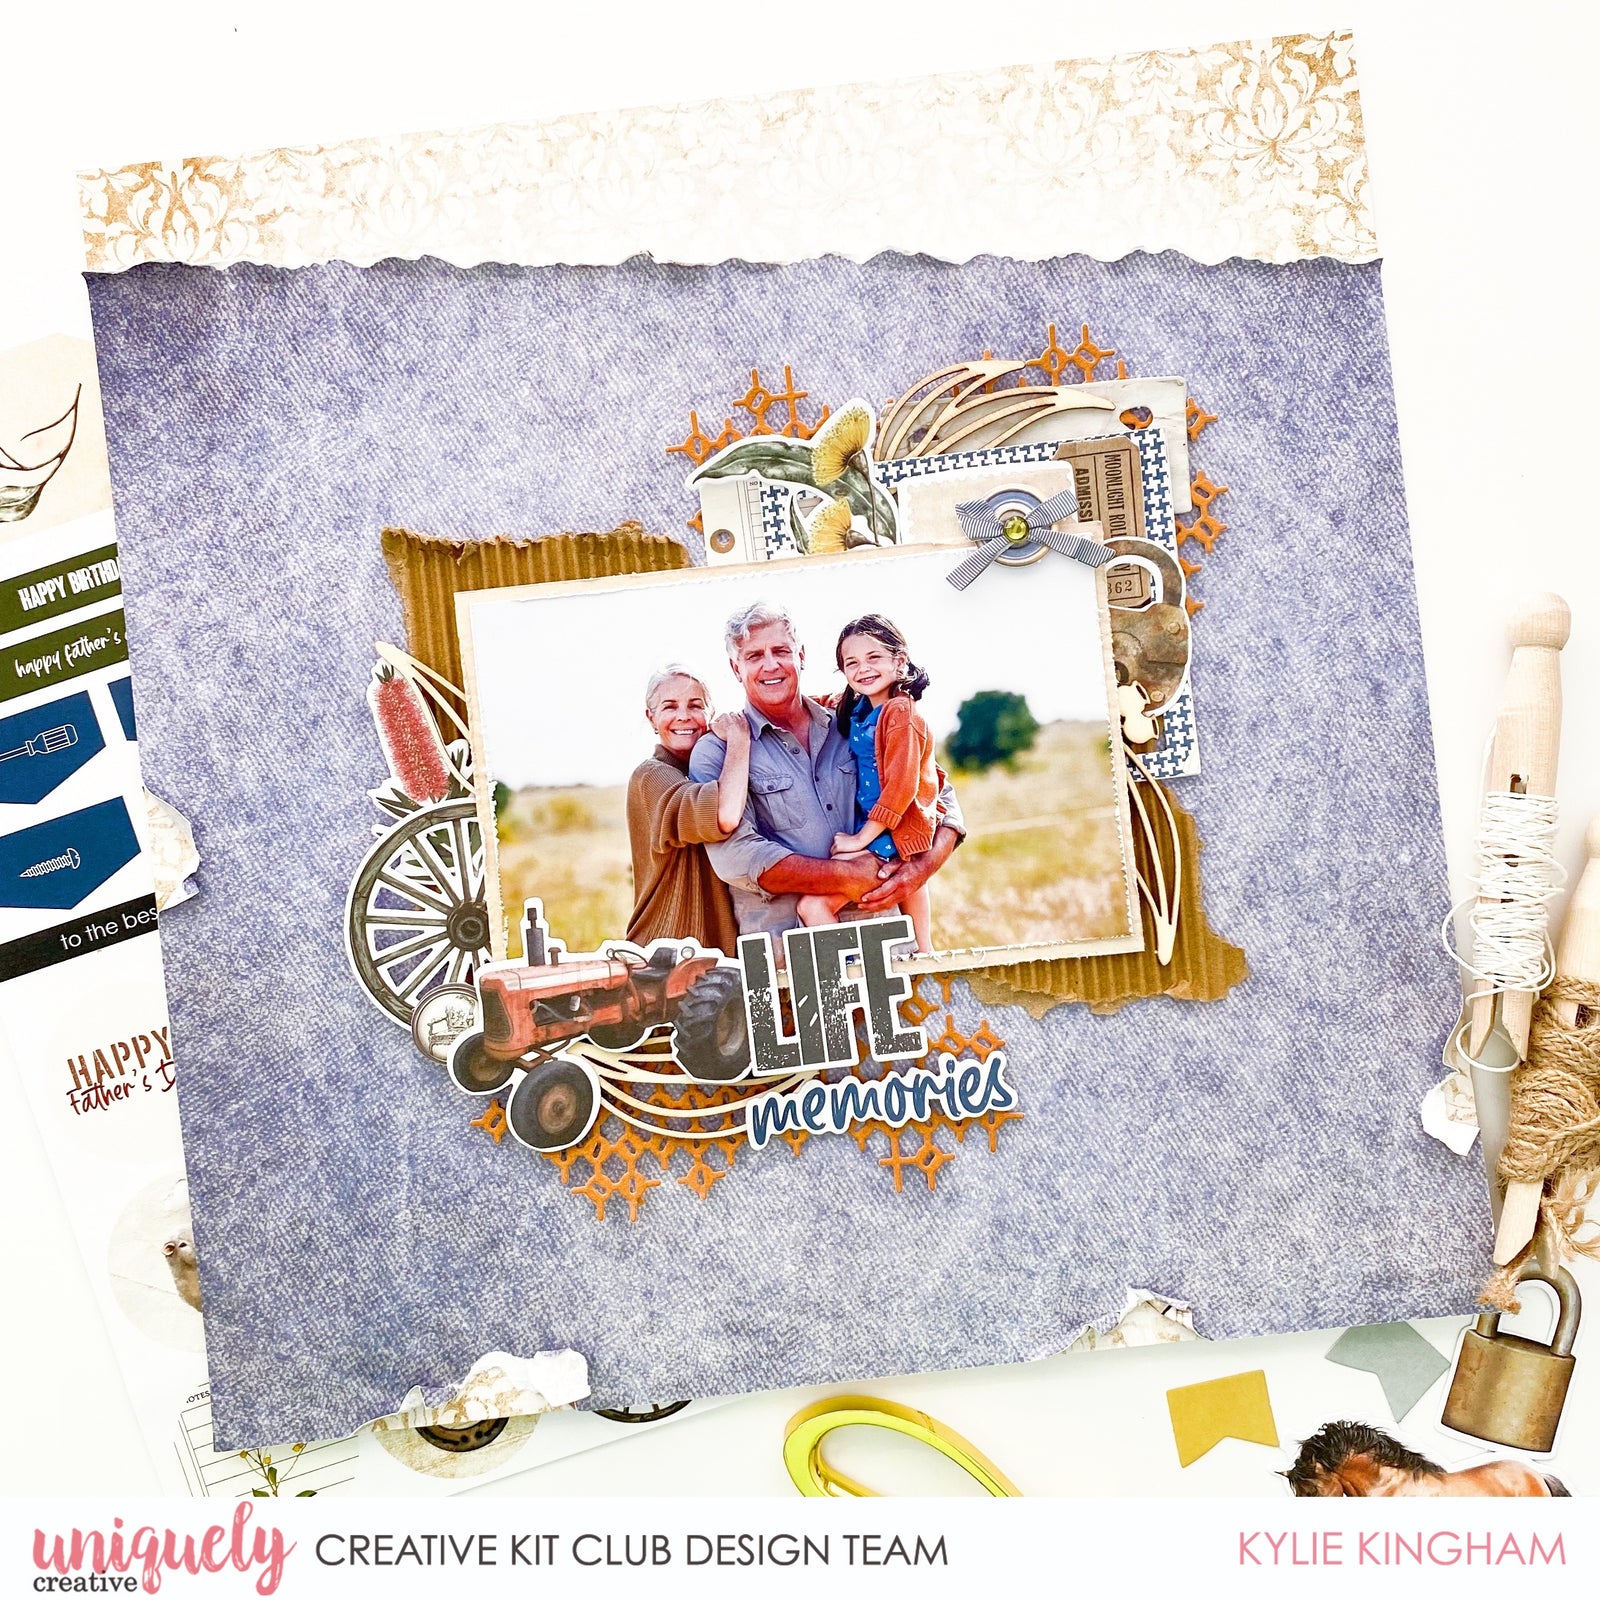
Life Memories Tutorial - Kylie Kingham

Uniquely Products Used:
- UCP2412 Oodnadatta
- UCO2413 Marree
- UCP2414 Lightning Ridge
- UCP2422 Among The Gumtrees Creative Cuts
- UCL1744 Wooden Laser Cut
- UCCA1727 Butterscotch cardstock
- UCE1757 Sage Rhinestones
- Corrugated 12 x 12
- UCD2062 Workshop texture die
Other Products Used:
- Trimmer Board
- Manual Die Cutting Machine
- Scissors
- Glue
- Double Sided Tape
- Foam Squares
Instructions:
1. Tear a diagonal strip from the top of the LIGHTNING RIDGE paper and distress the edge a little more with the blade of scissors. Adhere over the top of the OODNADATTA paper. (**To conserve paper, you could remove the centre of the Oodnadatta paper first.) Tear a few sections around the bottom edge and two sides, exposing more of the base paper.

2.


