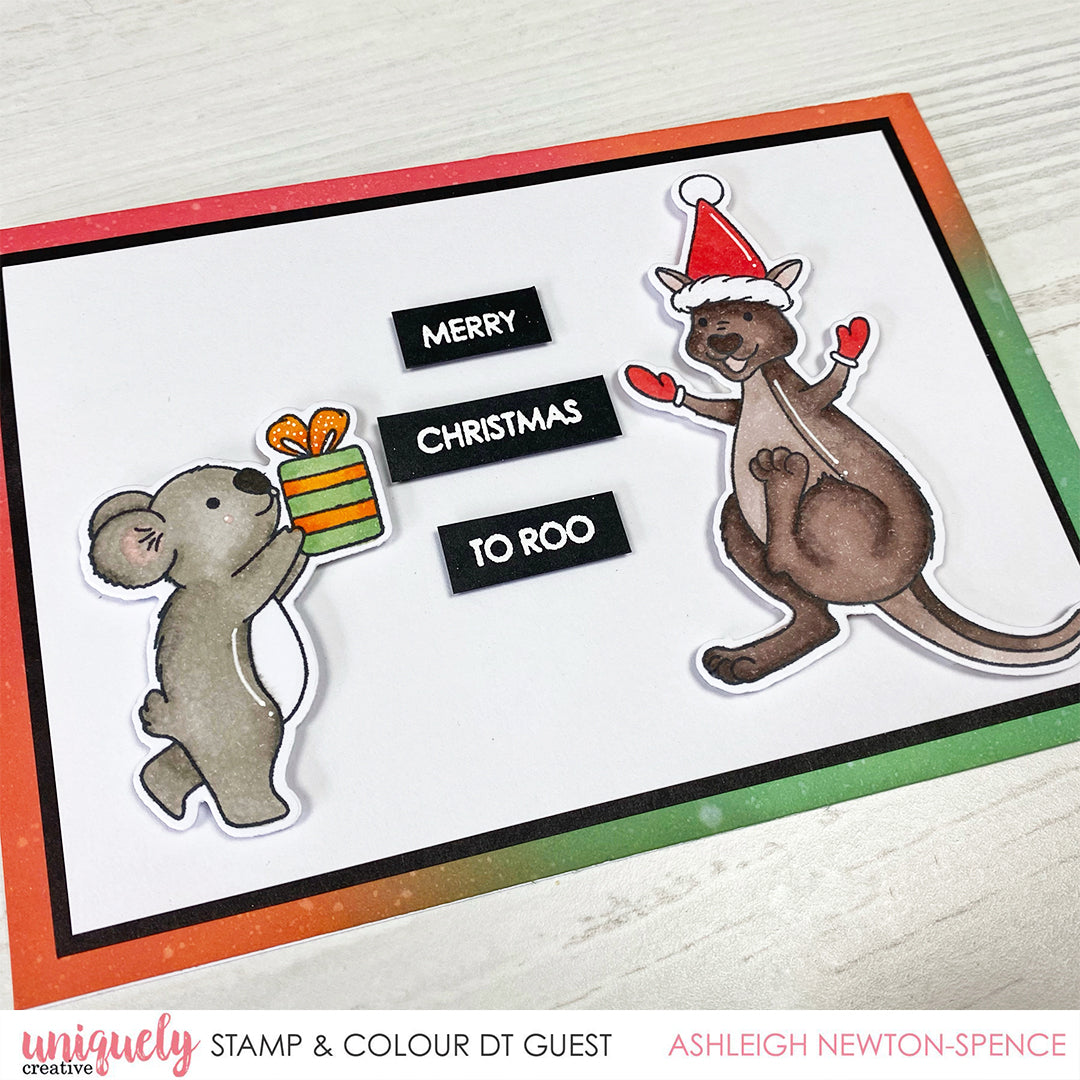
Merry Christmas to Roo - Ashleigh Newton-Spence

Card Size: 10.5cm x 14.8cm
Uniquely Creative Products Used
Aussie Christmas 2 Stamps, Aussie Christmas 2 Die, Clear Sparkle Brush
Other Products Used
Memento Tuxedo Black Ink, Misti Stamping Tool, Tim Holtz Distress Oxide – Festive Berries, Evergreen Bough and Crackling Campfire, Taylored Expressions Blending Brushes, White cardstock, Black cardstock, Blending card, Paper trimmer, Glue Tape, Black Foam Tape, Foam Tape, White Heat embossing powder, Embossing ink, White Gel Pen
Colours Used
Copic Markers:
Koala – W5, W3, W00, 00, W9, G24, G21, YR16, YR07
Kangaroo - R35, R24, E79, E74, E71, E70, R11
Instructions
1. Cut a card base to 10.5cm x 14.8cm.
2. Mask off the back of the card and blend the Oxide onto the front, working with Festive Berries in the top corner, Crackling Campfire in the middle and Evergreen Bough in the bottom corner. As we’re covering the panel with black cardstock, you don’t need to cover the whole panel. Spritz with water, dab off the excess and allow to dry.

3. Stamp out the koala and kangaroo from Aussie Christmas 2 using black copic friendly ink.

4. Colour in the images using copic markers and die cut using the matching dies.

5. Cut a piece of black cardstock to 9.5cm x 13.8cm and a piece of white cardstock to 9cm x 13.3cm. Stack the white on top of the black and then attach to the card front.
6. White heat emboss the sentiment onto black cardstock and cut out into word strips. I like to split it up to make it easier to make a nice border around it.
7. Using foam tape, attach the images and sentiment to the card. I used two different thicknesses of foam tape.
8. To add a little sparkle, add some Clear Sparkle Brush to the ribbon of the gift and the white areas on the hat.

avepqkpdge
March 18, 2021
Muchas gracias. ?Como puedo iniciar sesion?