Merry & Magical Tutorial - Mandy Melville
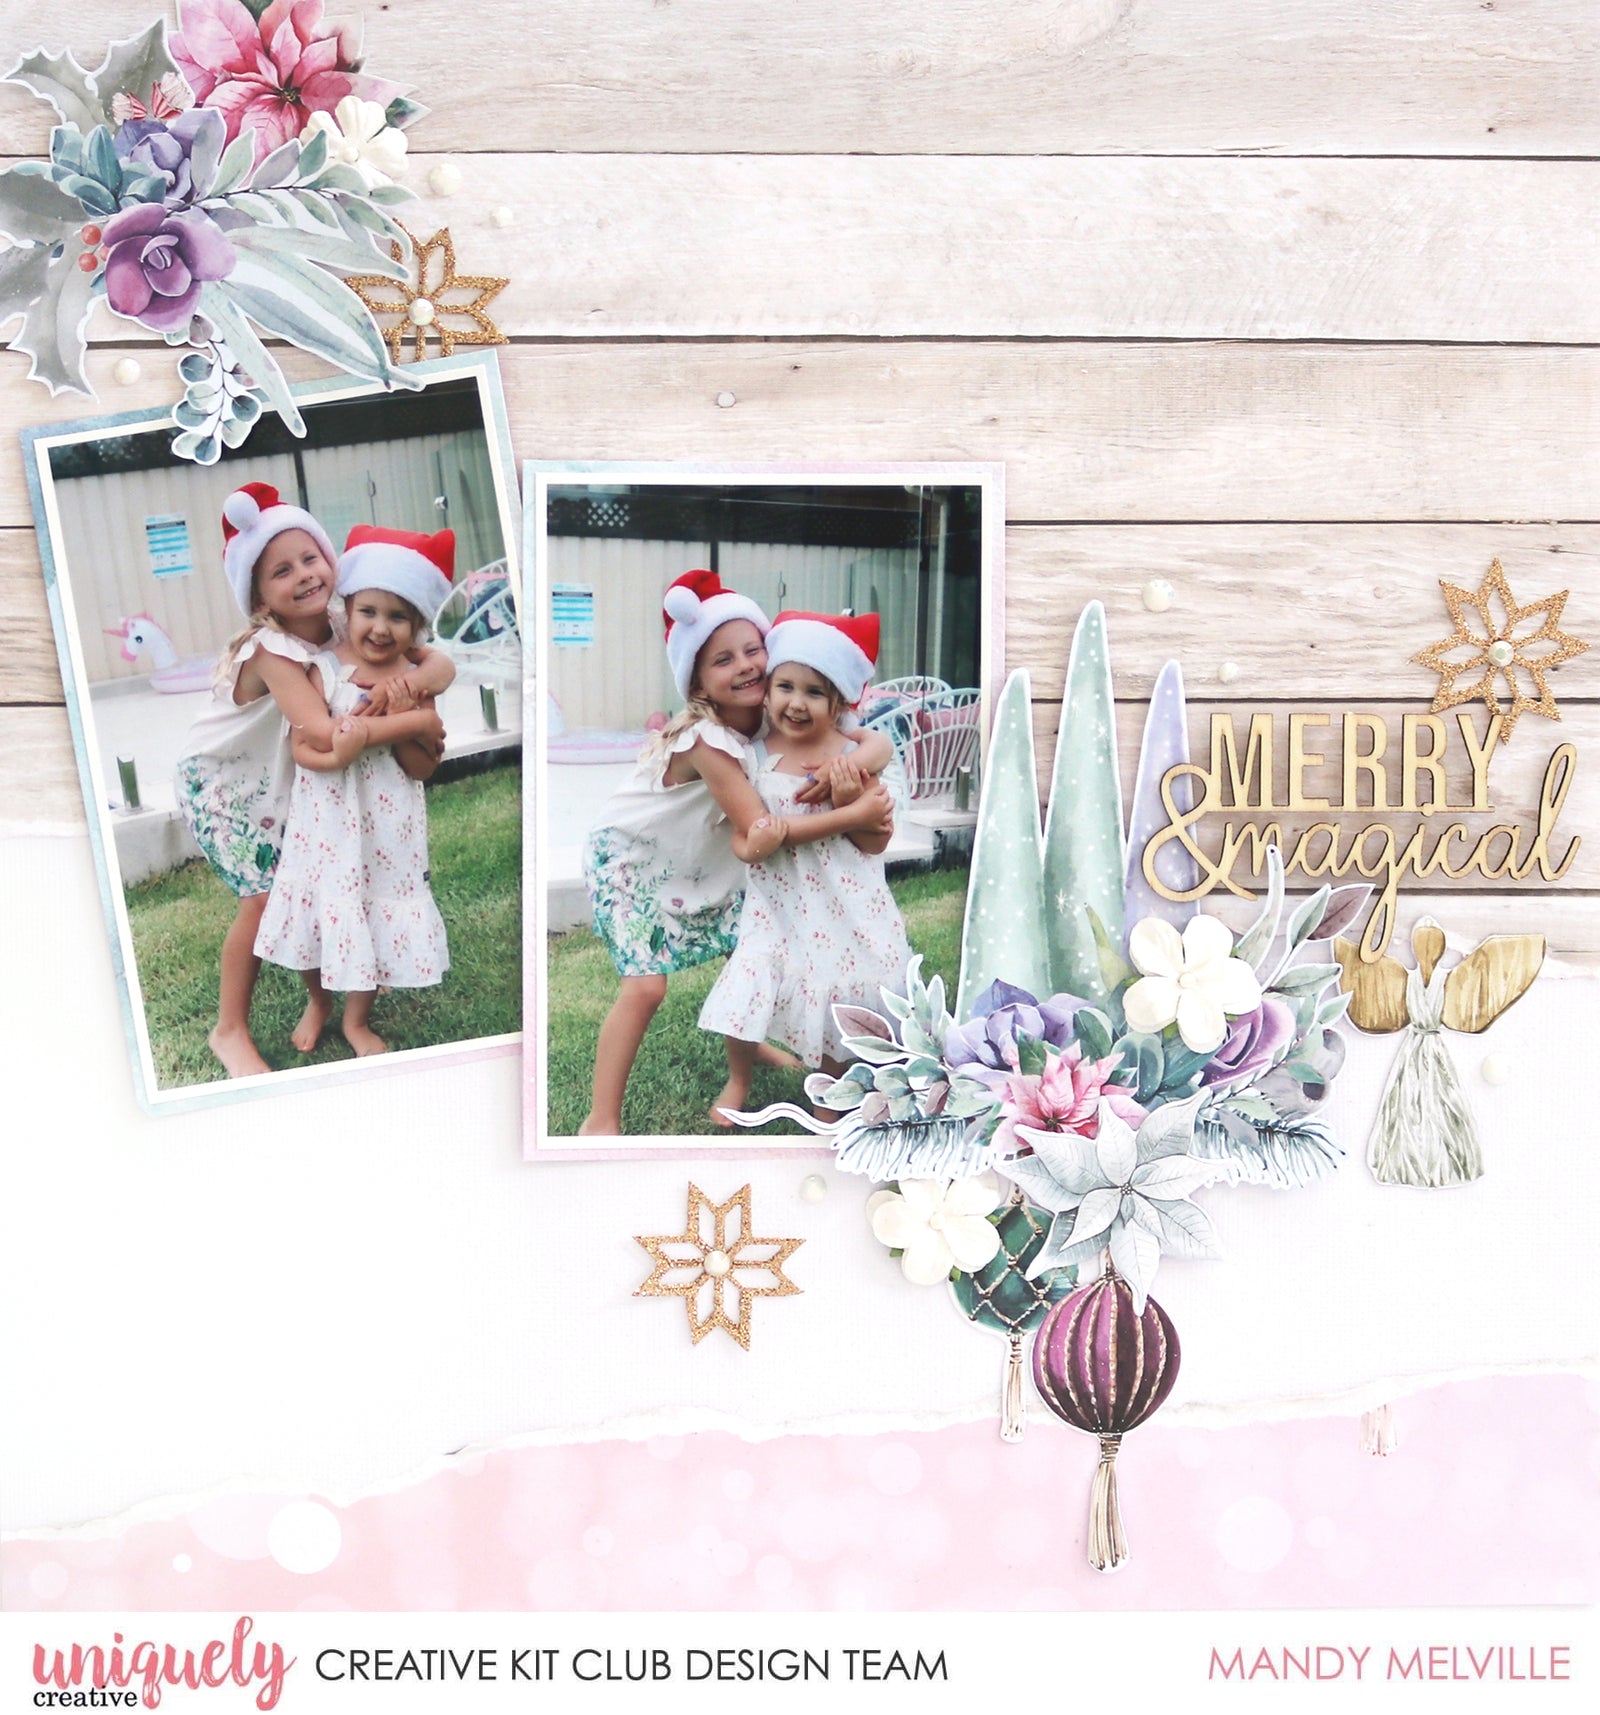

Photos Size: 3¼ ” x 5”
Uniquely Creative Products Used:
UCP2267 Christmas Day, UCP2268 Christmas Eve, UCP2270 Christmas Lights, UCP2271 Christmas Ornaments, UCP2273 Creative Cuts, UCL1721 Laser Cuts, Rose Gold glitter card, UCE1817 White Flowers, UCE1724 Crystal Bling Rhinestones, UCD2008 Nordic Stars Die.
Other Products Used:
Trimmer, Scissors, Adhesives, Foam Tape, Die Cutting Machine, White Cardstock.
Instructions:
1. Starting with the woodgrain Christmas Lights paper, trim 4” off the top so that you are left with a piece that is 8” high x 12” wide. Next tear a strip approximately 1-2” off the bottom of that piece. Adhere the larger piece to the top half of a piece of white cardstock, and then turn the smaller piece over to show the pink side and adhere that piece across the bottom of the page.

2. Matt the photos with the Christmas Eve paper and then adhere them on the left hand side of the page, slightly angled.

3. Create an embellishment cluster to the right of the photos using fussy cut images from the Christmas Ornaments paper, as well as die cuts from the Creative Cuts pack, and white flowers. Adhere some items with foam tape for extra dimension.

4. Adhere the ‘Merry & Magical’ laser cut title to the right of the embellishment cluster.

5. Fussy cut some more florals from the Christmas Ornaments and Christmas Day papers and adhere them in the top left hand corner of the layout.

6. Use the Nordic Stars die along with the Rose Gold Glitter card to cut some stars. Cut apart three of the stars to embellish the layout, and add a crystal bling rhinestone to the centre of each. Finish the layout off with a few more crystal bling rhinestones scattered around the floral clusters.
