My Hero Tutorial - Stephanie Donnini

Uniquely Creative Products Used:
- UC1859 Aussie Heroes Stamp
- UCD2042 Aussie Heroes Die
- UC1860 Heromobiles Stamp Set
- UCD2043 Heromobiles Die
- UCD1958 Cut-a-part Essentials #5 Die
- UCD2041 Nature Scene Die
- Scene Builder Clouds & Grass Stencil
- Foam Mounts
Other Products Used:
-
Blending cardstock
- Glossy accents
- White Gel Pen
- Distress ink- Tumbled Glass, Mowed Lawn, Twisted Citron.
- Copic Markers: 100, N8, N5, N1, N0, R29, R24, R22, E59, E57, E35, YG67, YG17, YG03, YR68, YR15, Y19, Y15
Instructions:
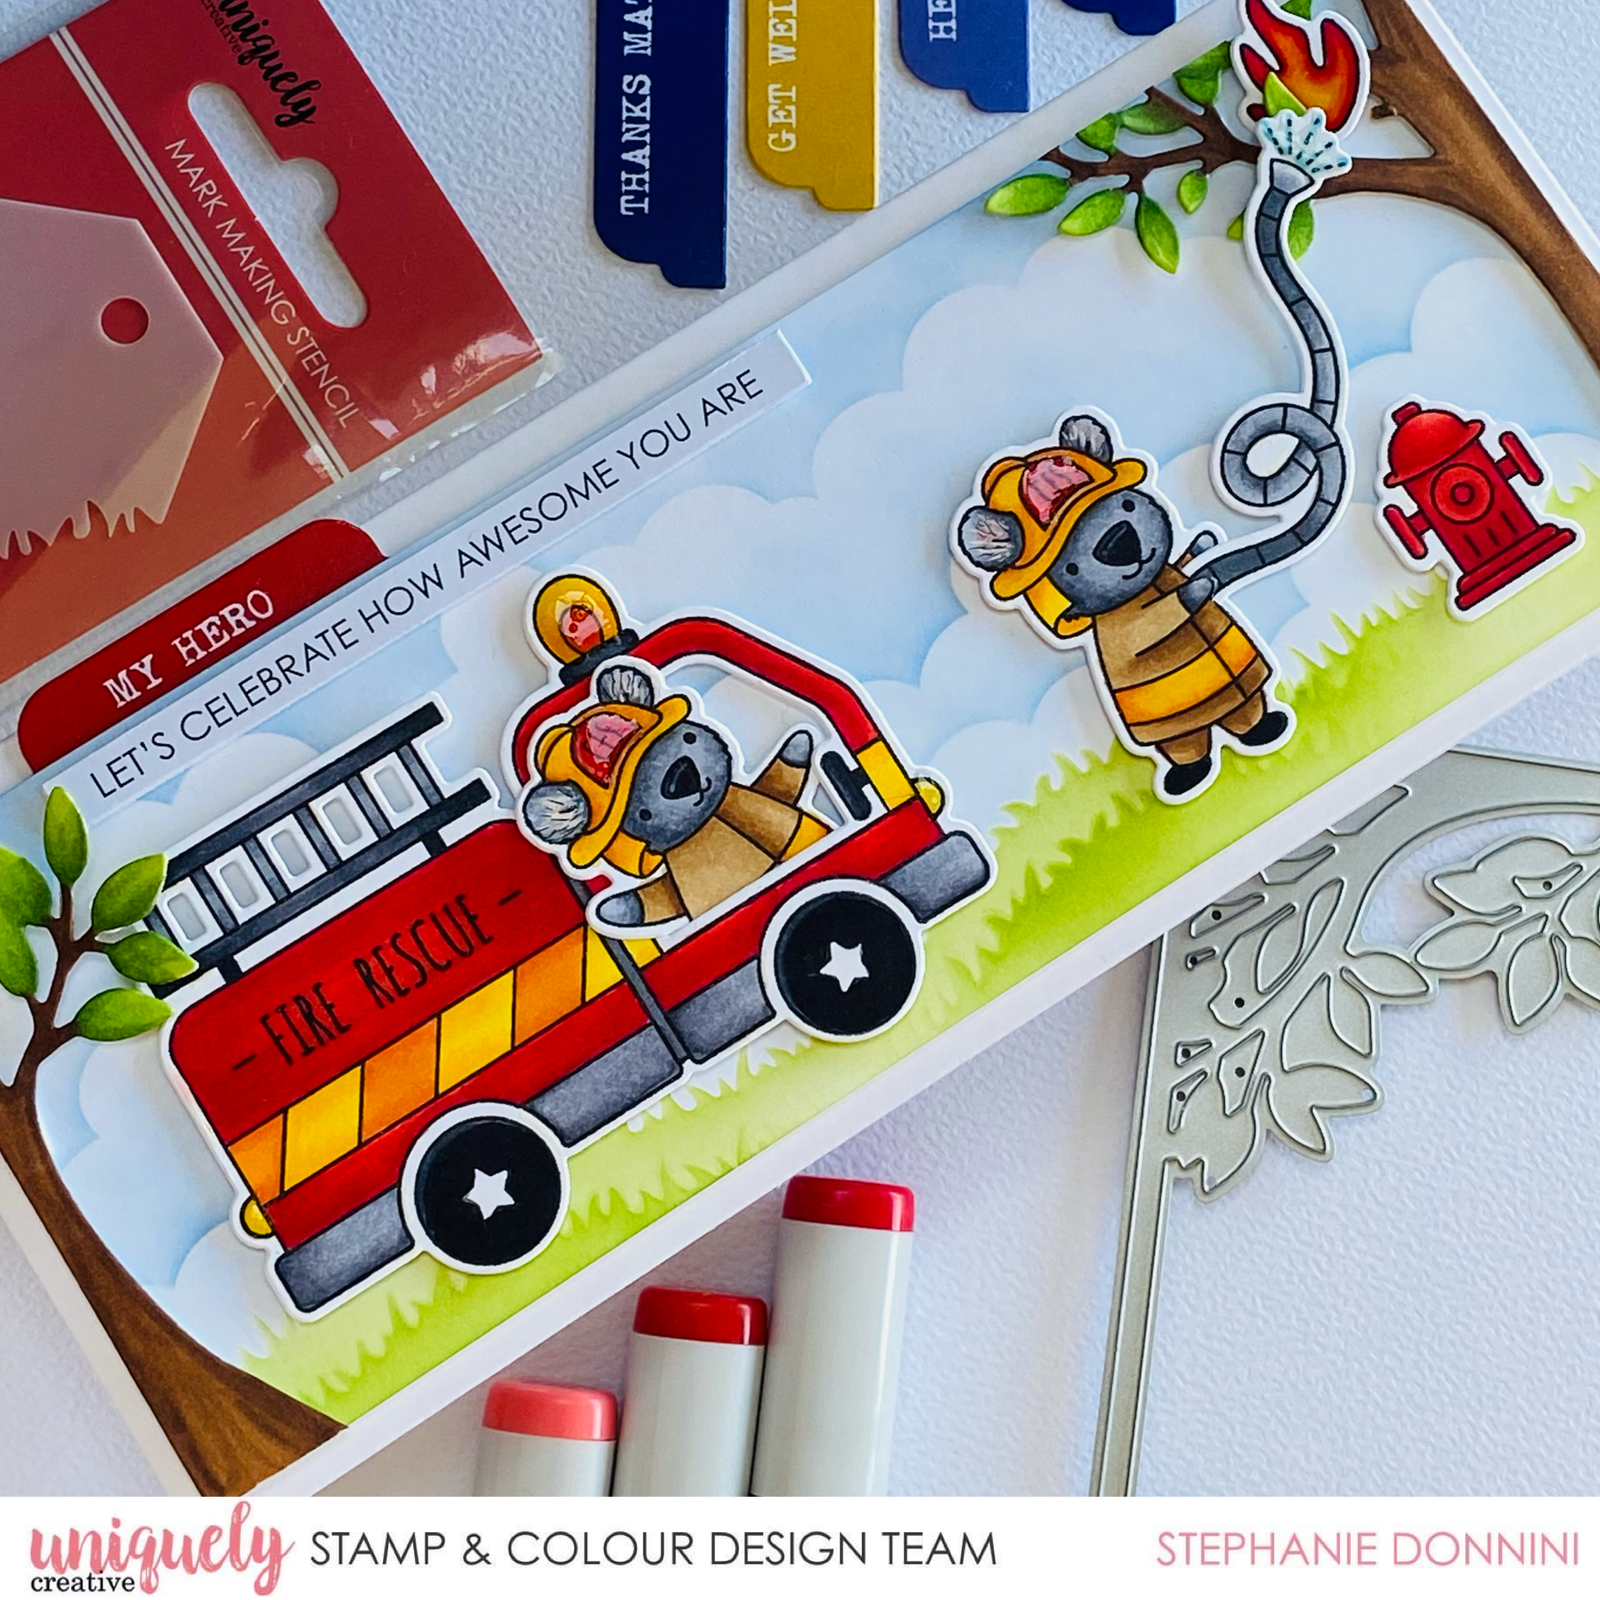
1. Stamp ‘Aussie Heroes’ images on white blending card using Copic friendly black ink. Colour images with Copic markers, then cut out using the co-ordinating dies.

2. To create the background, use the Scene Builder Clouds & Grass stencil. For the grass, use a combination of light and dark green inks to create dimension. Clean off the stencil and add the clouds. Cut this panel down to be around 8cmx20cm.

3. To add to the scene, die cut the ‘nature scene’ die from some blending cardstock. As we are making a slimline card, cut off the trees from each end and colour with Copic markers.

4. Take the Cut apart sheet and die cut out the labels using the coordinating essentials #7 die.

TIPS: If you love dimension on your cards, layer each component with foam mounts and your card will pop! For the finishing touches apply glossy accents to the lights, helmets and water.

