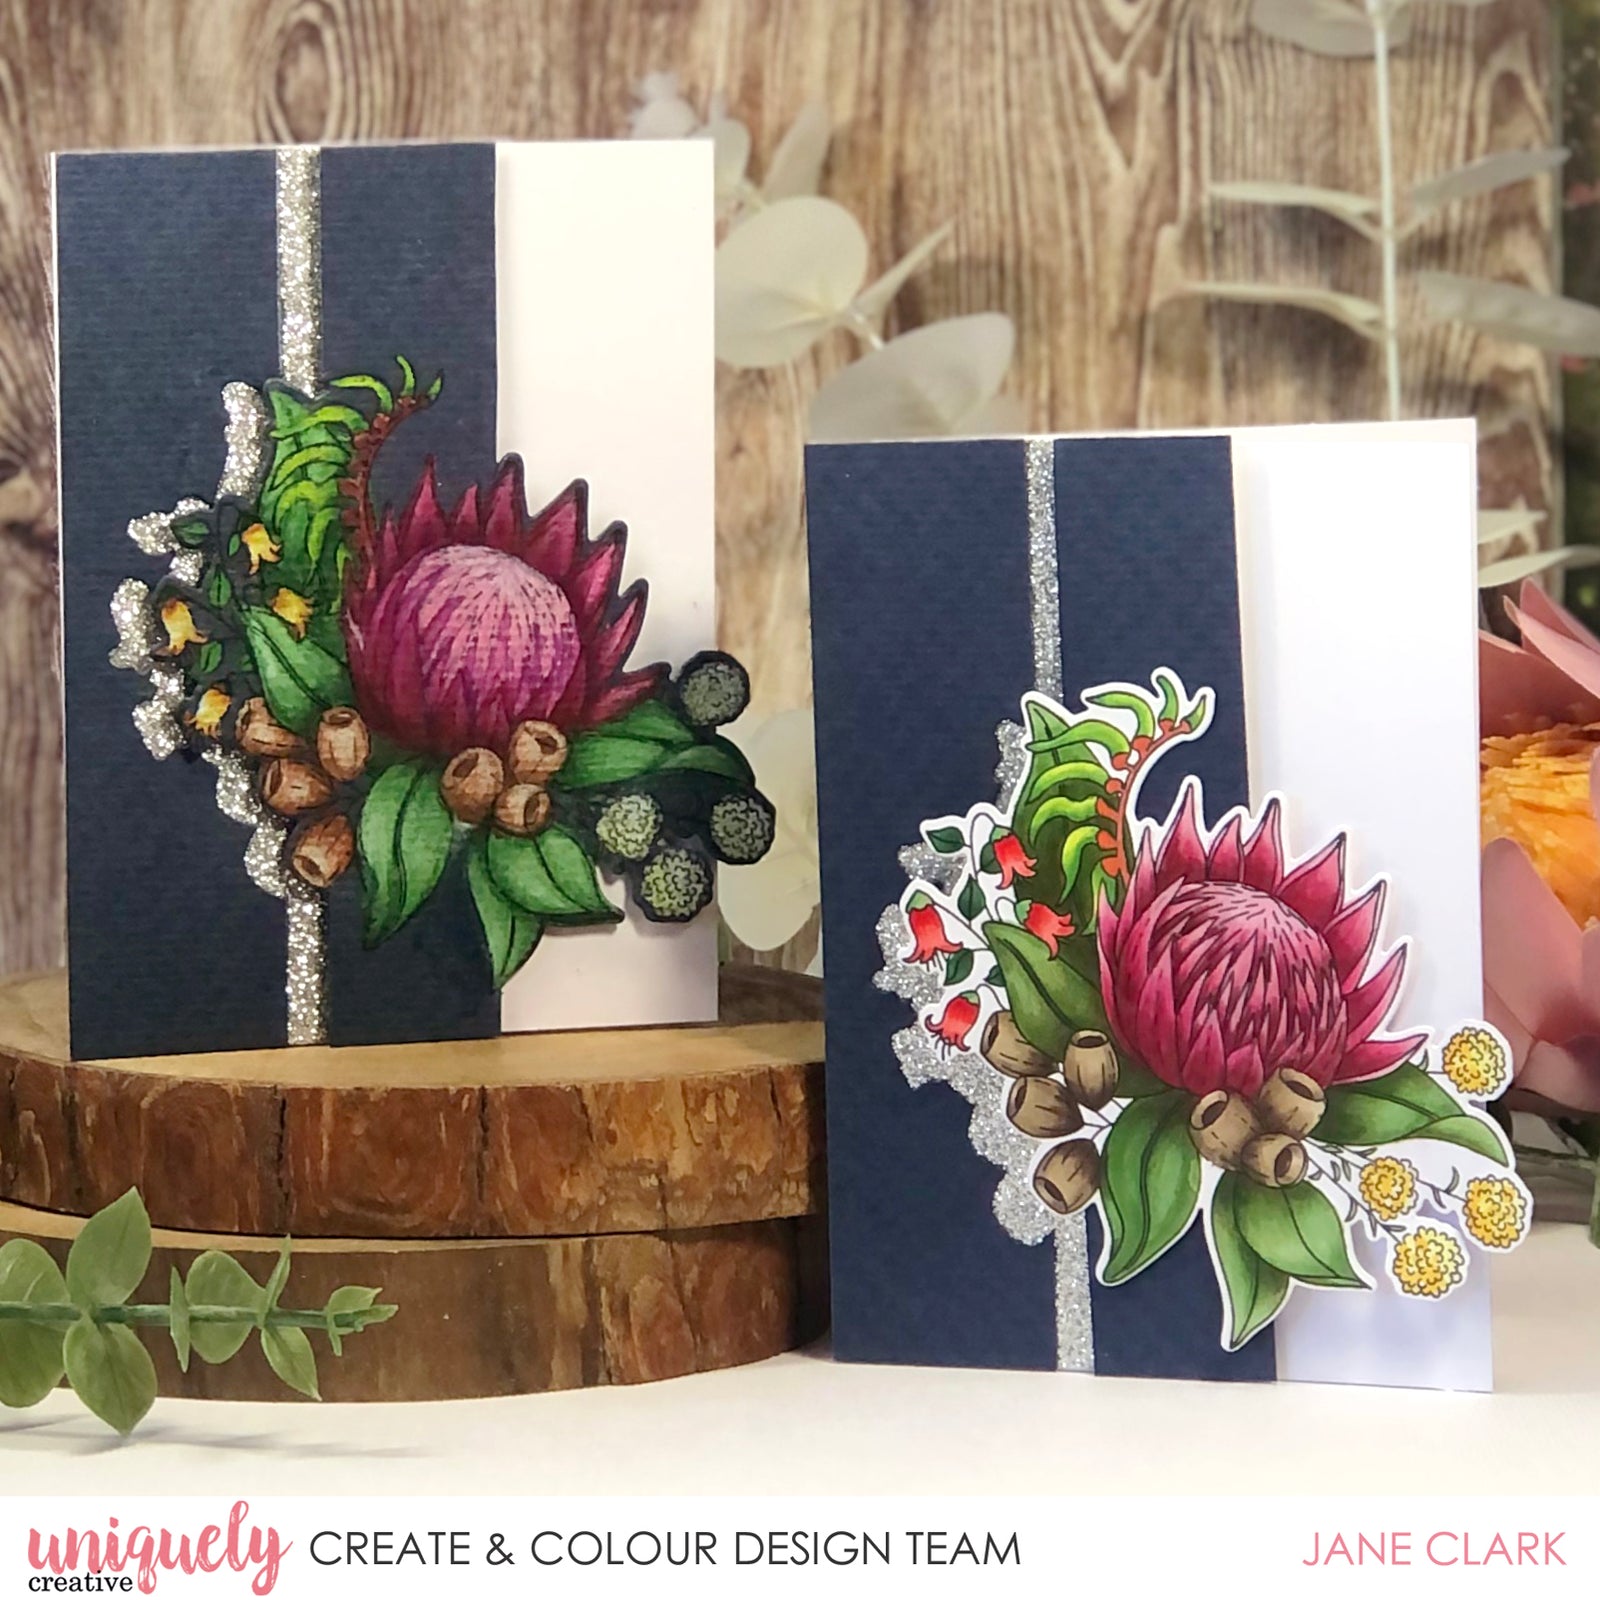
Navy Natives Tutorial - Using Primacolor Pencils & Copic Markers - Jane Clark

Uniquely Creative Products Used:
-
UC1885 Australian Natives Stamp UCD2087 Australian Natives Die - UC Rectangle Cards and Envelopes
- Foam Mounts Squares and Strips
Other Products Used:
- Memento Tuexdo Black ink
- Silver Glitter Card
- Navy Card
- Die-cutting machine
- Washi Tape
Prismacolor Pencils: PC914, PC940, PC1003, PC118, PC994, PC925, PC928, PC930, PC923, PC922, PC195, PC1004, PC989, PC912, PC1096, PC908, PC120, PC1093, PC943, PC1082, PC938 - Copic Markers: R21, R22, R24, R81, R83, R85, R89, YR07, Y04, Y17, YG17, YG61, YG67, G29, G94, E41, E43, E44, E49
Instructions:
1. Secure the Australian Natives die over the coloured Australian Native image using Washi tape. Sandwich the card and die between the plates with half of the image and die hanging off the edge as shown. The areas hanging off the edge will NOT cut.

2. Only the section that was touching the plates will cut.

3. Use a ruler and the PC938 white pencil to draw a vertical line at the top and bottom of the image so they meet the die-cut edge.

4. Cut along these lines using scissors so you end up with two pieces as shown.

5. Draw two more vertical white lines 25mm from the right-hand edge so they meet the image, this will be used as a guide for the next step.

6. Secure the Australian Native die over the image and secure it in place using Washi tape.

7. Sandwich the piece between the plates as in step 1, ensure the white lines are in alignment with the edges of the plates, see picture for reference. Remember the area hanging off the edge of the plates will NOT cut, as required.

8. Remove the die, you should have three pieces as pictured. Use the centre stamped section and the left-hand piece to create the card.

To create this card using your copic markers, follow the above instructions using the listed copic colours above.
