Total Bliss Tutorial - Rachel Funnell

Uniquely Creative Products Used:
UCP2400 Willow UCP2401 Delilah UCP2404 Hazel UCP2406 Marigold -
UCP2399 Creative Cuts UCE1892 Wooden Alphabet UCE1903 Lace Paisleys UCE1764 Champagne Pearls - UCD2088 Lacey dies
Other Products Used:
- UC Foam Mounts
- UC Scissors
- UC Sanding Block
- Ruler
- Trimmer
- Adhesive Tape
- Glue
- Die cutting machine
Instructions:
1.

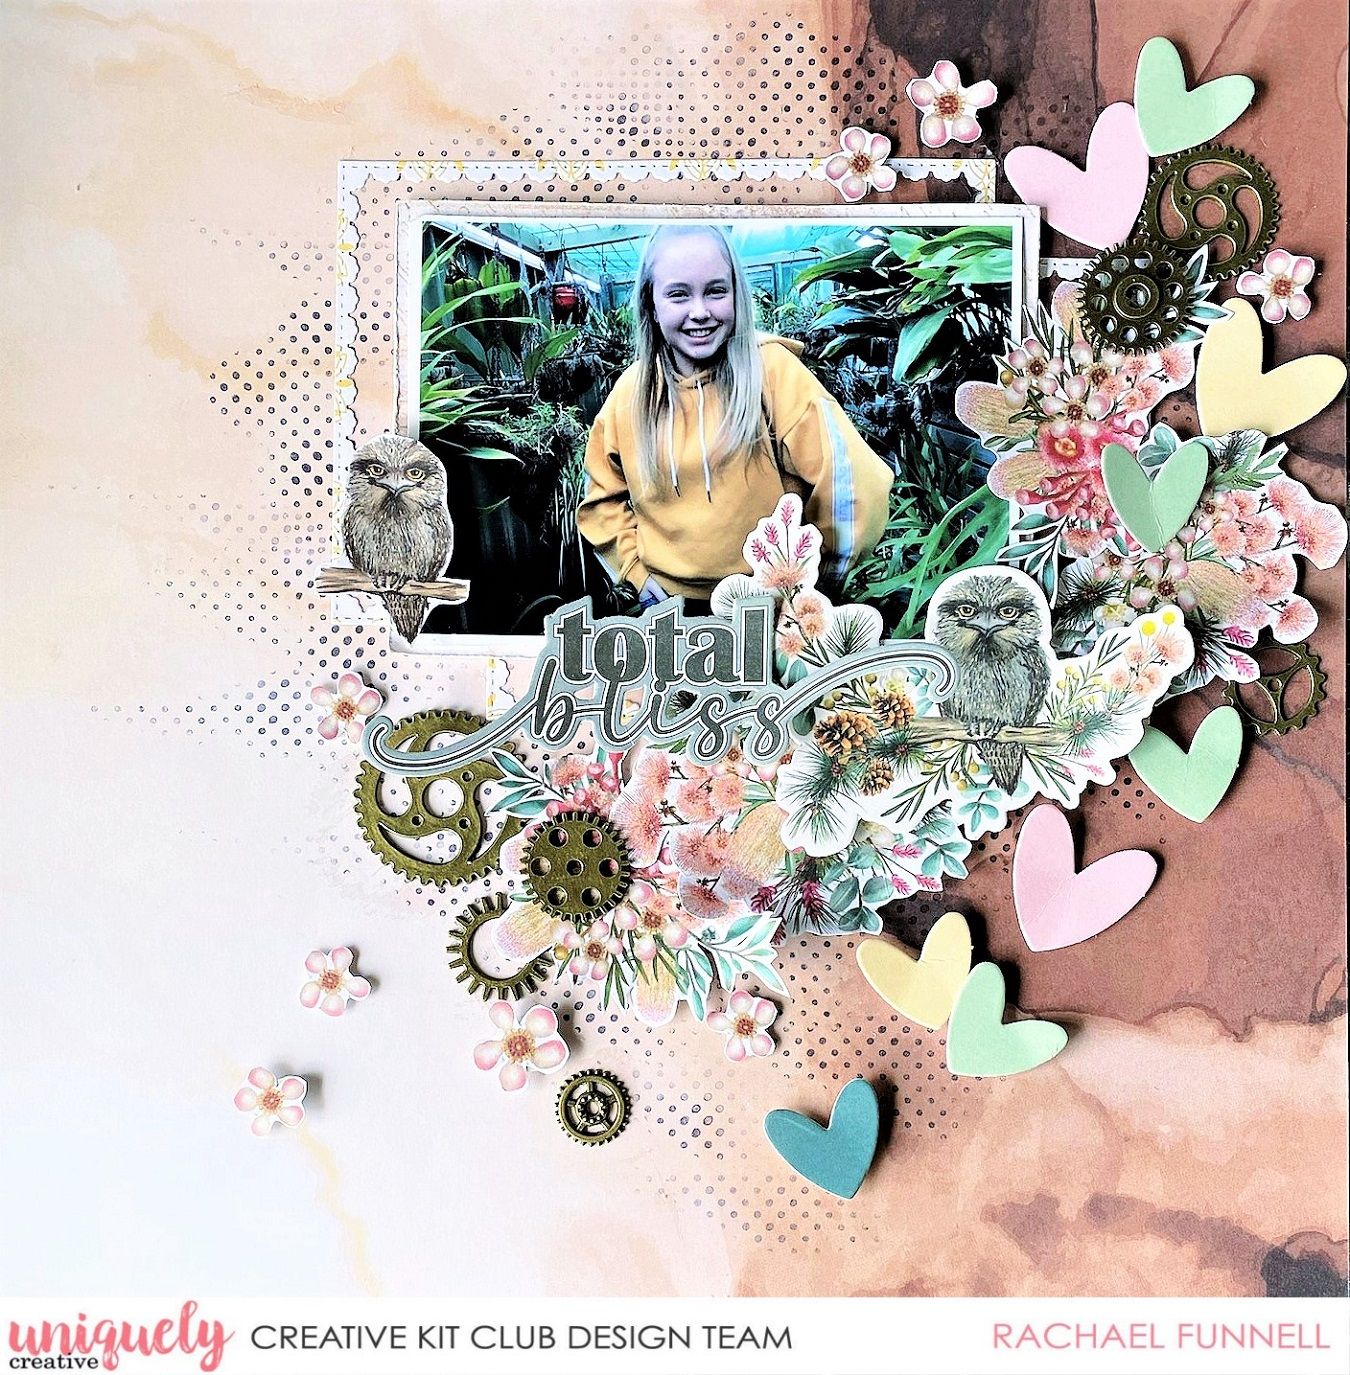
3. Using the large frame from the lacey die set, cut out two of these frames using the reverse side of the Country Bloom paper and glue down the two die cut frames.

4. Cut a 5 1/2" x 4" rectangle piece from the Back Fence paper sanding all 4 x edges and adhere your photo to this piece using foam squares.
5. Fussy cut out a few of the flower clusters, using the Flora & Fauna fussy cuts paper and adhere the flower clusters using foam mount squares. Lift the leaves of the flower clusters to give them a little more dimension.

6. Select a title and a few of the embellishments from the creative cuts and adhere to these using a foam mount.

7. Select a few of the brass cogs and adhere to the creative cuts using strong glue.

8. Using the Flora and Fauna fussy cut paper, cut out some flowers and a few single pink flowers and adhere using foam dots to finish.
