PLAY IN THE SUN LAYOUT TUTORIAL - MARIA ALOISI

Welcome to our January Collection - Bohemian Escape!
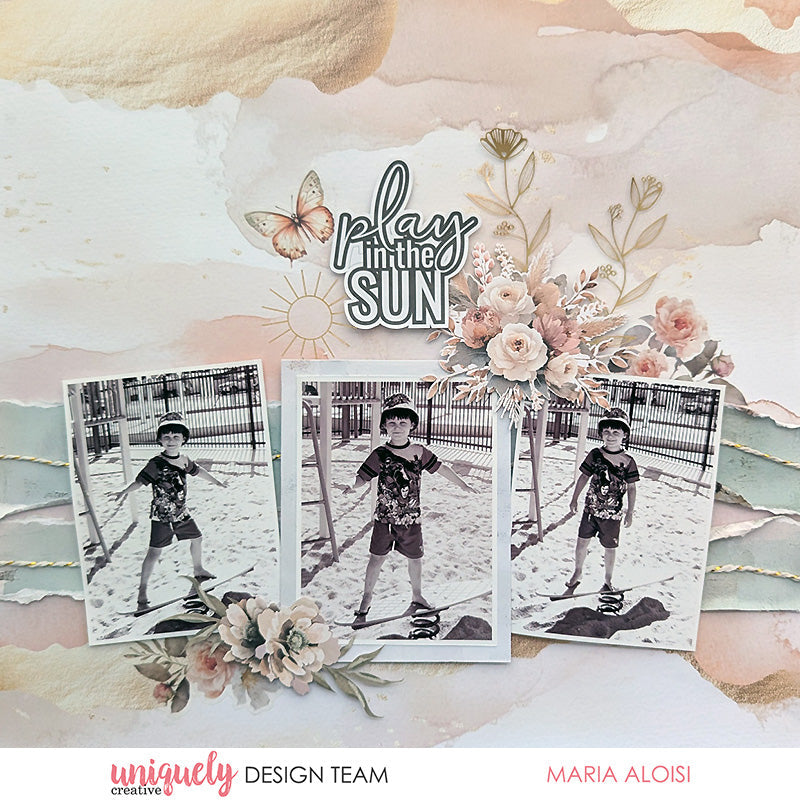
To recreate this great layout created by Design Team member Maria Aloisi you can follow the steps below:
Uniquely Creative Products Used:
· UCP3038 Sunkissed Soul Paper
· UCP3041 Summer Breeze Paper
· UCP3043 Sunlit Memories Paper
· UCP3045 Soak up the Sun Paper
· UCP3048 Bohemian Escape Creative Cuts
· UCP3050 Bohemian Escape Vellum Creative Cuts
· UCE2165 Bohemian Escape Rub-ons
· UCE2173 Gilded Threads Twine
· UCE2169 Botanical Foil Acetate
· UCE1803 Foam Mounts Squares & Strips
· UCE1859 6mm Double Sided Tape
· UCE1872 Fussy Cutting Scissors
Other Products Used:
· Paper trimmer
· Glue
Photo size: three 3"x4" portrait photos
Step 1:
Use the Sunlit Memories (reverse) paper for the base. Remove the branding strip – See image 1
Step 2:
Cut two pieces 1¾” x 12” from the Sunkissed Soul (reverse) paper. Distress the long edges on both strips. Add to the base page, 6” from the top. Using glue, add thread on top of the torn strips – See image 2
Step 3:
Using foam mounts, add three 3” x 4” photos to the base page. Mat the centre photo with the Summer Breeze paper, leaving a ¼” border – See image 3
Step 4:
Cut the ‘play in the sun’ sentiment from the Soak up the Sun paper. Add creative cuts and vellum creative cuts – See image 4
Step 5:
To finish, rub on a sun image close to the sentiment. Fussy cut a couple of floral images from the Botanical Foil acetate and, using glue, add to the page – See image 5
2 Responses

Celia
January 13, 2026
Quite simple really but very effective