30 day change of mind returns available
30 day change of mind returns available
Add description, images, menus and links to your mega menu
A column with no settings can be used as a spacer
Link to your collections, sales and even external links
Add up to five columns
Add description, images, menus and links to your mega menu
A column with no settings can be used as a spacer
Link to your collections, sales and even external links
Add up to five columns
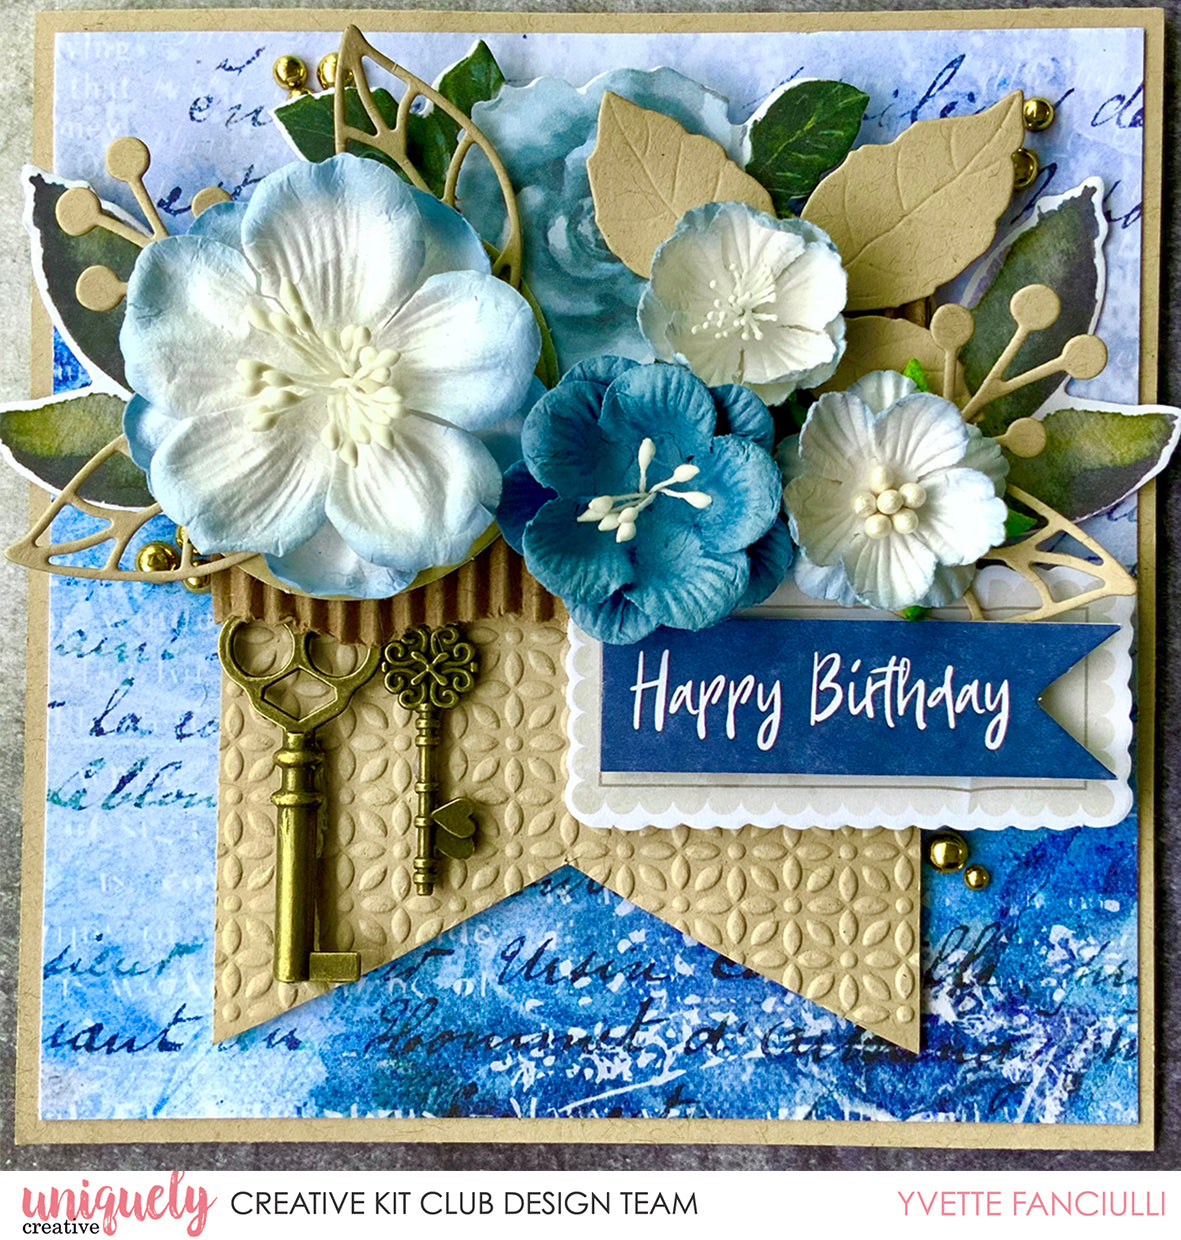
Roots & Wings Happy Birthday - Yvette Fanciulli
April 17, 2021

Uniquely Creative Products Used
UCP2180 The Door Is Always Open, UCP2176 The Scenic Route, UCD1968 Mixed Leaves Die, UCE1729 Gold Pearls, UCE1827 Mixed Keys, UCE1815 Dusty Blue Flowers, UCP2184 Roots & Wings Creative Cuts, Corrugated Card, Kraft Cardstock, UCEF2004 Daisy Embossing Folder
Other Products Used
Trimmer, Scissors, Glue, Double-Sided Tape, Foam Tape, Die Cutting Machine, White ½ ” Square Card Blank
Instructions
1. Cover the card front with a piece of The Door Is Always Open paper (14x14cm). Cut a (13x13cm) square of Kraft cardstock, and a (12.5cmx12.5cm) square of The Scenic Route paper. Layer together and attach to the card front.
2. Using the Daisy embossing folder and a (8cmx9cm) piece of Kraft cardstock, create the embossed banner, cutting a v to form the banner.

3. Die cut some leaves using Kraft cardstock

4.Cut a small piece of corrugated cardboard (8cmx6cm) then choose some flowers to use. Don’t adhere just yet.

5. Start with the embossed banner, add the corrugated cardboard on top, tearing the bottom edge. Then add some creative cuts and flowers, when happy with composition, adhere.

6. Use glue to add a couple of keys to the left side.

7. Decorate with gold pearls to finish.

Leave a comment
Newsletter
Join our mailing list and never miss an update …
