Slimline Tag Cards - Lydell Quin

These lovely tag cards were fun to make. Slimline cards are my favourite format card to make and using a die to cut them into a slight variation of shape adds a bit more interest - Scroll down to the bottom to see a fabulous video on how to extend your tag using the Tags, Tops & Tails Die!
Let's take a look at the cards.
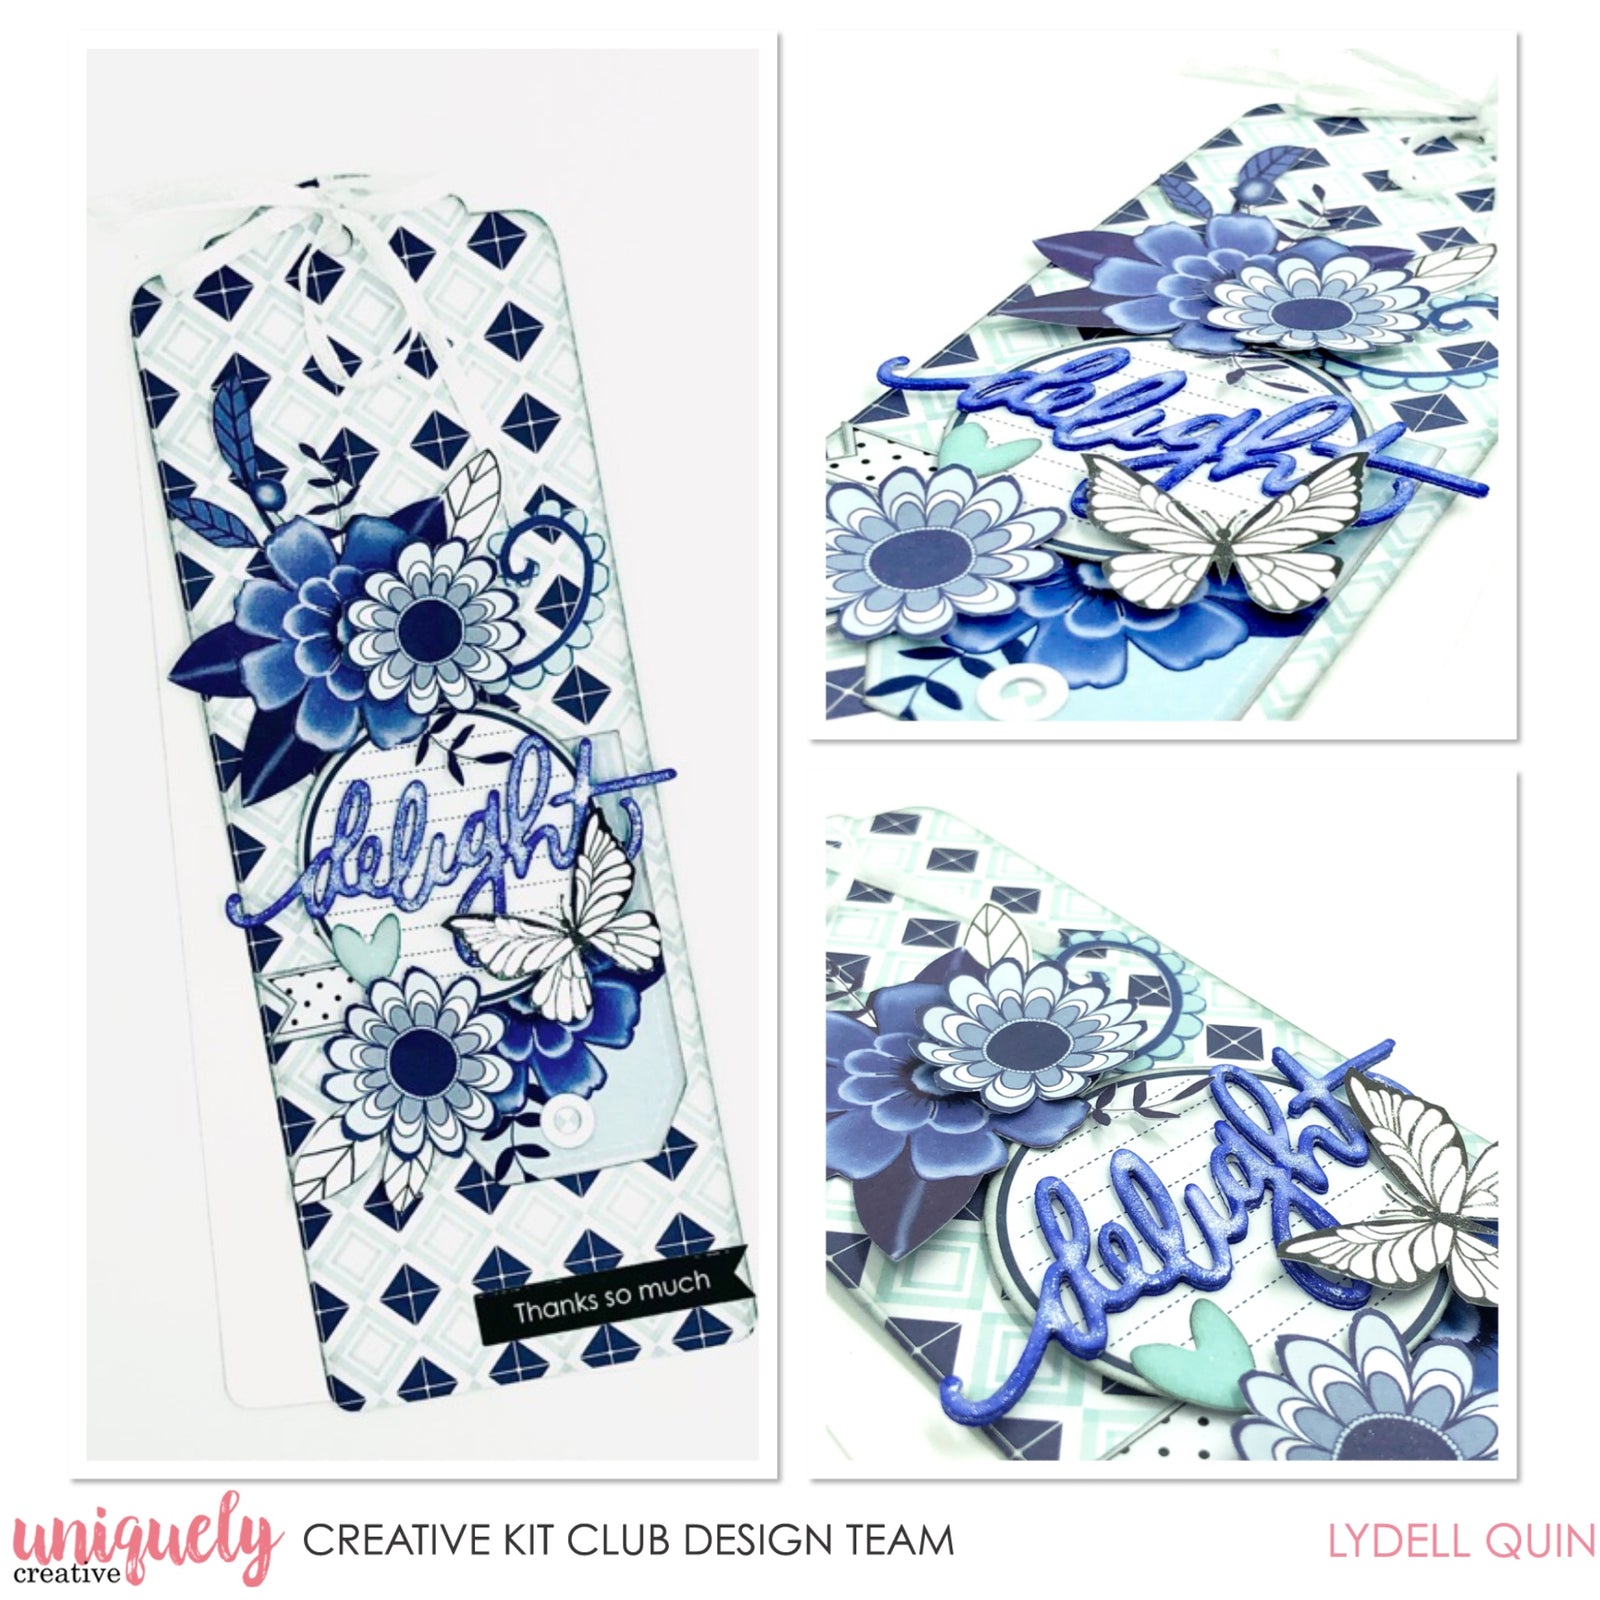
Delight Tag Card #1
Uniquely Creative Products Used
UCP2116 Something Blue Collection Pack, UCP2118 Something Blue Creative Cuts, Something Blue Cut-a-part sheet, Watercolour Cardstock, Clear Sparkle Brush, Cut-a-Part Essentials #1 die, Tags, Tops & Tails Die, UNIQOLOUR Markers
Other Products Used
White ribbon (cut from clothing), Black Soot Distress Ink
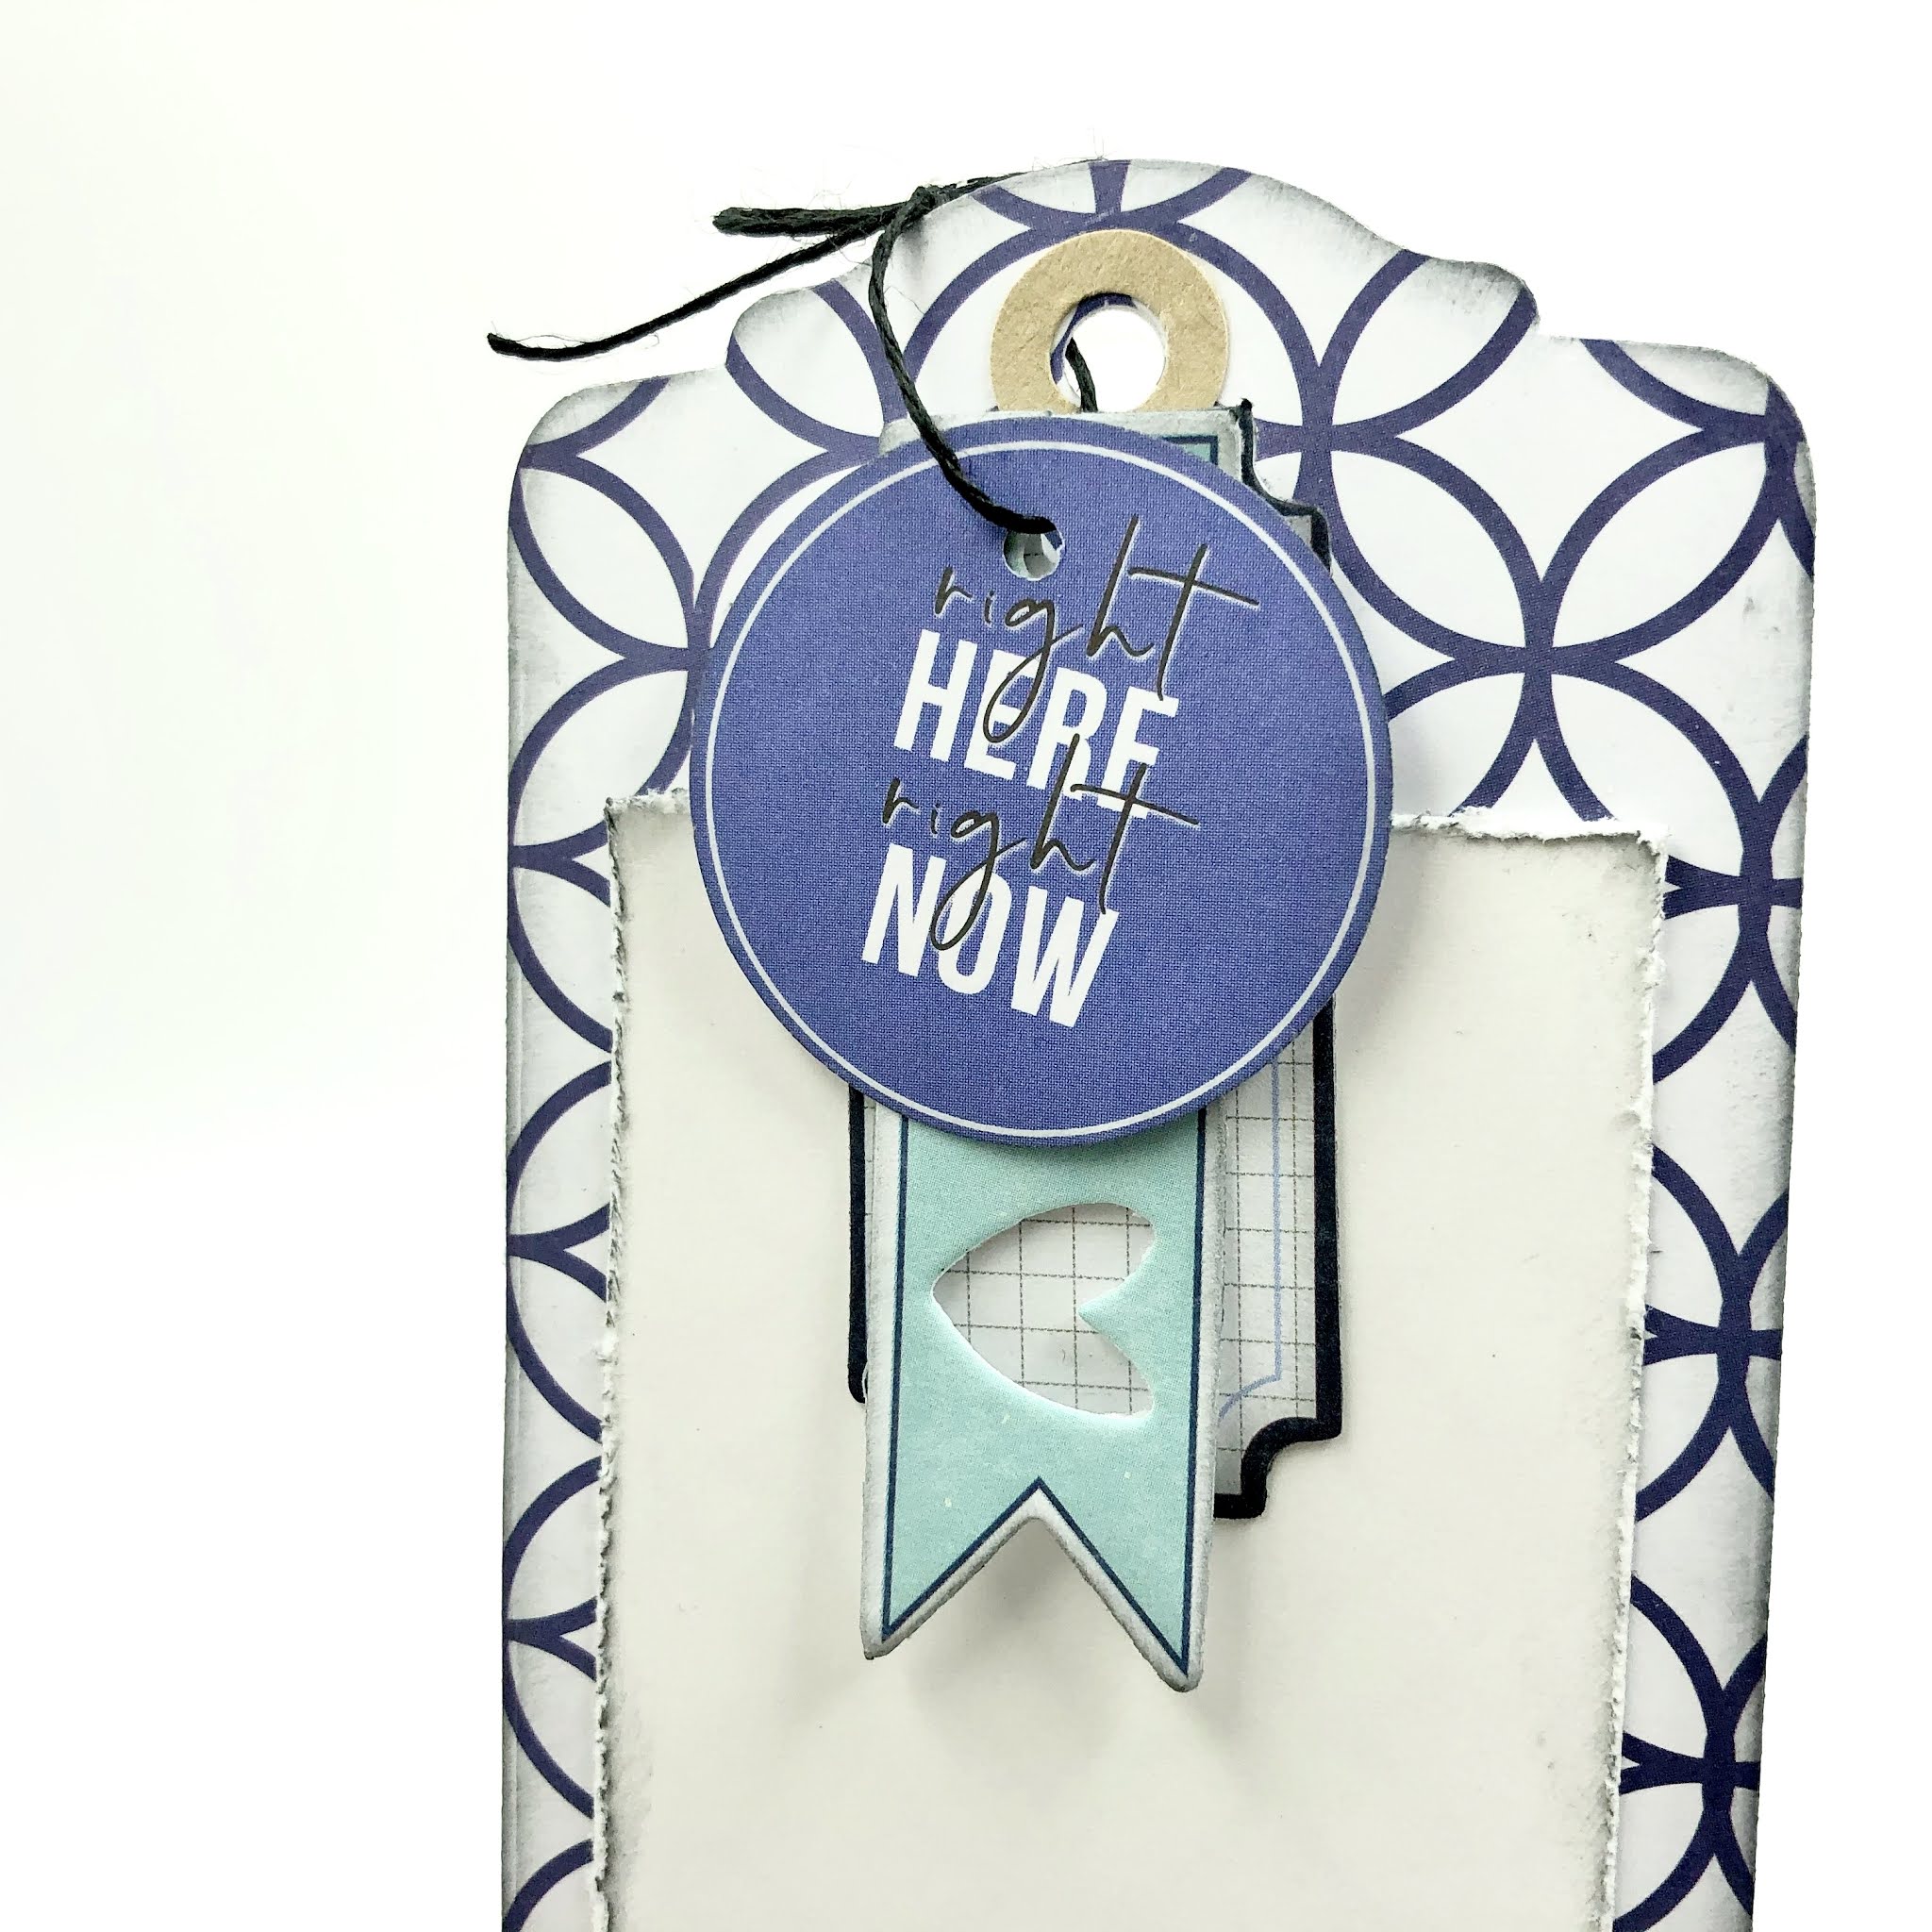
This first tag card is a little different in that is does not have a fold. Like a traditional tag, two tag pieces are held together with a ribbon through the hole at the top and the back tag (white cardstock for writing the sentiment) slides aside from the back rather than opening like a regular card.

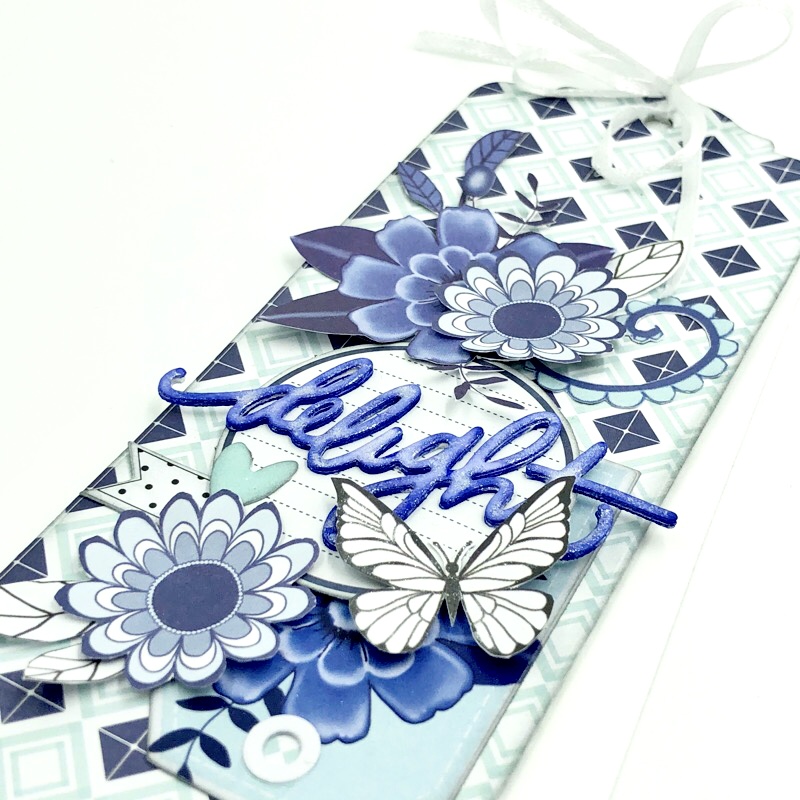
The delight word is 3 die-cut words glued together to create a thicker word, coloured with a blue UNIQOLOUR Marker and then covered with Clear Sparkle Brush
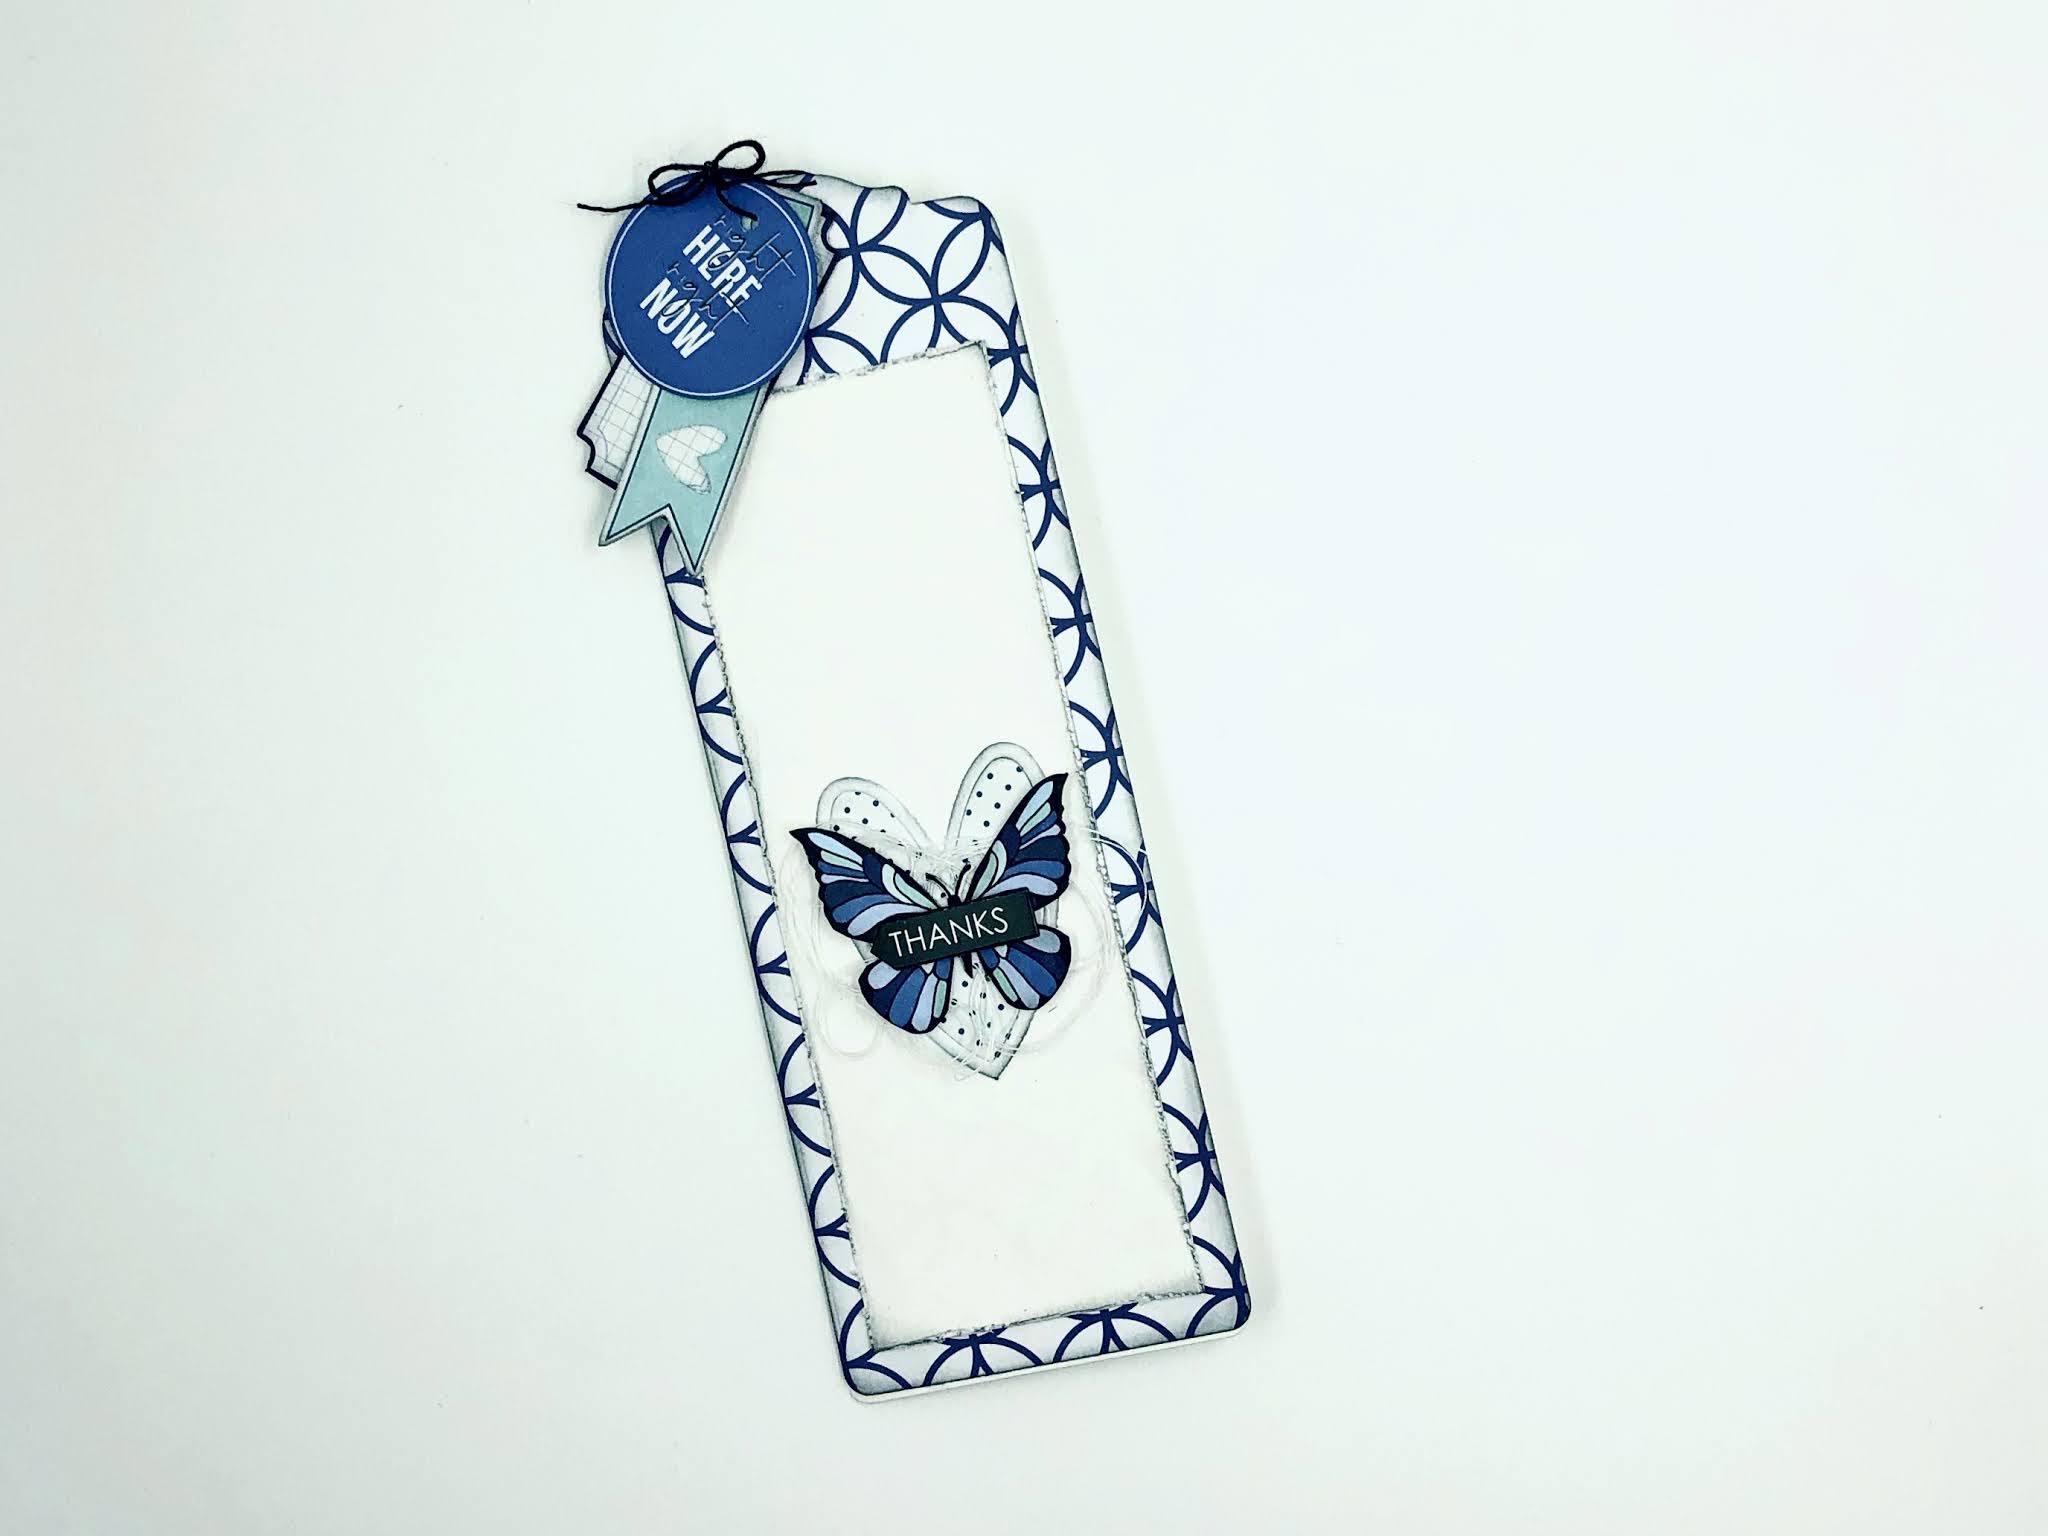
Delight Tag Card #2
Uniquely Creative Products Used
UCP2116 Something Blue Collection Pack, UCP2118 Something Blue Creative Cuts, Something Blue Cut-a-part sheet, Watercolour Cardstock, Cut-a-Part Essentials #1 die, Tags, Tops & Tails Die
Other Products Used
Black String, Black Soot Distress Ink
This card is cut out using the Tags, Tops and Tails Die, including a fold so it behaves like a regular card. It does require running back and forth through your die-cutting machine to ensure a good cut through both layers of the paper, but it does work well!
 |
| .....with this one being cut from double-sided paper you will need a thin paper insert to enable you to write in the sentiment. A piece of regular copy paper is totally fine and can be cut into a rectangle just a little shorter than the shaped top of the card and a thin strip of adhesive added to the back-side, just off the spine, leaving the front piece free to avoid distortion. |