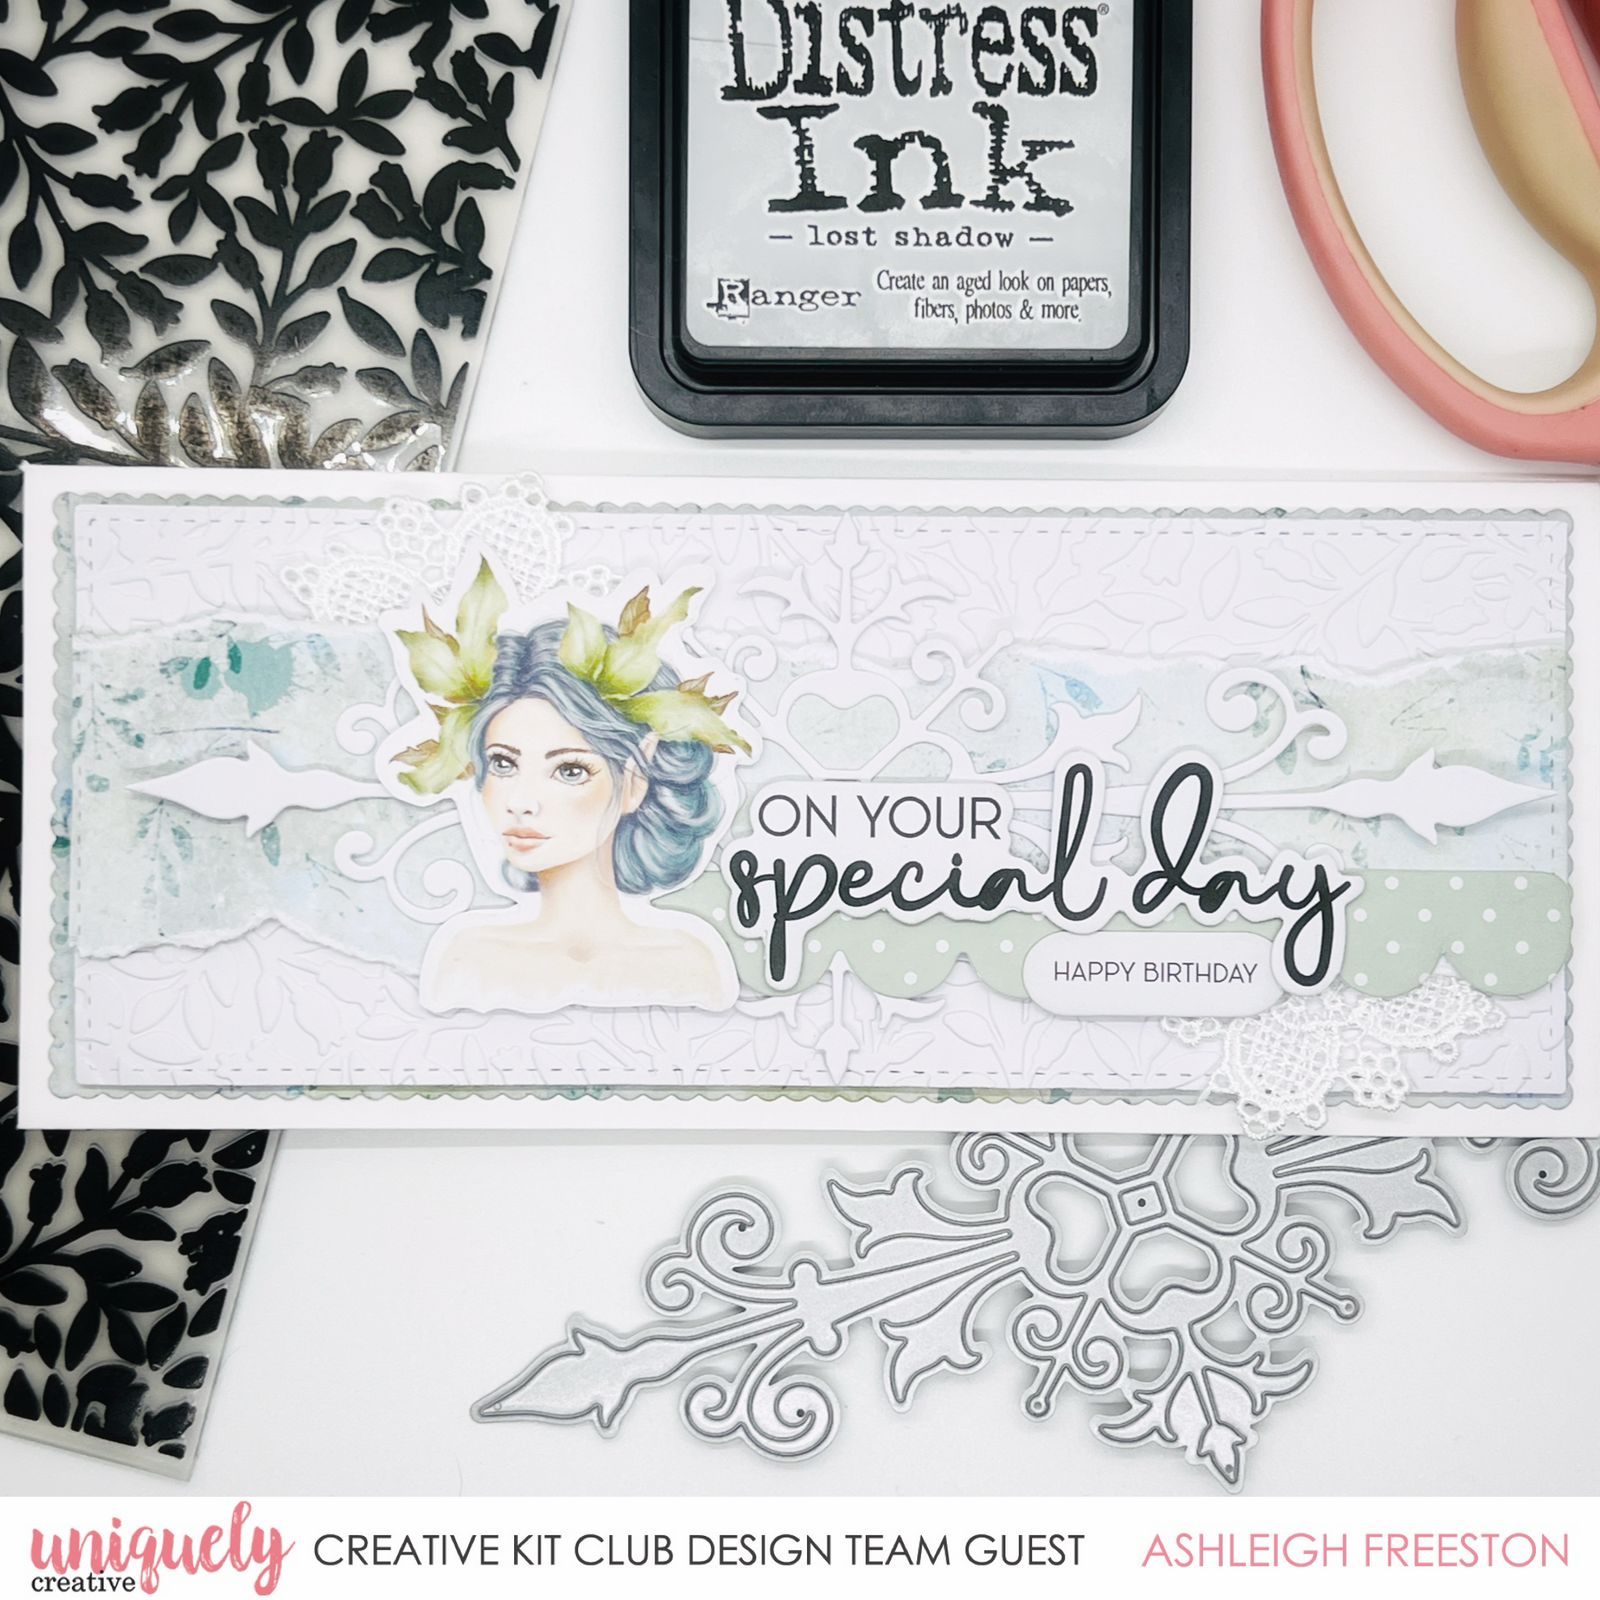
ON YOUR SPECIAL DAY SLIMLINE CARD TUTORIAL - ASHLEIGH FREESTON

Shop the products
Uniquely Creative Products Used:
- UCP2740 Fairytale paper
- UCP2748 Enchanted Forest Creative Cuts
- UCP2749 Enchanted Forest Characters Creative Cuts
- UCE1849 Delicate Lace Flowers
- UCD2145 Ironwork Flourish die
Other Products Used:
- UCD1973 Slim Scalloped Nesting Rectangle die
- UCD1972 Slim Stitched Nesting Rectangle die
- UCEF2011 Breathtaking Embossing Folder
- UCE1872 Fussy cutting scissors
- UC slimline card (8.8cm x 21cm)
- UC foam mounts, double-sided tape
- Trimmer, die cutting machine
- Smooth white cardstock
- Lost Shadow Distress Ink
Instructions:
- Die cut a piece of Fairytale paper with slim scalloped nesting rectangle die – See image 1

- Die cut the slim stitched nesting rectangle die from white cardstock. Emboss rectangle with Breathtaking Embossing Folder – See image 2.

- Die cut the Ironwork Flourish die from white cardstock – See image 3.

- Die cut another piece of Fairytale paper with slim stitched rectangle die. Tear piece on top and bottom of long side. – See image 4.

- Find all other elements for the card. Adhere the vellum creative cut girl onto white cardstock and fussy cut. Locate the sentiments and scallop border from creative cuts, and cut a delicate lace flower in half– See image 5.

- Layer stitched and scalloped rectangles, and add the torn strip to the centre. Adhere the Ironwork Flourish piece in the middle.
-
Finish the card by adding the scalloped border, foam mount sentiments, girl image tuck lace pieces under the torn strip – See image 6.

Gab
June 09, 2024
This is so pretty