Summer Mini Flip Album Tutorial - Vita Thai

Uniquely Creative Products Used:
UC1854 Enjoy The Fun Stamp, UCD2026 Enjoy The Fun Die, UC1853 Summer Stamp, UCD2025 Summer Die, Summer Mini Pattern Papers, Summer Mini Cut-A-Part Sentiment Sheet, UCL1729 Summer Laser Cut, UC1794 Lazy Days Stamp, UCD1885 Lazy Days Die, UCD2003 Stitched Nesting Circle Die
Other Products Used:
Ranger Distress Oxide Antique Linen & Ground Espresso, Blending Brush, Ranger Stickles Gold Dust, Ranger Glossy Accents, Memento Tuxedo Black, Sakura White Gelly Roll pen, White Cardstock, Twine, Enamel Dots, Trimmer, Scissors, ¾” Circle Punch (can be substituted with ¾” circle die), Bone Folder, Foam Tape Adhesive, Tape Adhesive, Liquid Adhesive.
Chameleon Markers
Greys: CG5, CG9, WG3, WG7
Browns: BR2, BR5
Neutrals: NU0, NU00, NU1, NU4, NG4
Warm tones: YO2, YO3, OR3, RD2, RD5
Cool tones: BV4, PR2, BV2, GR1, GR4, GR2
Paper Cutting Measurements:
Album:
Cut apart the A4 size pattern papers from the Summer kit. You will need 4 sheets of your chosen patterns.
Photo mat: Cut from white cardstock
4 pcs of (5 ½” x 3 ¼”) for the flap pages,
2 pcs of (5 ½” x 3 ¾”) for right side and left side inner pages,
1 pc of (5 ½” x 3 ½”) for the right side outer page,
1 pc of (3” x 3 ¼”) for the inner pocket page
Tags: Cut from white cardstock
1 pc of (5 ½” x 3”) to go inside the outer pocket
1 pc of (5” x 3 ½”) to go inside the inner pocket
Instructions:
1. Choose 2 x sheet for your base album. Fold them in half and reinforce, then fold with bone folder. Using the ¾” circle punch or circle die, cut a half circle notch on one of the sheet as per photo below. This will create a notch for the pocket.

2. Add tape adhesive on the back of the paper with notch as per photo below. Only put tape on 3 sides. Do not put tape on the side with the notch.

3. Adhere the outer pocket page to the inner base album. You have now an album with 3 pages, inner left page, middle page with outer pocket and inner right page.

4. Cut the 3rd sheet of the pattern paper in half, then score & fold one edge of each sheet at ½”. These are the flaps of the album. Add tape adhesive on the ½” folded side.

5. Adhere the flaps along the edge of each inner page. The album now has a flap on both the left and right pages.

6. Create a small pocket for the middle page from the 4rd sheet of pattern paper. Cut 4 ½” x 4” rectangle, cut a half mini circle notch on the centre top of the 4 ½” side, then score & fold ¼” on the other 3 sides. Trim the corners to reduce bulk, add adhesive to the fold edges (see photo below), then adhere the pocket to the middle page. Make sure the 2 half circle notches line up.

7. Cut photo mats & tags from white cardstock using the measurements above. You can choose to distress the edges with some ink or leave them plain. Adhere them to the pages. The tags go into the pockets. Decorate the tags with strips of pattern paper (optional). Punch a tiny hole on the tags & tie some twine.

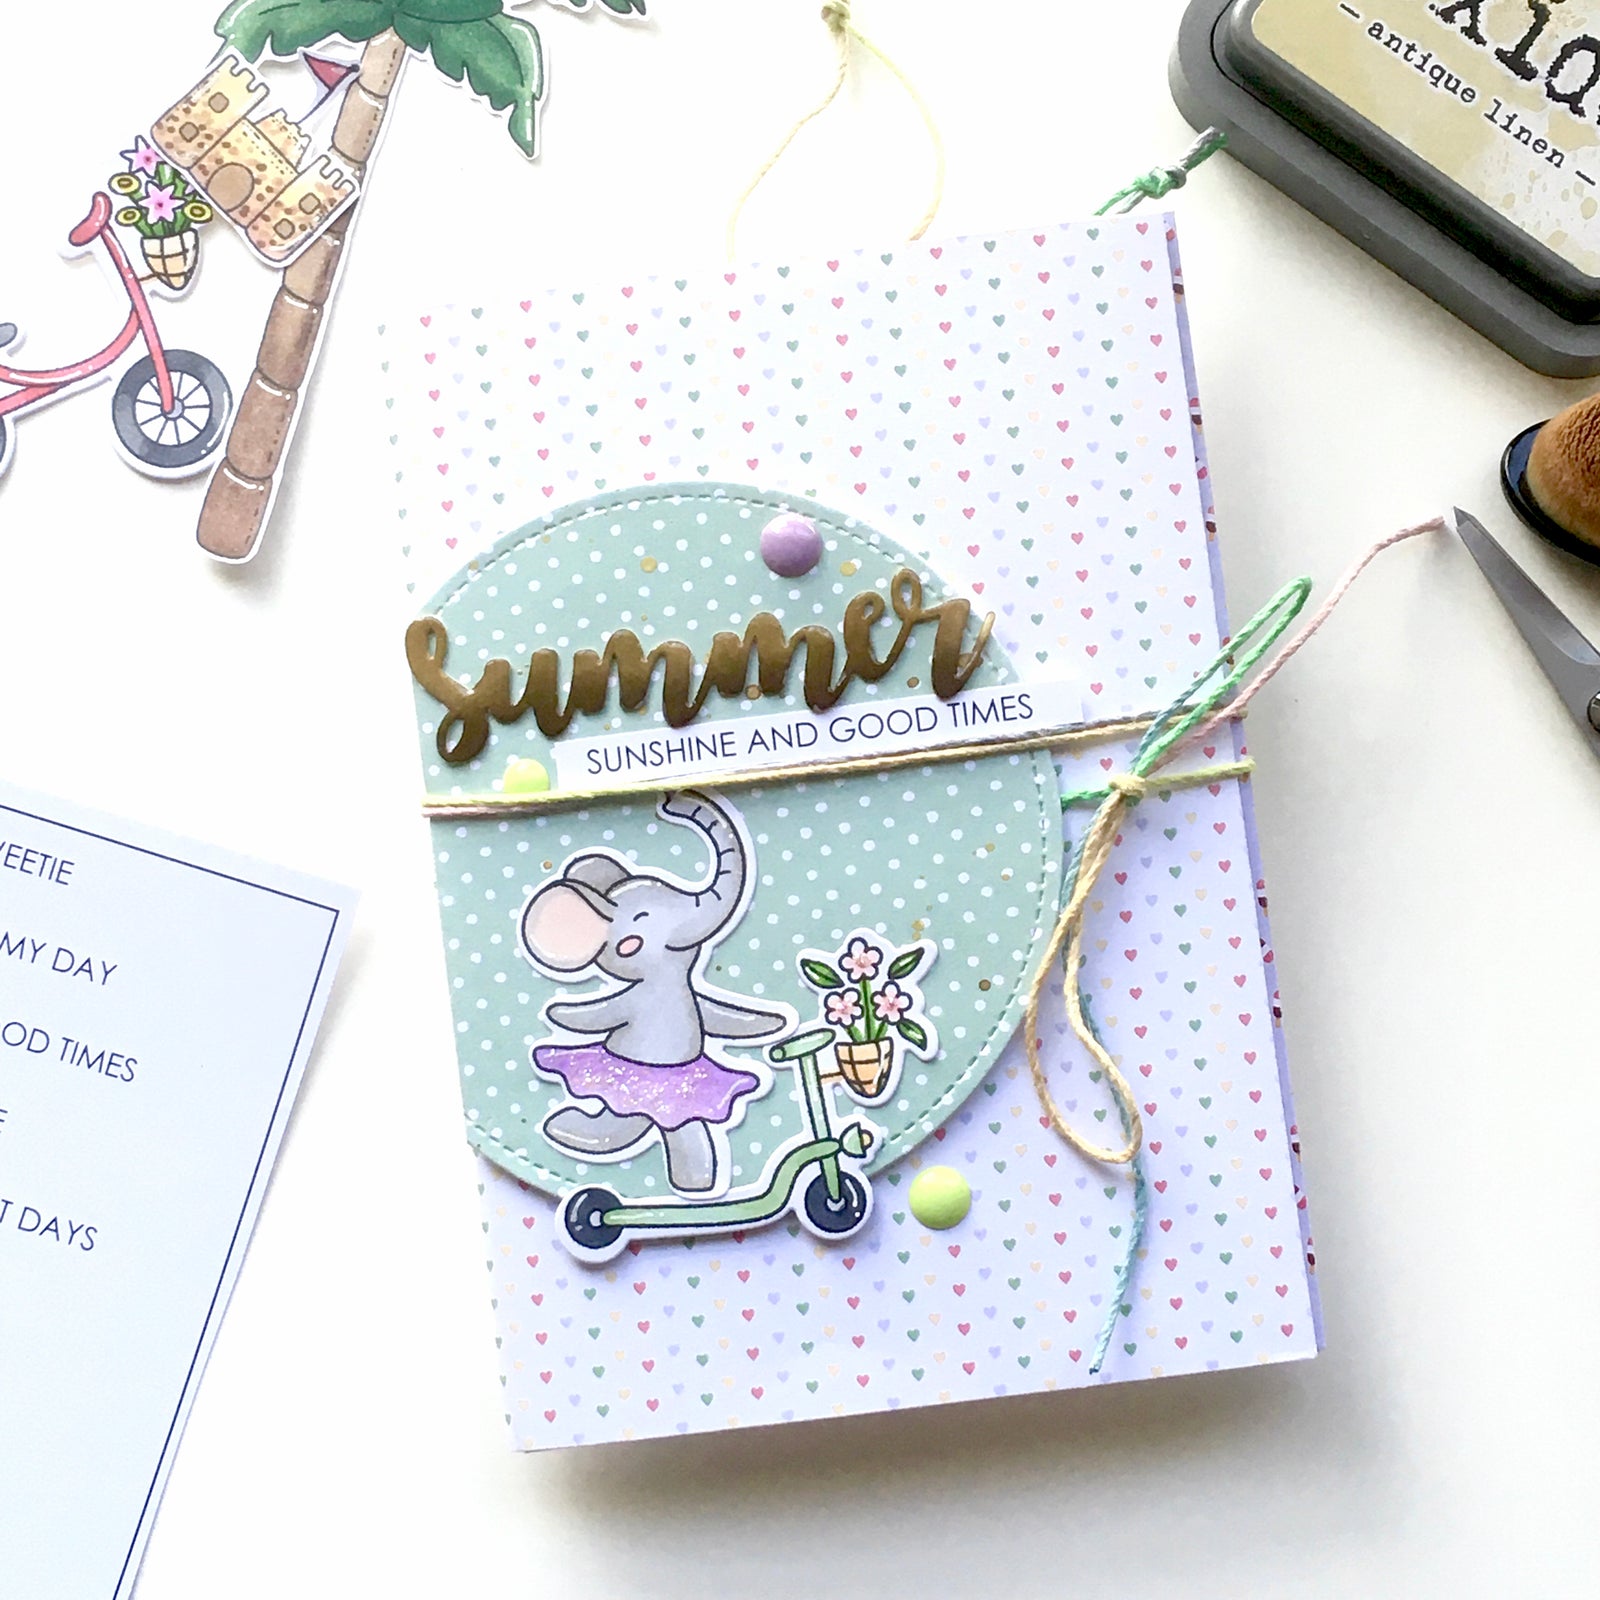
8. Cut 1m length of twine. Tape it to the front cover, from the middle of the cover to the edge. Cut a large circle from the leftover pattern paper from cutting the inner pocket. Trim a small piece off, then add gold splatter for some shine. Once the splatter dry, adhere foam tape on the back of the circle. Creating a thin channel for the twine will reduce bulk.

9. Adhere the circle to the album cover, making sure that the straight edge of the circle line up with the edge of the album. Test closing the album by wrapping & knotting the twine. Trim excess twine if need be.

10. Create embellishments for the album using images from Enjoy The Fun, Summer, and Lazy Days stamp sets. Inked some words from Summer Laser Cut for the album title. Cut some sentiments from the Summer mini cut-a-part sentiment strips.

11. Adhere the title & embellishments on the album cover and inner pages. Use the photos below for inspiration or work them around your photos. I created this album for gift, so the pages are blanks. Add some enamel dots, stickles and glossy accents on the title and embellishments on the cover for added shine. Leave the embellishments on the inner pages plain. Stickles and/or Glossy Accents can make embellishments stick to photos.


