Tapestry Of Time Collection Wrap Up

We are near at the end of April, which means it is time to wrap up the Tapestry Of Time collection, all ready for a brand new collection, completely different collection for the month of May.
We only have a very limited range of the Tapestry Of Time products left, and we are so glad that you have all loved this collection as much as we did creating it.
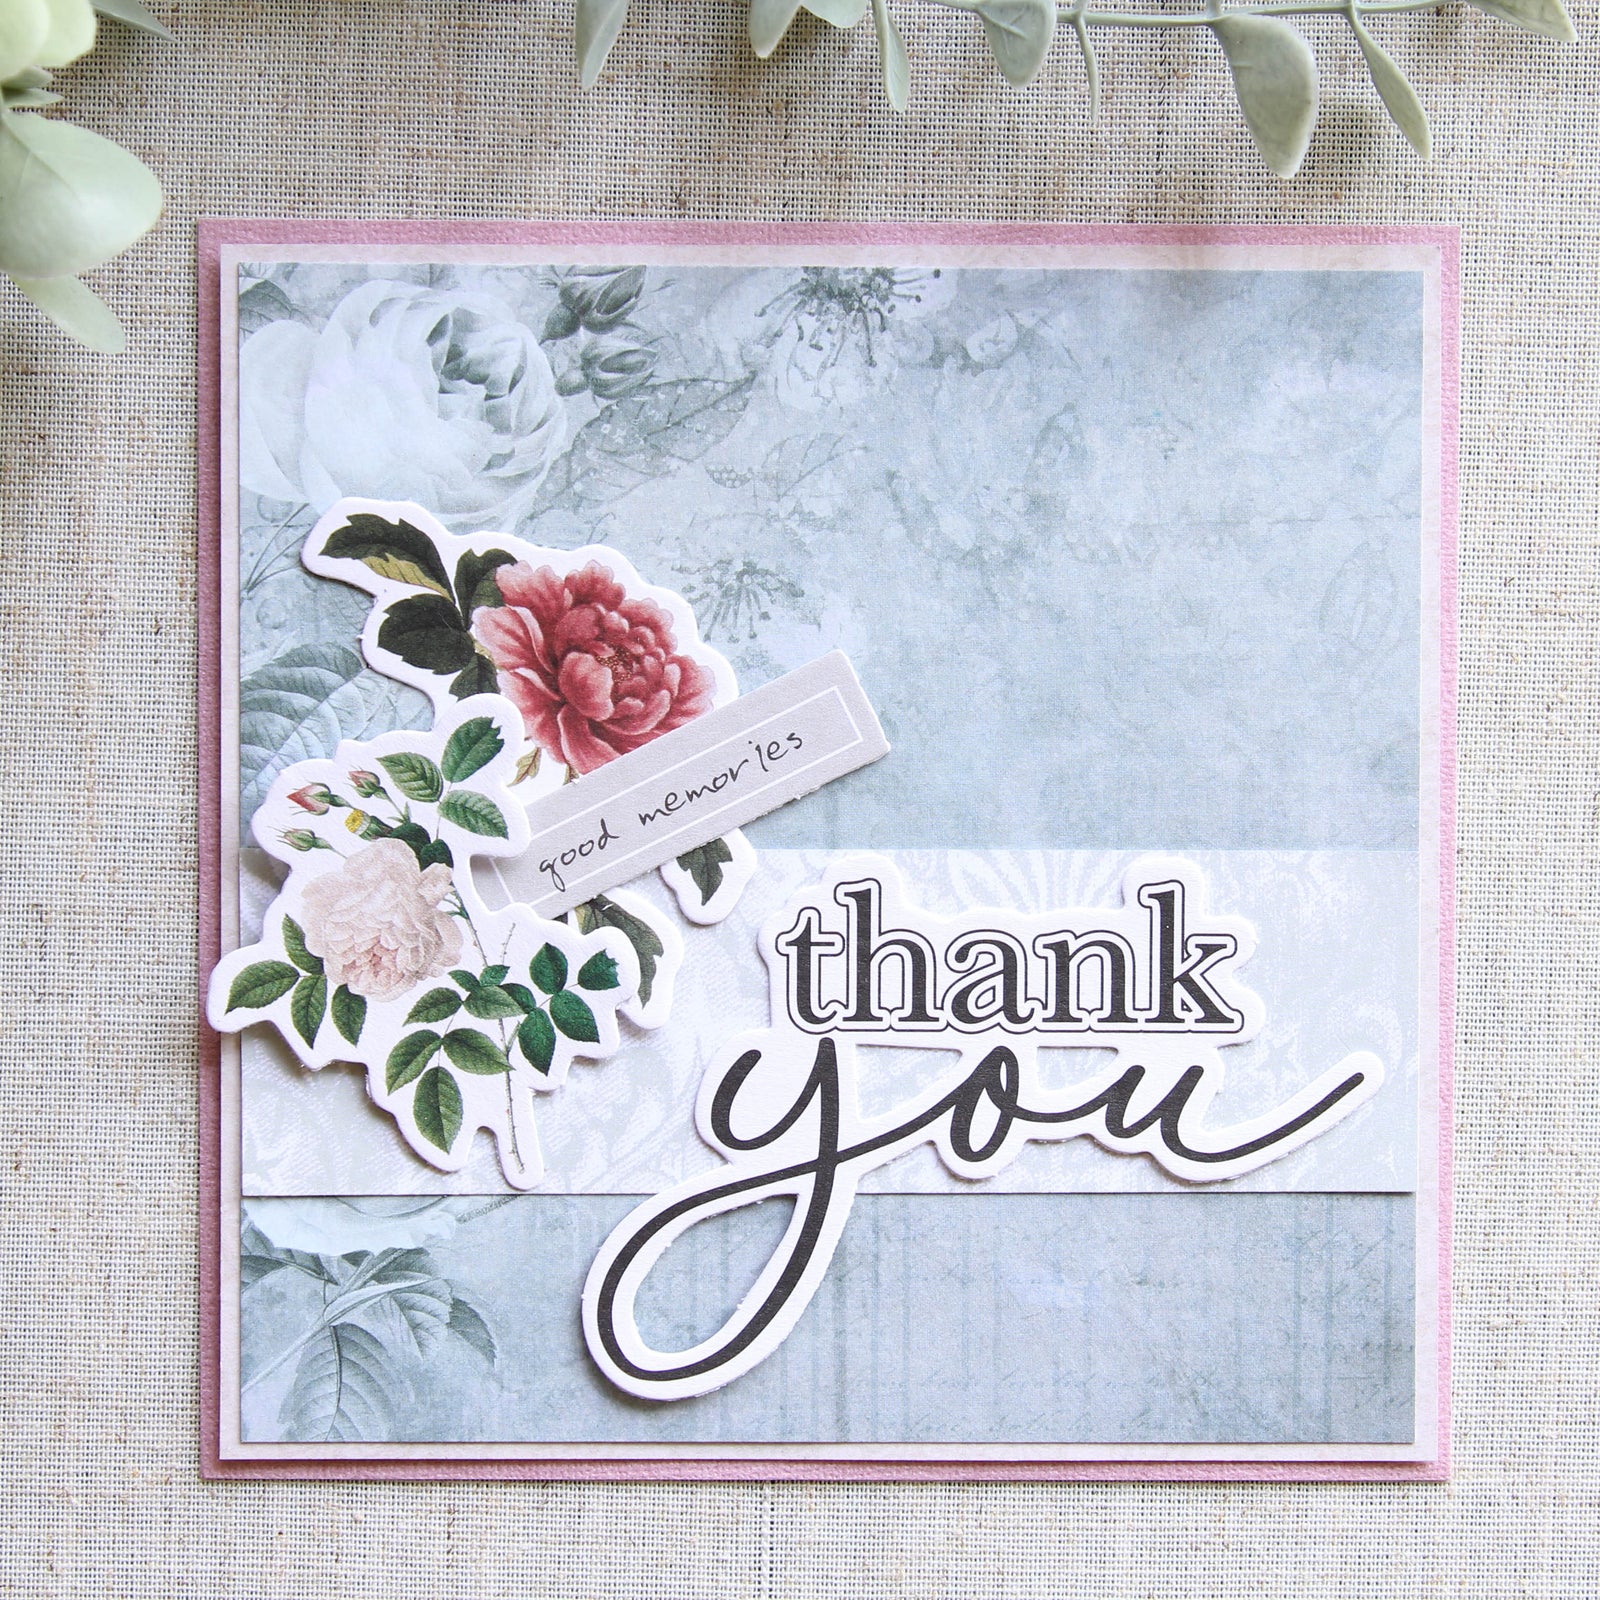
Enjoy this post of many of the inspirational layouts and projects we have shared on our blog and in our Creative Magazine over the last month. Have a scroll through the rest of our blog posts for full product lists, and tutorials for many of these amazing projects and we hope it inspires you to create with this beautiful collection!
Happy Birthday - Ngaire Ashdown
- UCP2325 Old News
- UCCA1754 Cappuchino Cream cardstock
- UCP2330 Old Times – Fussy Cuts paper
- Cut-a-part sheet
- UCE1861 White Twine
- UCE1900 Vintage Tickets
- UCMM1744 Abstract Stitching Stencil
- UCD2039 Match Box Die
- Big Shot (die cutting machine)
- Distress Ink Pad – Frayed Burlap
- Blending tool
- Double-sided tape
- Liquid glue
- 1 square white card base
- Big Shot (die cutting machine)
- Distress ink pad – Frayed Burlap
- Blending tool
- Double-sided tape
- Liquid Glue
Note: This card will not fold flat for posting. You will need to buy or make a box to fit the card in.

Fun Fold Card - Jo Herbert

- UCP2325 Old News
- UCP2326 Reminiscence
- UCP1902 Lace Rose Pieces
- UCP2334 Creative Cuts
- UCE1861 White Twine
- UCCA1754 Cappuccino Creme Cardstock
- Trimmer
- Liquid and Foam Adhesives
- Score Board
- UC Glass Domes
1. Cut down Cappuccino crème cardstock to 8 ½” x 11”. Score landscape 5 ½” & portrait 4 ½” .

2. Cut diagonally from top left to bottom right in a portrait position.

3. Reinforce the score folds so the card front meets.

4. Cut cappuccino crème cardstock 3 ¼” x 3 ¼” square. Cut Reminiscence pattern paper 3” x 3”.
TIP : Cut two of each for the second card.

5. Add liquid adhesive only in the top back left corner only.

6. Add creative cuts to the square panel to finish the card off.
TIP: Extra twine and glass domes to embellish between both cards.
