Thank You Tutorial - Steph Donnini

Card Size: 10.5cm x 14.8cm (UC Rectangle Card)
Uniquely Creative Products Used:
UC1842 Teacup Builder Stamp Set, UC1987 Teacup Builder Die, Teacup Builder Cut-A-Part Sheet, Teacup Builder Laser Cut, UCD1973 Slim Scalloped Nesting Rectangle Dies, UCD1972 Slim Stitched Nesting Rectangle Dies, UCD1956 Cut-A-Part Essentials #4 Die, Patterned Paper, UCE1812 Slimline Card & Envelopes, UCE1778 Blending Brush
Other Products Used:
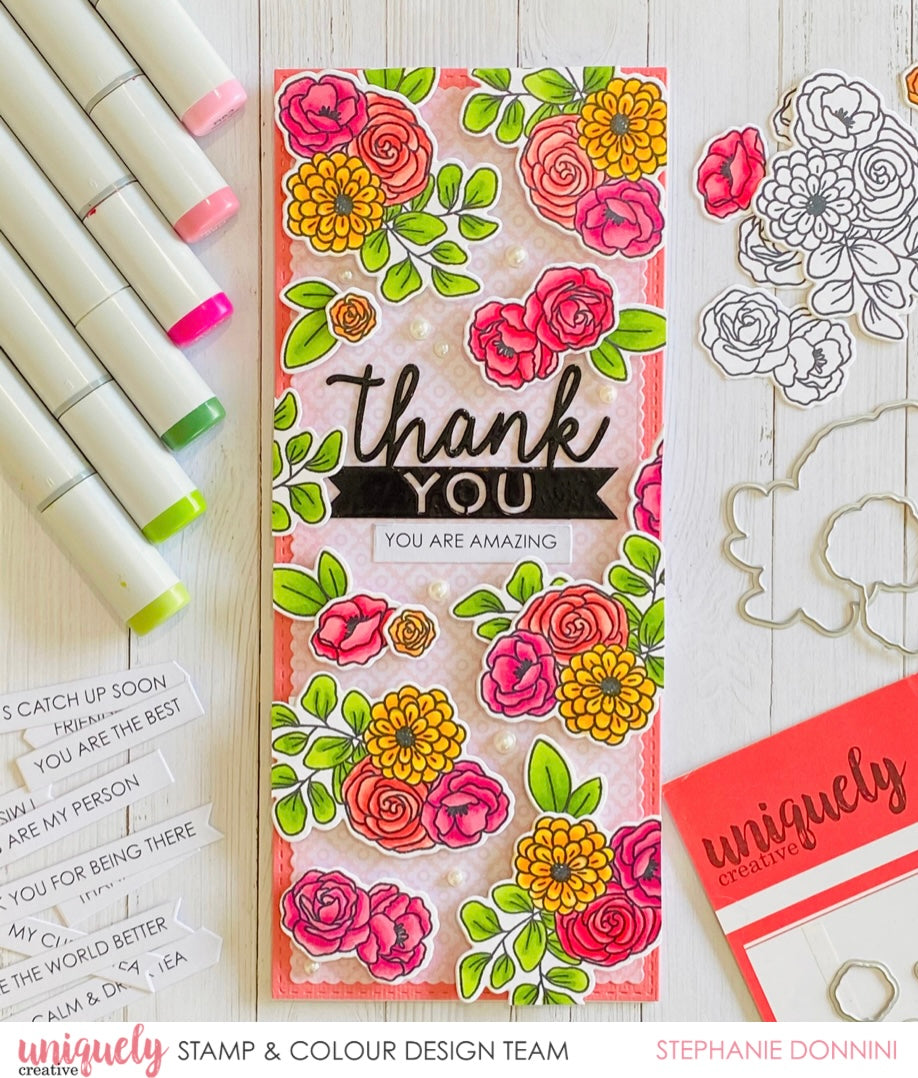
Copic Markers R35, R32, R20, RV23, RV25, RV29, RV17, R85, R83, YR15, Y19, Y21, YG03, YG25, YG67
Momento Tuxedo Black Ink, Stamping Platform, Die-Cutting Machine, Versamark Ink, Clear Embossing Powder, Pink Cardstock, Distress Ink: Spun Sugar, Foam Tape, Glue, Pearls.
Instructions:
1. Die cut a slimline stitched rectangle from pink cardstock, then cut a slimline scalloped rectangle from patterned paper. Add some shading to the scalloped edges using ink, then layer and adhere together.

2. Stamp multiple Teacup builder flowers on white blending card using momento black ink. Colour flowers with copic markers, then cut out flowers and leaves using the co-ordinating dies.

3. Colour the thank you laser cut with a black marker, coat with versamark ink and then heat emboss with clear powder.

4. Chose a sentiment from the cut apart sheet, then die cut with the co-ordinating essentials Die.

5. Arrange flowers on card base, then adhere with foam tape for added dimension. Trim off any overhanging flowers and finish off with some pearl embellishments.
