Thank You Tutorial - Vicki Poulton

Uniquely Creative Products Used:
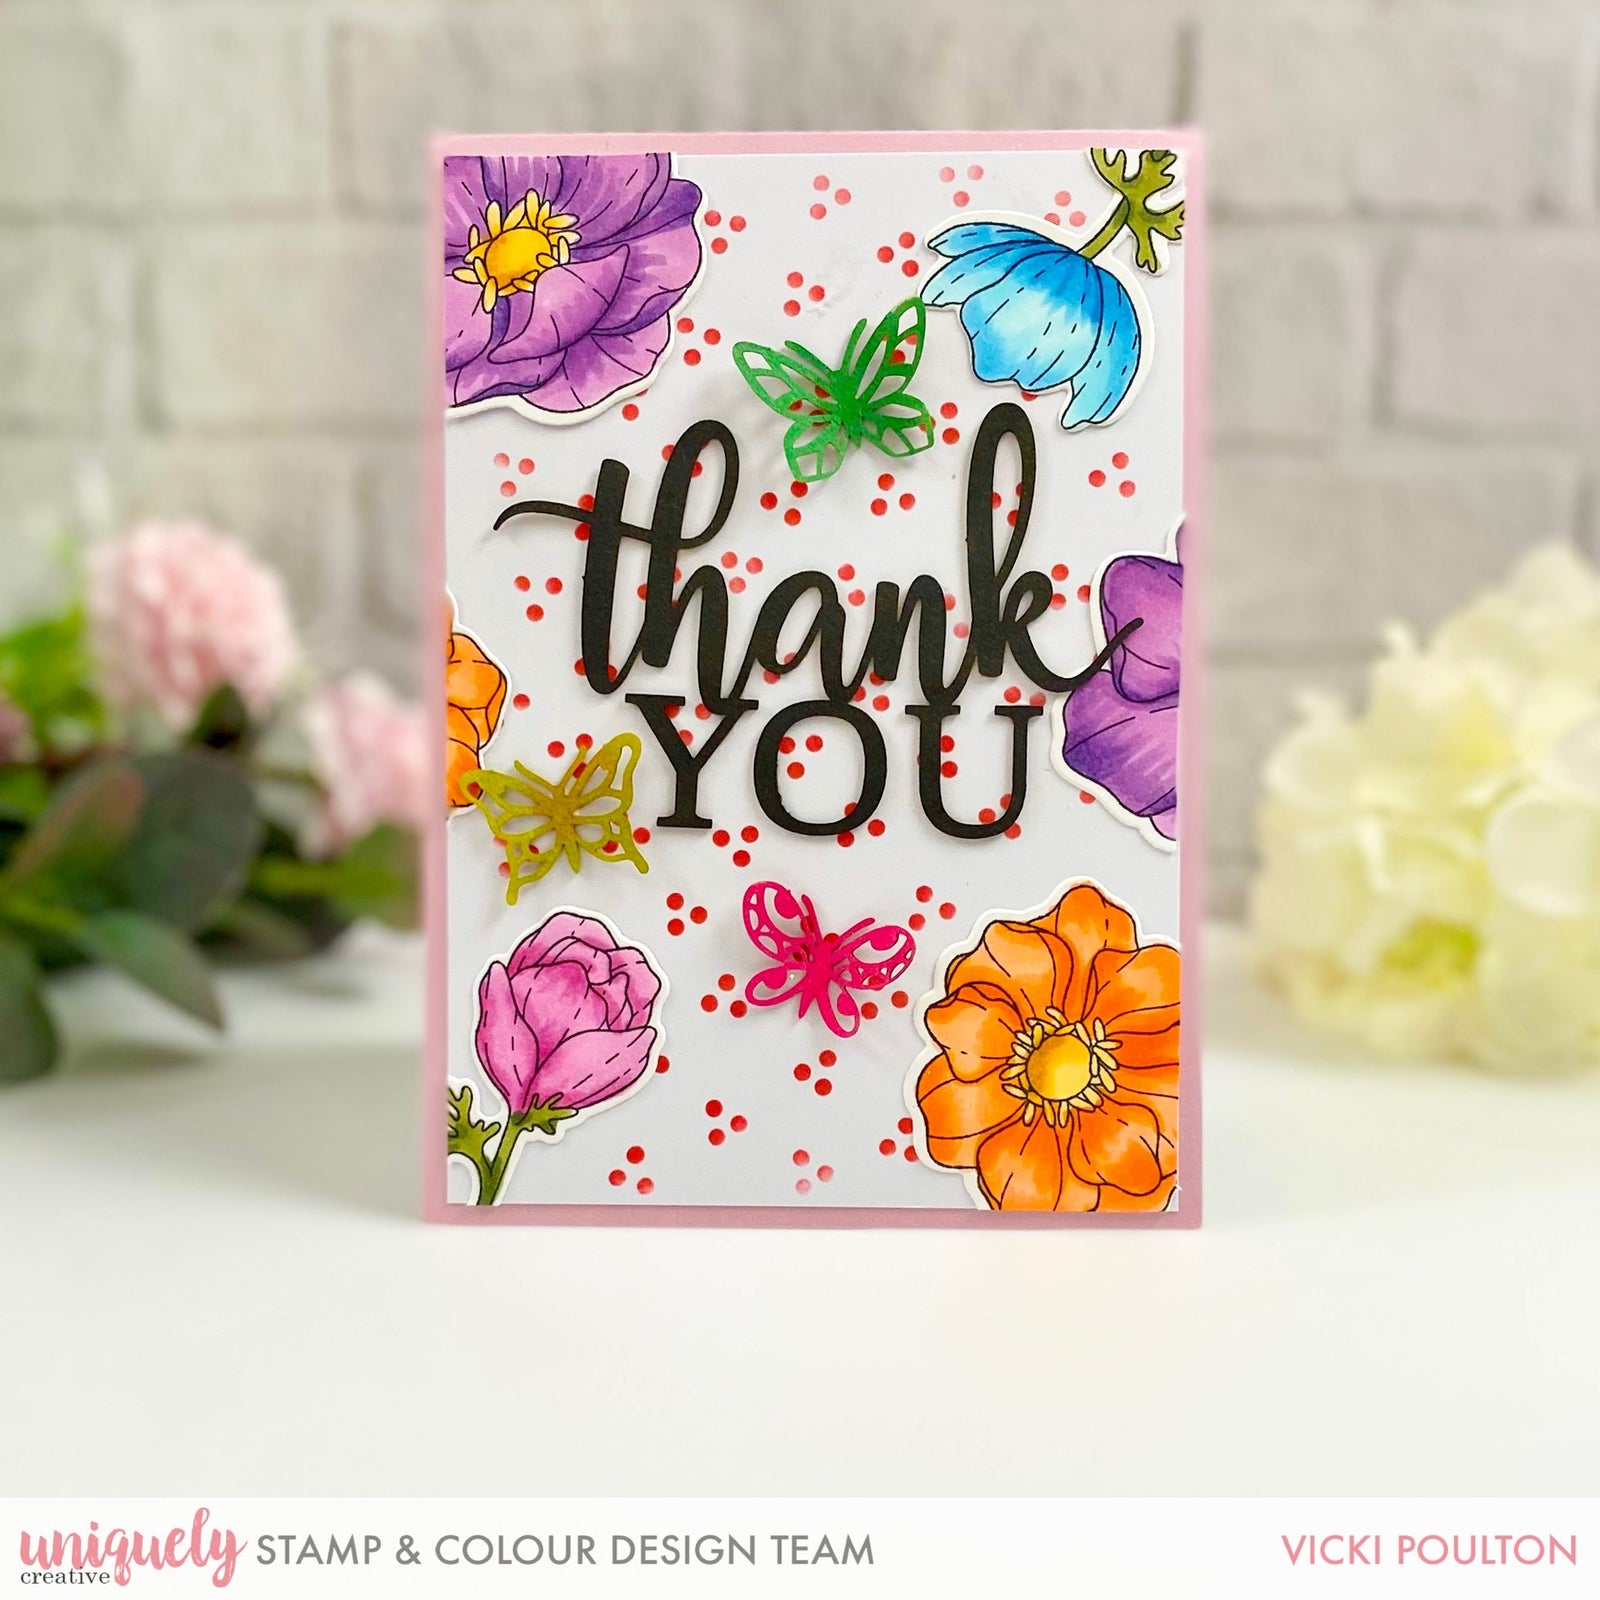
UC1809 Pretty Amazing Stamp, UCD1922 Pretty Amazing Dies, UCMM1730 Pretty Dots Stencil, Mini Wooden Cut-Apart Sheet (included kit), UCE1778 Blender Brush
Other Products Used:
Copics:
Purple Flowers: V12, V15, V17
Blue Flowers: B00, B02, B14
Pink Flower: RV55, RV52
Orange Flowers: YR01, YR02, YR04, YR16
Yellows: Y32, Y35, YR23, E18
Stems: G85, YG93
Distress Ink: Candied Apple, Black, Pink and Green Alcohol Markers, White Card, Pink Card
Instructions:
1. Trim down a piece of pink card for your card base. Trim a piece of white card down smaller than the card base, using the stencil and blending brush add some candied apple ink over your stencil.

2. Using the mini wooden thank you laser cut add some black marker over the whole piece and adhere to the middle of your card.

3. Stamp and colour your images. Using the coordinating dies run them through your die cutting machine. Adhere the flowers to you card around the edges.
4. Using the mini butterflies from the mini wooden sheet colour these in with your pink and green markers. Adhere to your card using PVA glue.

5. Adhere your card panel onto your card base. Your card is now complete.