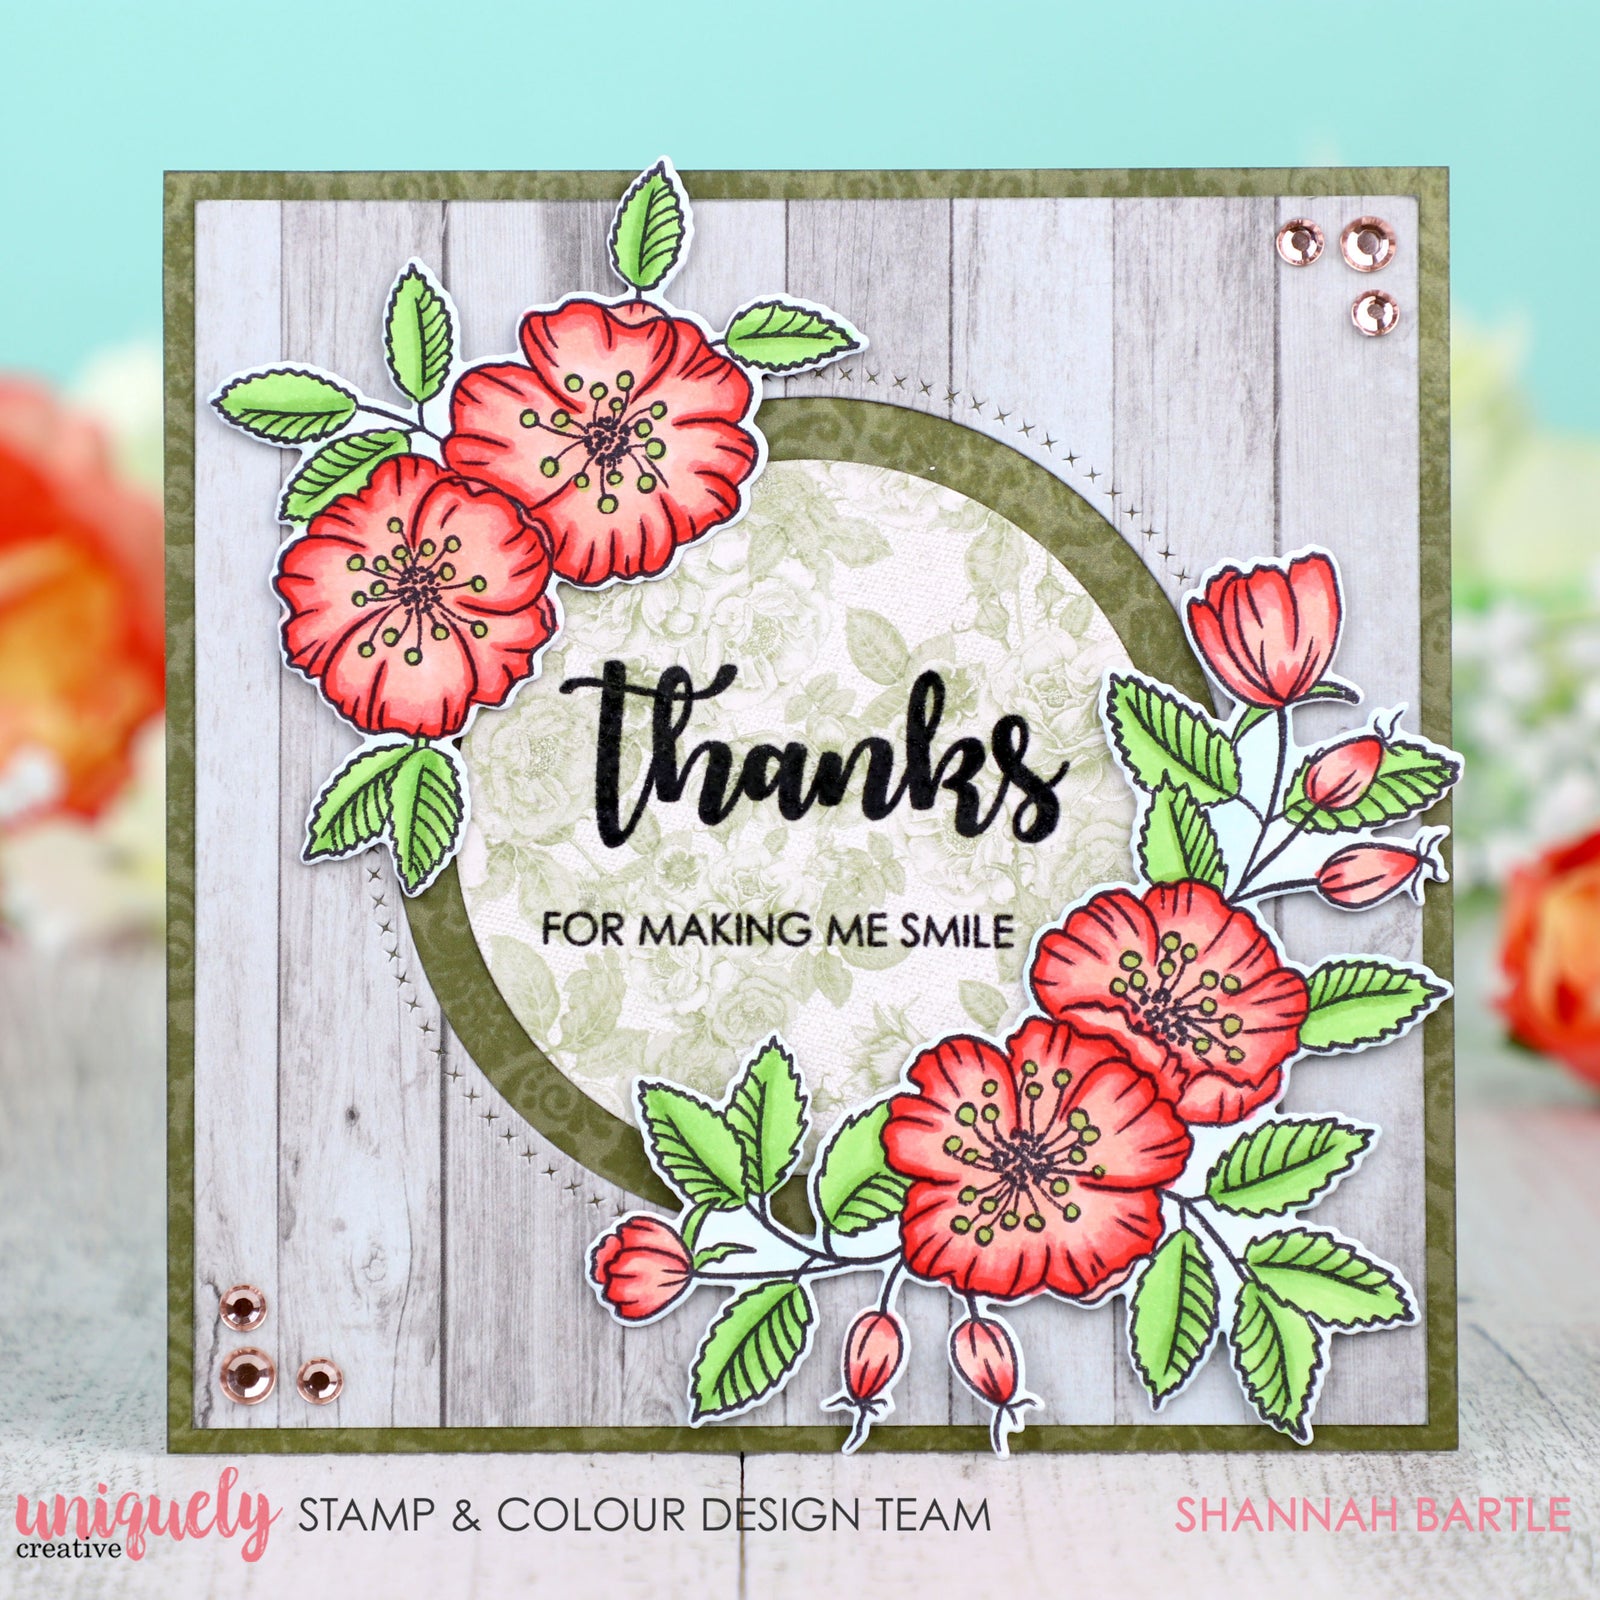
Thanks (Positivity) - Shannah Bartle

SHOP THE KIT
Card Size 5 ½'' x 5 ½''
Uniquely Creative Products Used
Positivity stamps & coordinating dies, Cross Stitch Circle Frames die, Sweet Sentiment Builder stamp set, Champagne Rhinestones
Other Products Used
Kaisercraft Provincial 6x6” paper pad, Memento Tuxedo Black ink, VersaMark ink, clear embossing powder, trimmer, adhesives, 3D foam tape, die cutting machine, heat tool.
Colours Used
Copic Markers:
B000, R00, R01, R11, R12, R14, R17, YG11, YG13, YG17
Instructions
Cover the card front with a piece of dark green damask patterned paper.

Cut a piece of wood panel patterned paper to 5¼” square. Die cut a Cross Stitch Circle Frame from the centre and attach to the card front.

Cut a piece of wood panel patterned paper to 5¼” square. Die cut a Cross Stitch Circle Frame from the centre and attach to the card front.

Adhere the sentiment circle in the centre of the card front.

Stamp a large and small Positivity stamp onto blender card and colour with Copic markers. Fussy cut using the coordinating dies.

Attach the flowers around the circle frame using 3D foam tape and decorate with Uniquely Creative rhinestones to finish.
