The Merriest Christmas Tutorial - Ashleigh Freeston

Uniquely Creative Products Used:
- UC1880 Aussie Nativity Stamp Set
- UCD2073 Aussie Nativity Die
- UCL1752 Aussie Nativity Laser Cut
- UCMM1773 Scene Builder Nativity Stencil
- UCD2064 Stitched Nesting Oval Dies
- UCD2065 Scalloped Nesting Oval Dies
- Aussie Nativity Cut-a-Part Sheet
- UCD1974 Stitched Nesting Rectangle Die
- UCD1975 Scalloped Nesting Rectangle Dies
- Rectangle Cards & Envelopes
- Foam Mounts
- Cut-a-Part Essentials #5 Die
Other Products Used:
- Smooth white cardstock
- Black cardstock
- Distress Oxide: Speckled Egg & Pumice Stone
- Blending Tool
- Copic Colours: Emu – W0, W1, W3, W5, W7, W9, Orange – Y15, YR14, YR27, Crown – Y21, Y26, E33
- Paper Towel
- Water Spray Bottle
- Acetate Sheet
- Heat Tool
- Die Cutting Machine
- Adhesives
Instructions:
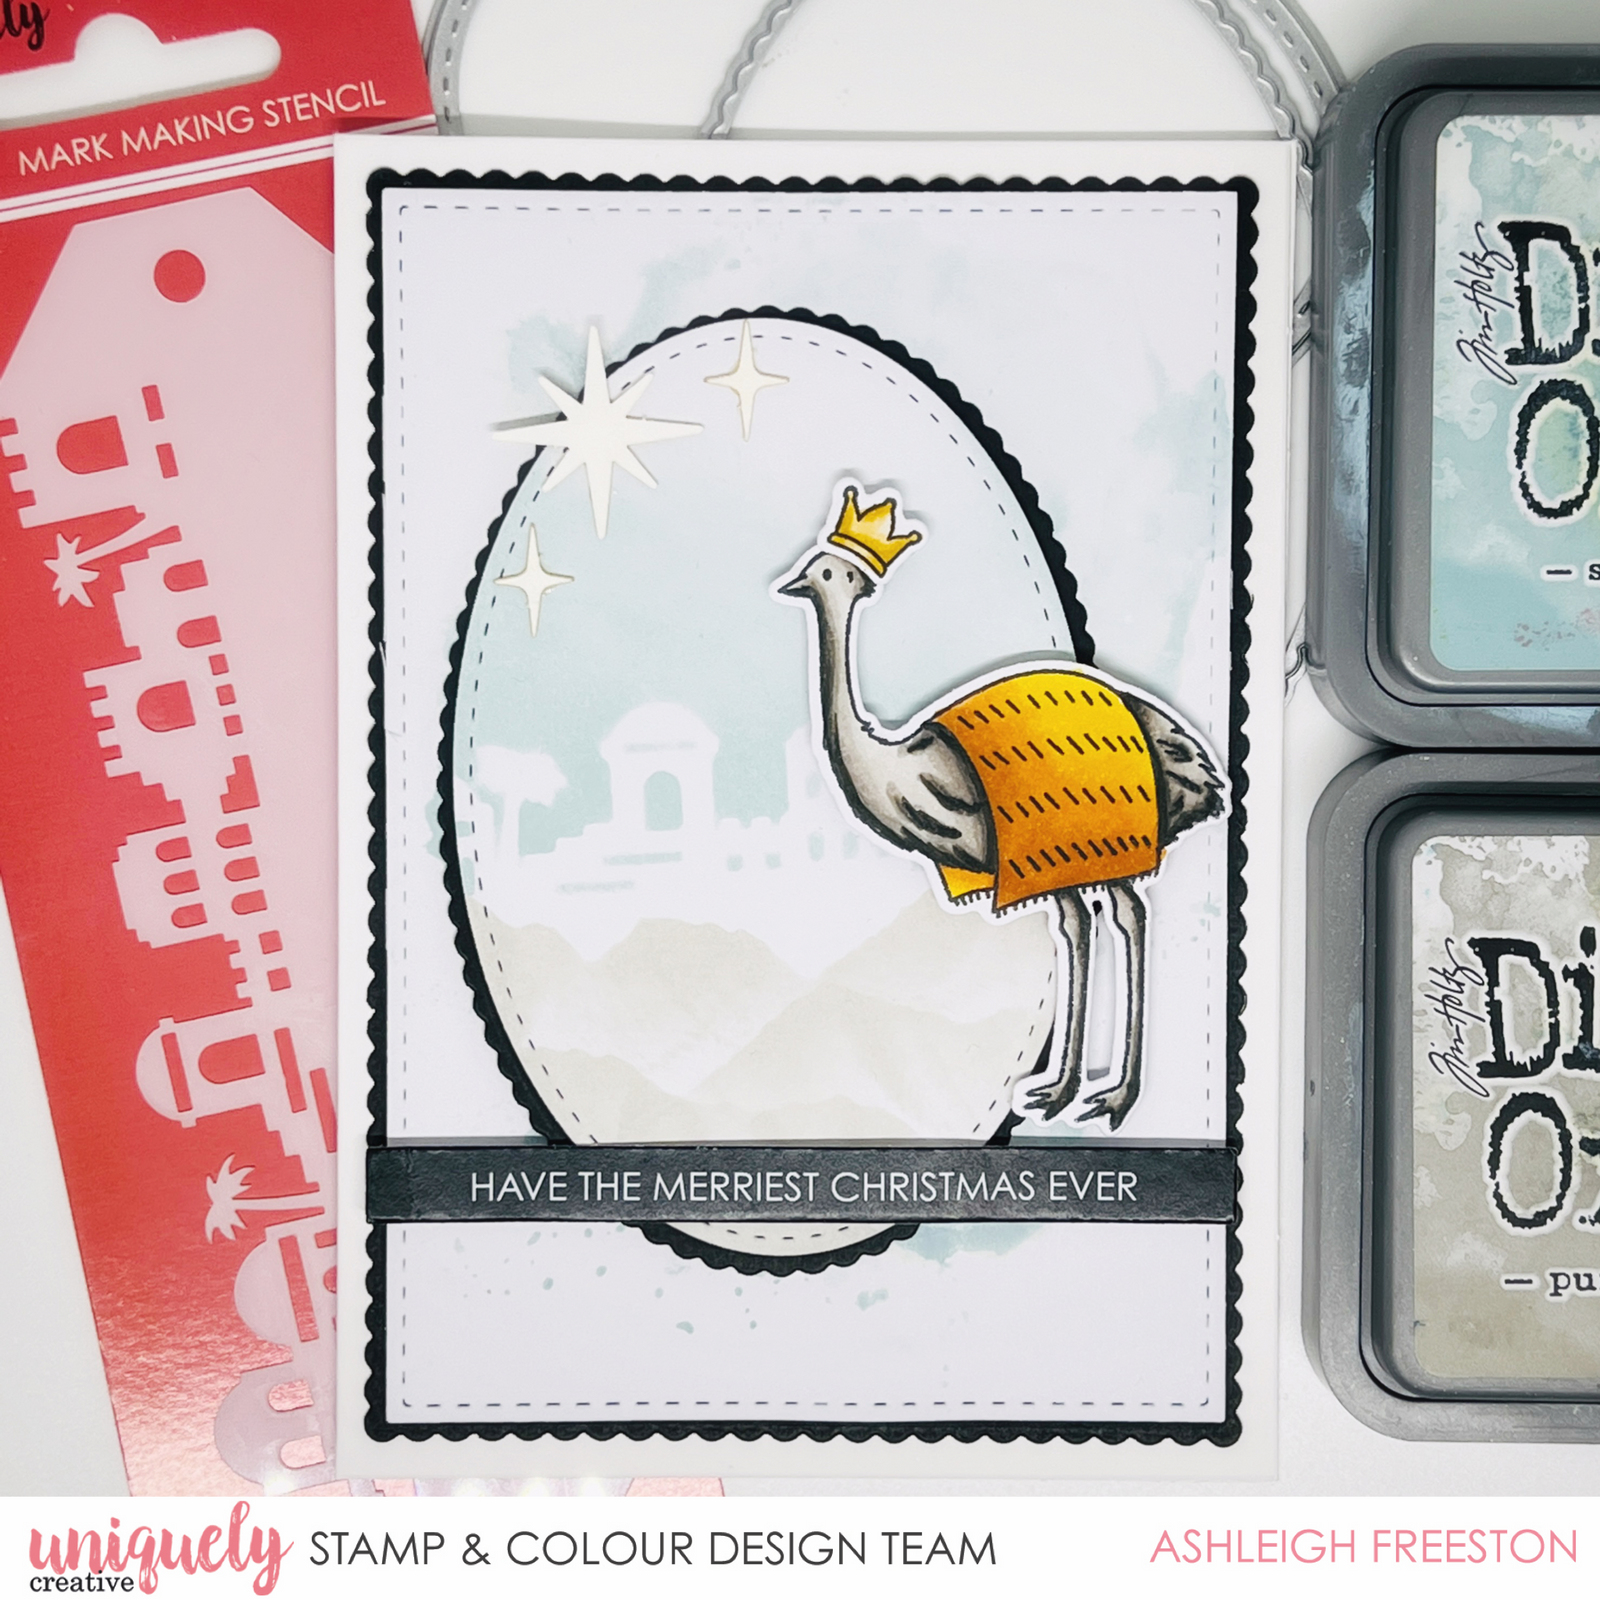
1. Die cut stitched rectangle die from white cardstock. Press Speckled Egg Distress Oxide onto acetate sheet and spritz with water. Press onto background piece. Dry well with heat tool.

2. Die cut Stitched Nesting Oval from white cardstock and Scalloped Nesting Oval from black cardstock.

3. Using Scene Builder Nativity stencil, ink various mountains with Pumice Stone Distress Oxide on bottom third of stitched oval. Ink buildings with Speckled Egg Distress Oxide.

4. Colour images with the colouring medium of your choice (I used Copic markers). Fussy cut or die cut using the matching dies.

5. Adhere the background piece onto your scalloped black rectangle. Add the scalloped nesting oval and stitched nesting oval. Finish the card by foam mounting the stamped images, adhering the laser cut stars and cut-a-part sentiment.
