The Most Magical Time Tutorial - Ashleigh Freeston

Card Size:
10.5cm x 14.8cm (UC Rectangle Card)
Uniquely Creative Products Used:
UCD2016 Eucalyptus Wreath Die, UC1852 Aussie Christmas 3 Stamps, UCD2015 Aussie Christmas 3 Dies, Aussie Christmas 3 Cut-a-Part Sheet, UC1841 Owl Family Stamp, UCD1982 Owl Family Fussy Cutting Die, UC1840 Little Hoot Stamp, UCD1981 Little Hoot Fussy Cutting Die, UCD1975 Scalloped Nesting Rectangle Dies, UCD1974 Stitched Nesting Rectangle Dies, UCD1958 Cut-a-Part Essentials #5 Die, UCD1985 Cut-a-Part Essentials #6 Die, Rectangle Card & Envelopes, Foam Mounts, UCE1778 Blending Brush,UCE1720 Clear Sparkle Brush
Other Products Used:
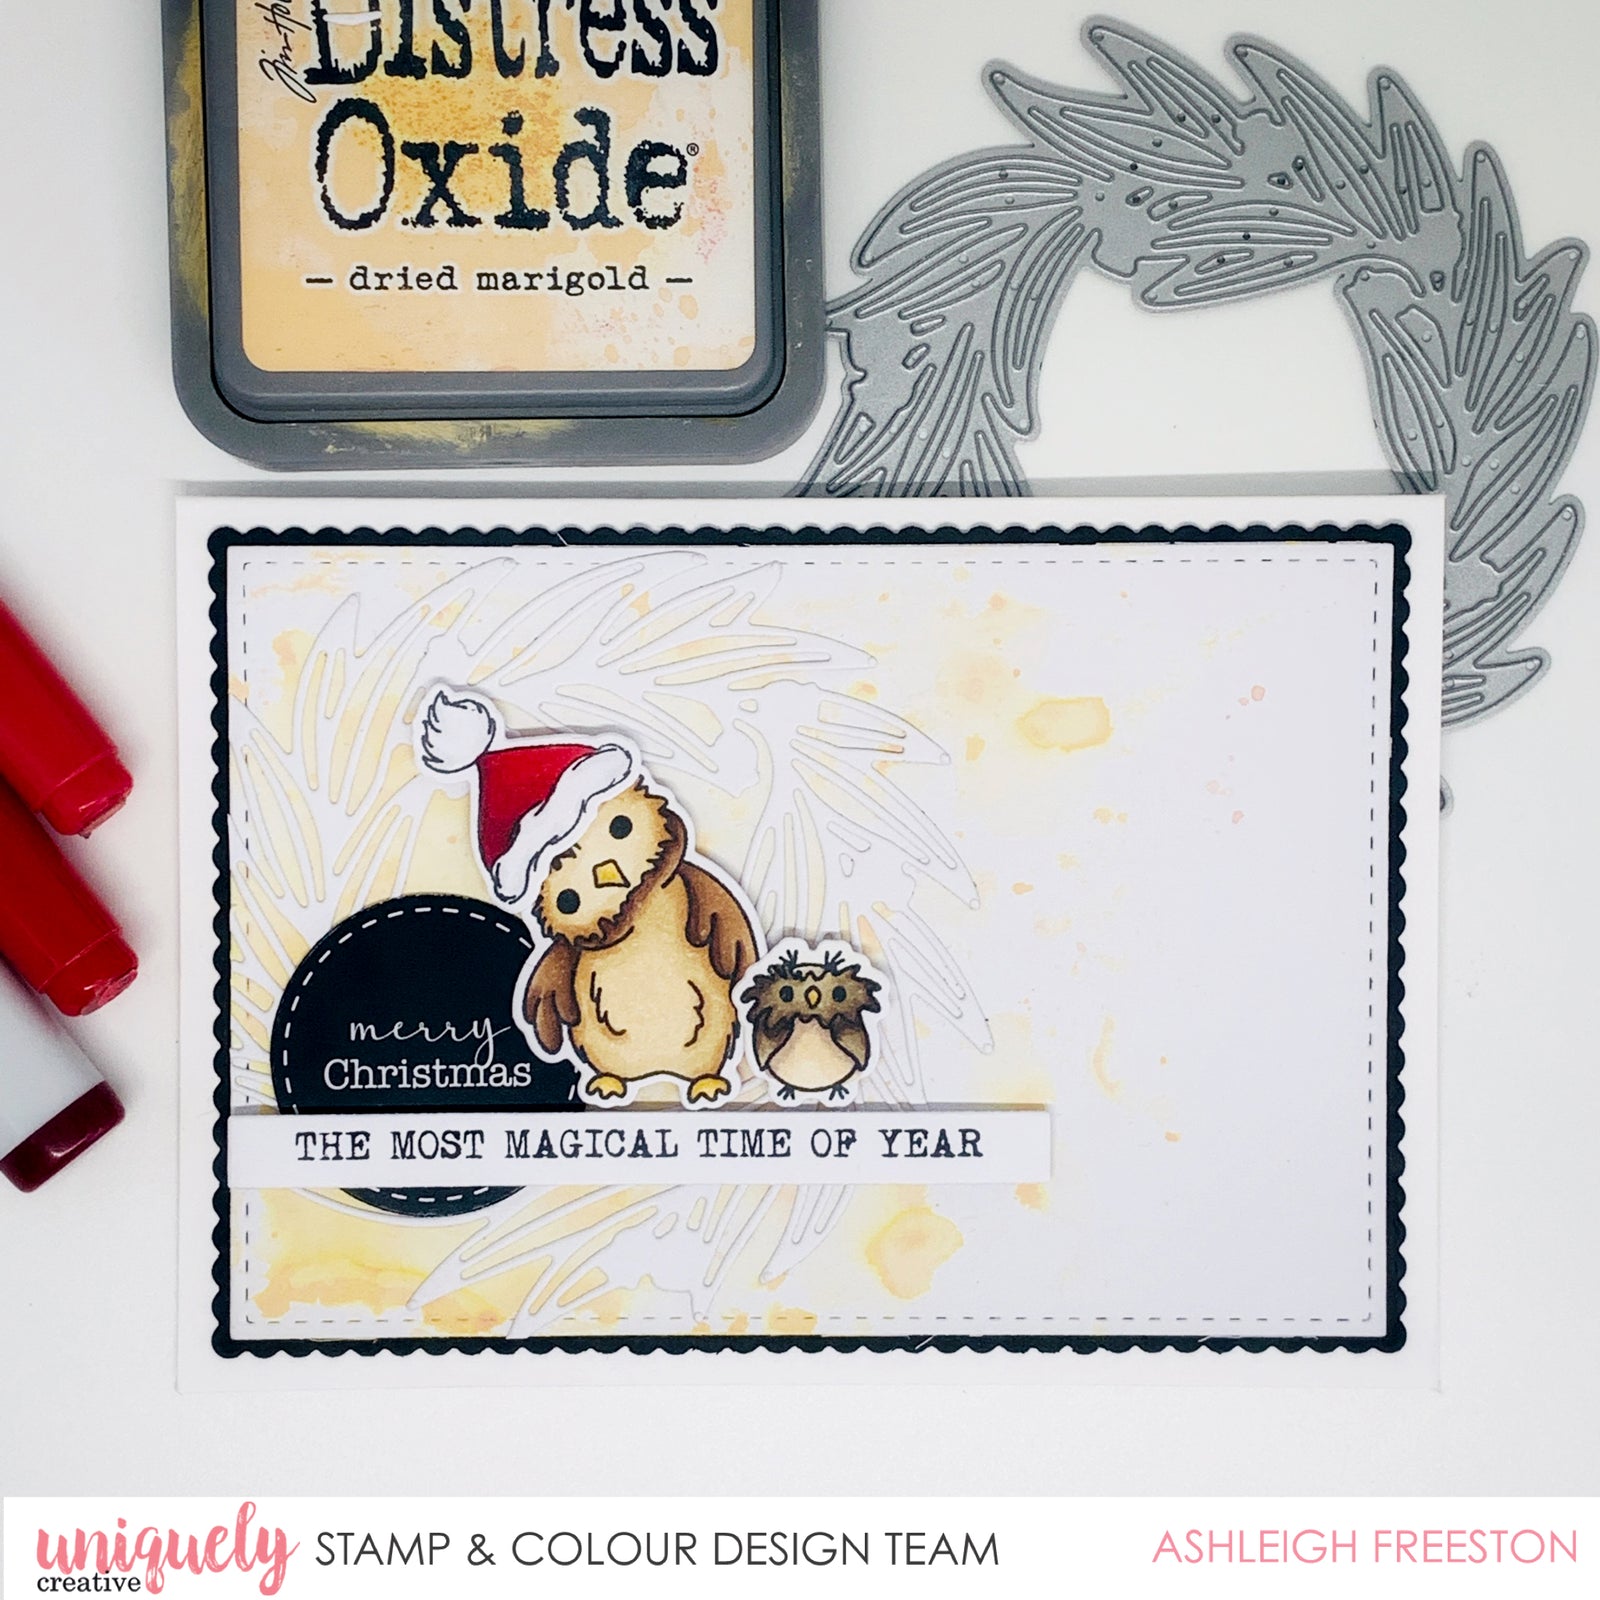
Smooth White Cardstock, Black Cardstock, Distress Oxide: Dried Marigold, Adhesives, Die Cutting Machine, Acetate Sheet, Water Spray Bottle.
Copic Colours:
Santa Hat – R35, R46, R59 (red); C00, C0, C1 (white),
Large Owl – E79, E47, E44, E43 (outer); E44, E71, E43, E30, E50 (inner); E71, YR23, YR21 (beak)
Baby Owl – E79, E47, E44 (outer); E43, E30, E50 (inner); E71, YR23, YR21 (beak)
Instructions:
1. Die cut largest stitched rectangle die from white cardstock. Press dried marigold distress oxide onto acetate sheet and spritz with water. Turn over and press onto background piece. Repeat until you are happy with the background and dry well with a heat tool.
2. Die cut eucalyptus wreath die from white cardstock and adhere to left side of background. Hint: Use a wide double sided tape to the back of the white cardstock before die cutting to make it easier to adhere!

3. Stamp and colour the images with the colouring medium of choice (I used Copic markers). Die cut or fussy cut the images once complete.

4. Die cut sentiments using Cut-a-Part Essentials #5 and Cut-a-Part Essentials #6 Dies.

5. Complete the card by adhering your background piece onto the largest scalloped rectangle. Foam mount the long sentiment and owl images to add some dimension. Finish off the card by adding some clear sparkle brush onto the white parts of the santa hat.
