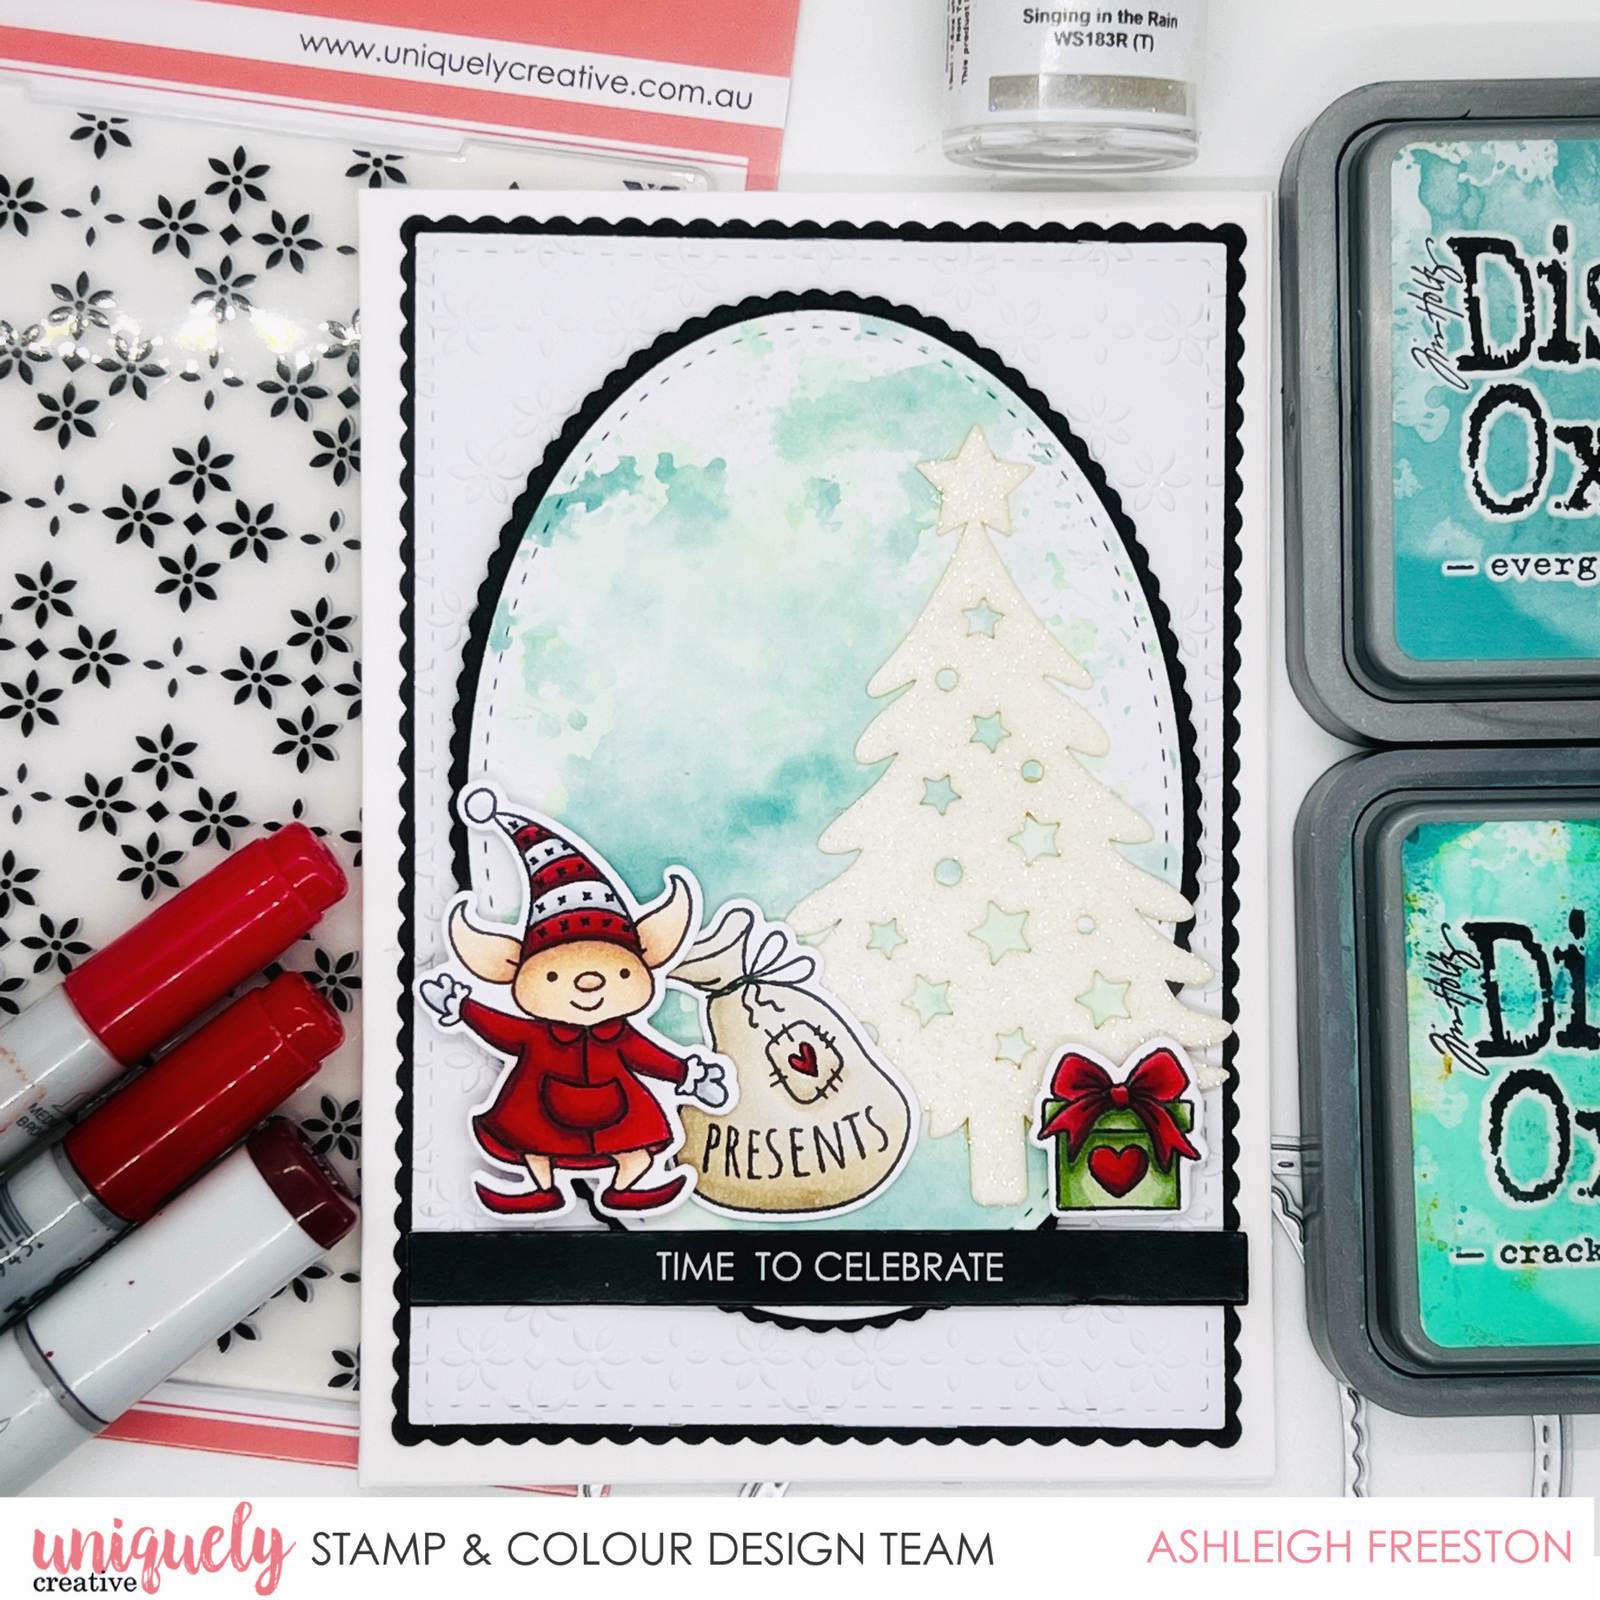
Time to Celebrate Christmas Card Tutorial - Ashleigh Freeston

Would you like to learn how to create a Distress Oxide ink smooshed background? Ashleigh Freeston has a great tutorial today showing you how to create this quick and easy background, while also using the versatile Uniquely Creative nesting dies in collaboration with the Elf Christmas stamp set and laser cuts. See all the products and follow the instructions to create your own inked background!
Uniquely Creative Products Used:
- UC1881 Elf Christmas Stamp Set
- UCD2077 Elf Christmas Die
- UC1882 Elf Hugs Stamp Set
- UCD2078 Elf Hugs Die
- UCL1754 Elf Christmas Laser Cut
- Elf Christmas Cut-a-Part Sheet
- UCEF2019 Extraordinary Embossing Folder
- UCD2064 Stitched Nesting Oval Dies
- UCD2065 Scalloped Nesting Oval Dies
- UCD1974 Stitched Nesting Rectangle Die
- UCD1975 Scalloped Nesting Rectangle Dies
- Rectangle Cards & Envelopes
- Foam Mounts
- Cut-a-Part Essentials #5 Die
Other Products Used:
- Smooth White Cardstock
- Black Cardstock
- Distress Oxide - Evergreen Bough & Cracked Pistachio
- Singing in the Rain Embossing Powder
- Paper Towel
- Water Spray Bottle
- Acetate Sheet
- Heat Tool
- Die Cutting Machine
- Adhesives
- Red – R35, R46, R59
- Green – YG61, YG63, YG17, YG67
- Skin – E000, E00, E21, E11, E04; R20
- Grey– C00, C0, C1, C2, C4
- Present Bag – E40, E41, E42, E43
Card Size: 10.5cm x 14.8cm (UC Rectangle Card)
Instructions:
1. Die cut stitched rectangle die from white cardstock. Emboss with Extraordinary Embossing Folder.

2. Die cut Stitched Nesting Oval from white cardstock and Scalloped Nesting Oval from black cardstock. Press Cracked Pistachio Distress Oxide on acetate sheet and spritz with water. Press onto white oval and dry with heat tool. Repeat with Evergreen Bough Distress Oxide.

3. Ink laser cut tree with Versamark Embossing Ink and heat emboss with Singing in the Rain embossing powder to provide a lovely glittery effect.

4. Colour images with the colouring medium of your choice (such as Copic markers). Fussy cut or die cut using the matching dies.

5. Adhere the embossed background piece onto your scalloped black rectangle. Add the scalloped nesting oval and stitched nesting oval. Adhere the laser cut tree and present bag. Finish the card by foam mounting the elf and present images, finishing off with the cut-a-part sentiment.
