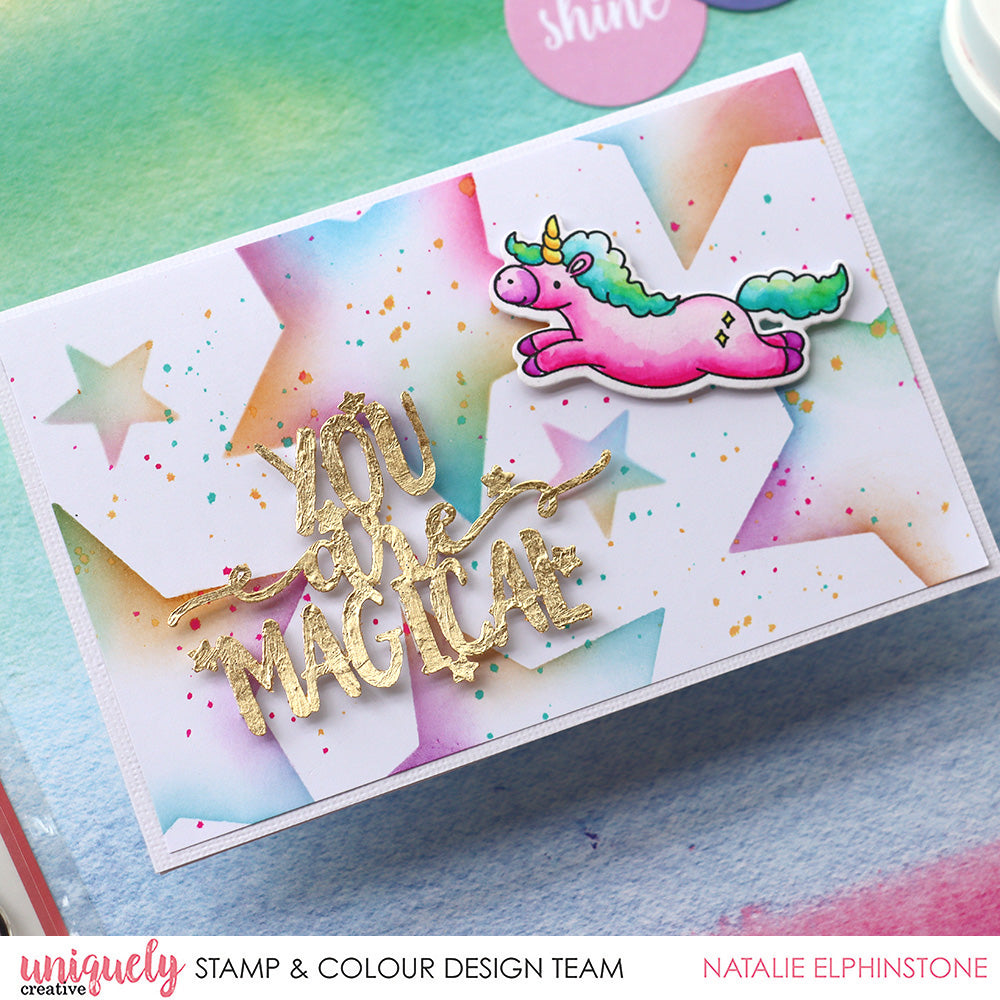
You Are Magical Tutorial - Natalie Elphinstone

Uniquely Creative Products Used:
UC1855 Unicorn Magic Stamp Set, UCD2030 Unicorn Magic Die Set, UCL1730 Unicorn Magic Laser Cut, UCD2001 Advent Calendar Star Die, Uniqolour Markers, Watercolour Paper, Foam Squares, Stencil Brushes
Other Products Used:
Catherine Pooler Inks, Sizzix 3D Adhesive, Sizzix Decorative Metallic Flakes
Instructions:
1. Make a couple of homemade stencils. Natalie used two different sized star dies and cut them out of scrap cardboard. Hint: use recycle cardboard from packaging – not only because of the environmental aspect, but in particular the shiny cardboard that has that plastic film coating on it allows for better ink blending.

2. Place the largest star ‘stencil’ onto the backing cardstock, tape it into position so it won't move around. Remember to place the stencil just slightly off the edge – we want it to look like a pattern, not a centralised arrangement.
Using a stencil brush put just a smidge of purple ink onto a small section of my star’s edge – not blending it all the way across, you want a leave a lot of white space to remain.

3.Do the same with just a little bit of yellow ink. Continue with different colours all around the perimeter of the star.


Use the same technique to cover the whole background piece – alternating with the different sized stars as well. And at the end splatter a rainbow of ink colours to create the droplet effect.
3. Stamp your image onto watercolour paper, and colour it in with Uniqolor Markers before cutting it out with the matching die.

4. To ‘colour’ your laser cut Natalie covered it with some 3D adhesive and let it dry using a paintbrush. Natalie loves that you can still see the brush strokes in the finished product – it gives it so much more texture.
Next apply some decorative gold flakes. They stick to the adhesive. Brush away the excess with a firm brush. Assemble all the finished elements onto a card base.
