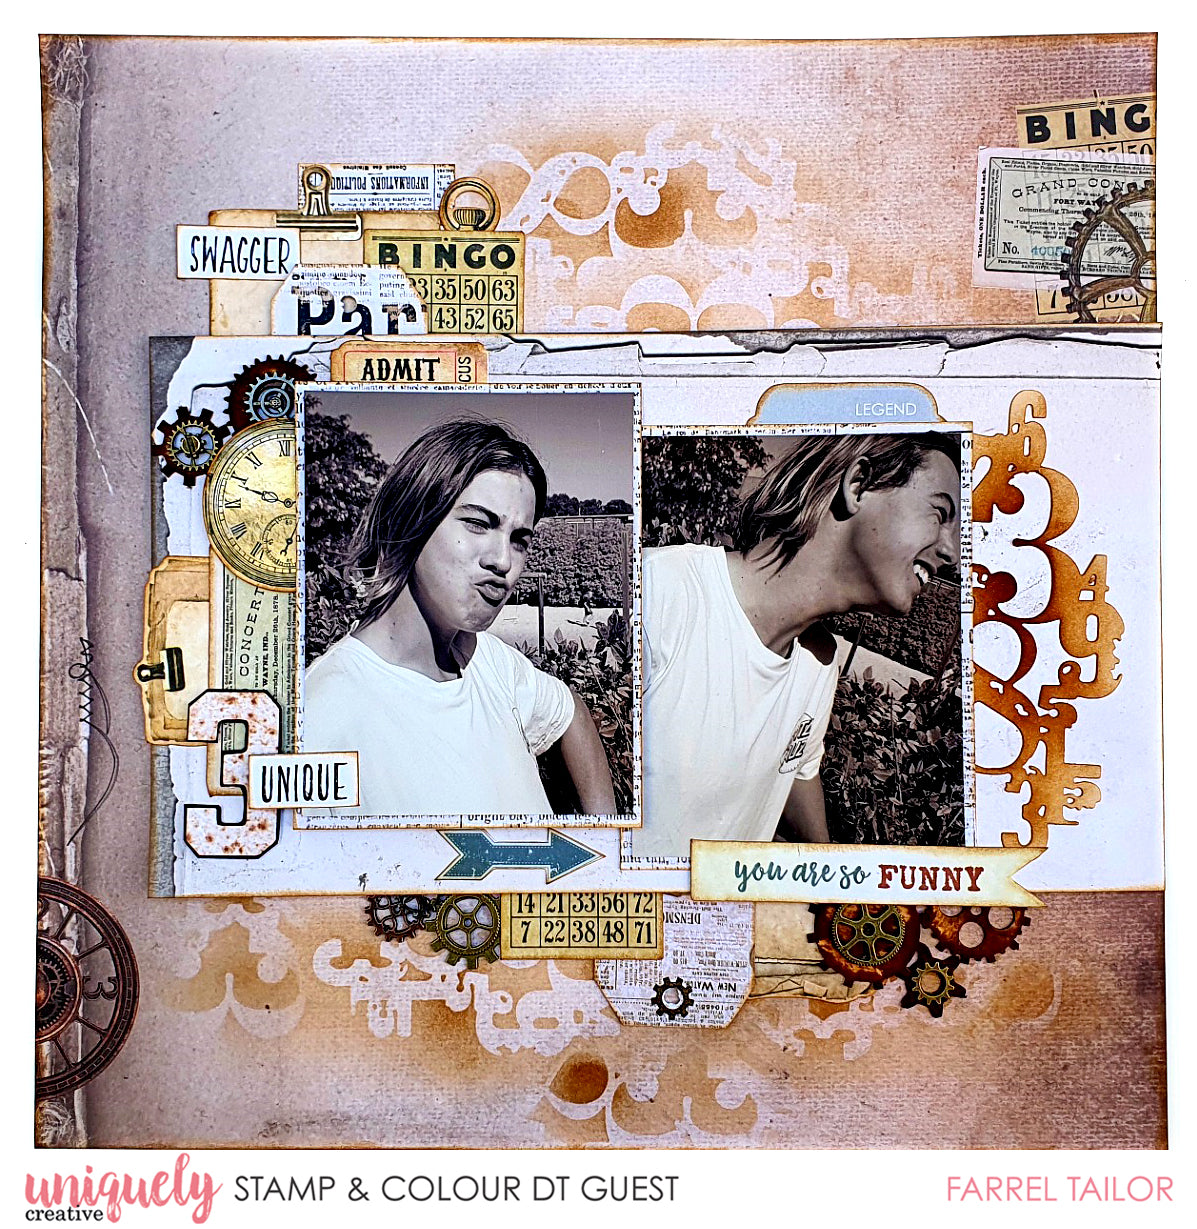
You Are So Funny - Farrel Tailor

Uniquely Creative Products Used
UCP2075 Flair, UCP2074 Awesome, UCP2072 Technical, UPC2078 Swagger, Steampunk Safari Cut-a-part Sheet, Steampunk Safari Creative Cuts, Steampunk Safari Laser Cut, Metal Cogs, Grungy Numbers Die, Uniquely Creative Blending Brush
Other Products Used
Double sided tape, glue, foam tape, scissors, paper trimmer, Vintage Photo Distress Ink, manual die cutting machine
Photo Size: 4.5" x 3.5" portrait
Instructions
1. Cut the barcode from “Awesome” patterned paper. Using the black and white newspaper side cut 2 photo mounts just bigger than your photos. Ink the edges with Vintage Photo and adhere your photos using tape. Add foam tape to the photo mount that will be placed on the left side of the layout and put aside.
2. Cut the barcode from “Technical” patterned paper and you will be using the verse side (darker side) as the background cardstock, ink the edges.
3. Next cut the barcode from “Flair” patterned paper and then cut in half horizontally. You will be using the bottom half of this cardstock. Turn that piece 180 degrees and then cut a piece from the right side at 1 ¼ inches. Ink the edges but don’t adhere yet

4. Using “Flair” patterned paper again (I used the reverse side from step 3), your die cutting machine and Grungy Numbers die, cut out 1 piece. You will be using this piece as a mask and an embellishment. Use the piece you cut in step 3 as a guide and using the blending brush and ink pad, stencil onto the background

5. Using the Creative Cuts pack, Cut-a-Part Sheet and “Swagger” patterned paper, find and cut all images below, and ink the edges

6. Adhere the pieces to the layout using glue and double sided tape. You will also need to adhere the photo that has foam tape on the back (see main picture to see where it is placed). Also, fussy cut a number that suits you from “Swagger” and ink the edges. Feel free to add some height to the layout by using foam tape to some of the elements. When you adhere the piece from step 3, don’t put tape right on the edges as you will need to slide the cogs in underneath.


7. Using the small cogs from the cog laser cut, ink using Vintage Photo. Don’t cover the cogs completely in ink, it’s nice having some of the laser cut board showing

8. To finish off the layout, adhere the laser cut cogs and add some metal cogs too.

Paula
September 23, 2020
Thank you for the tip – using the die cut as a stencil it worked GREAT!! and means I have loads of new stencils to use with all my UC dies from my monthly subscription :) happy days :D